Mobirise Website Builder

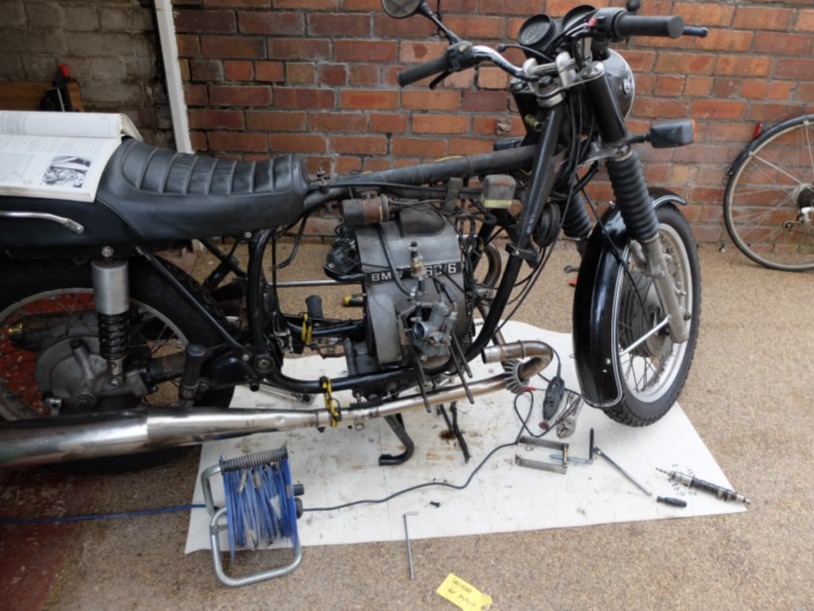
BMW R60/6 Cam Replacement and
Engine Overhaul

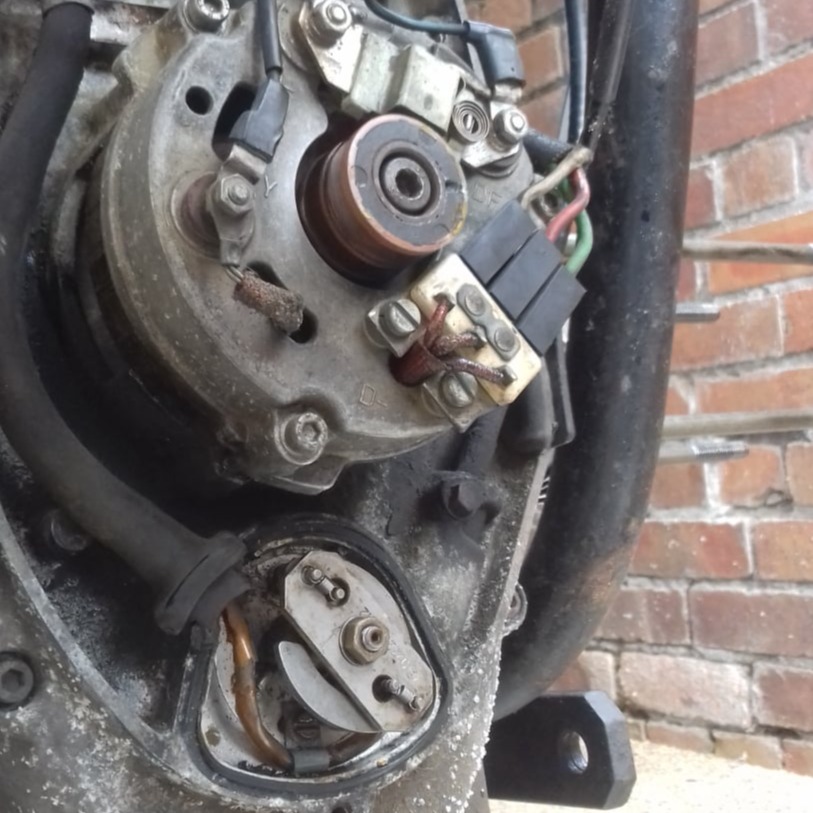
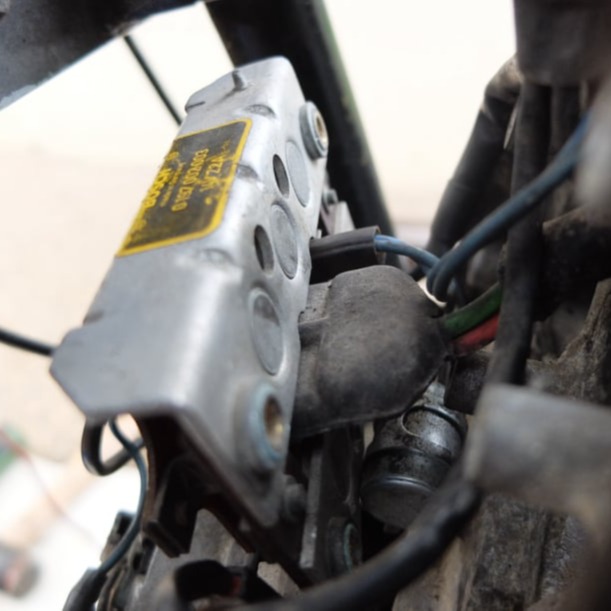
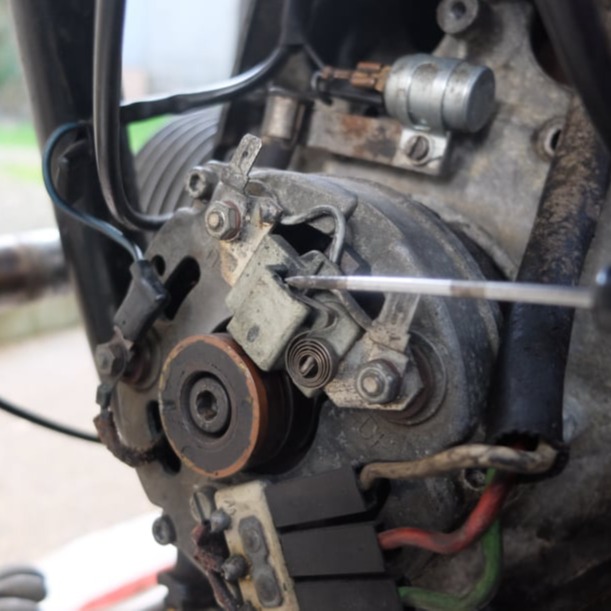
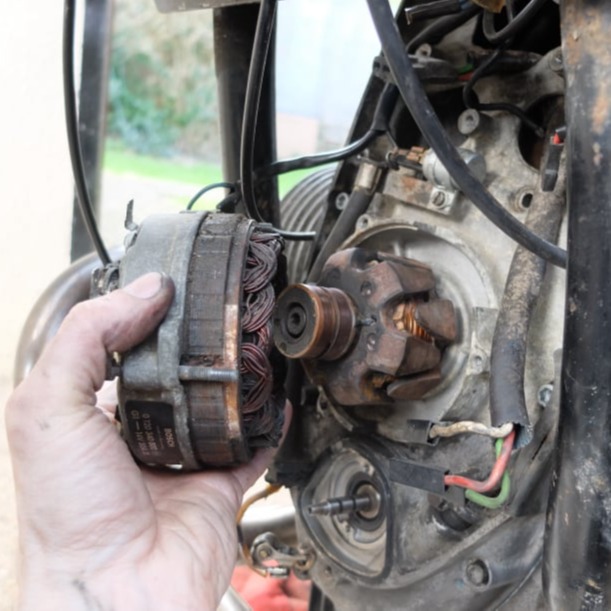
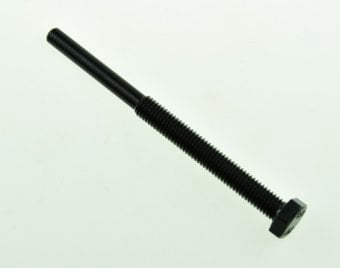
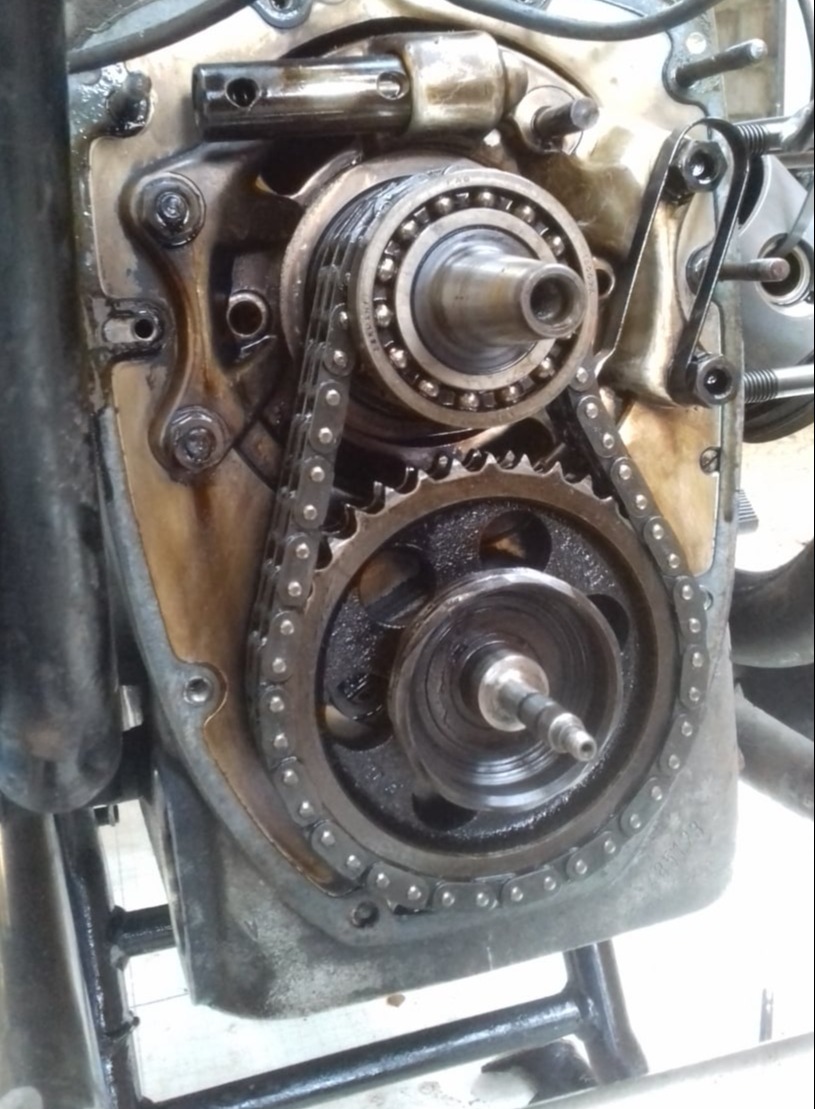
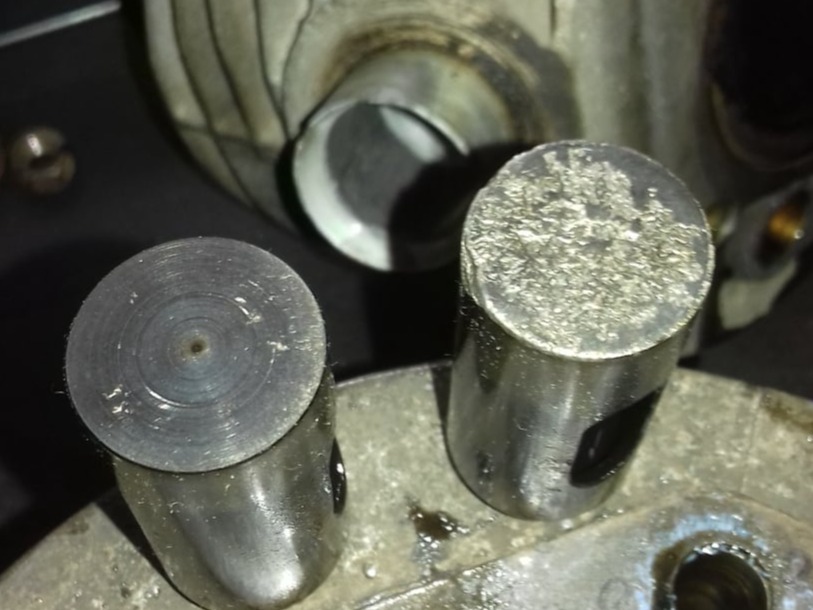
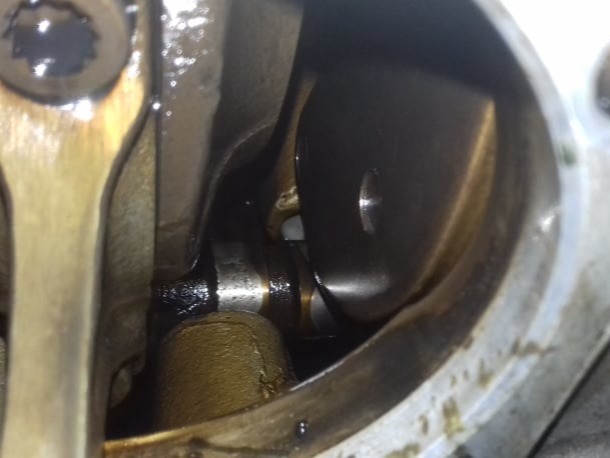
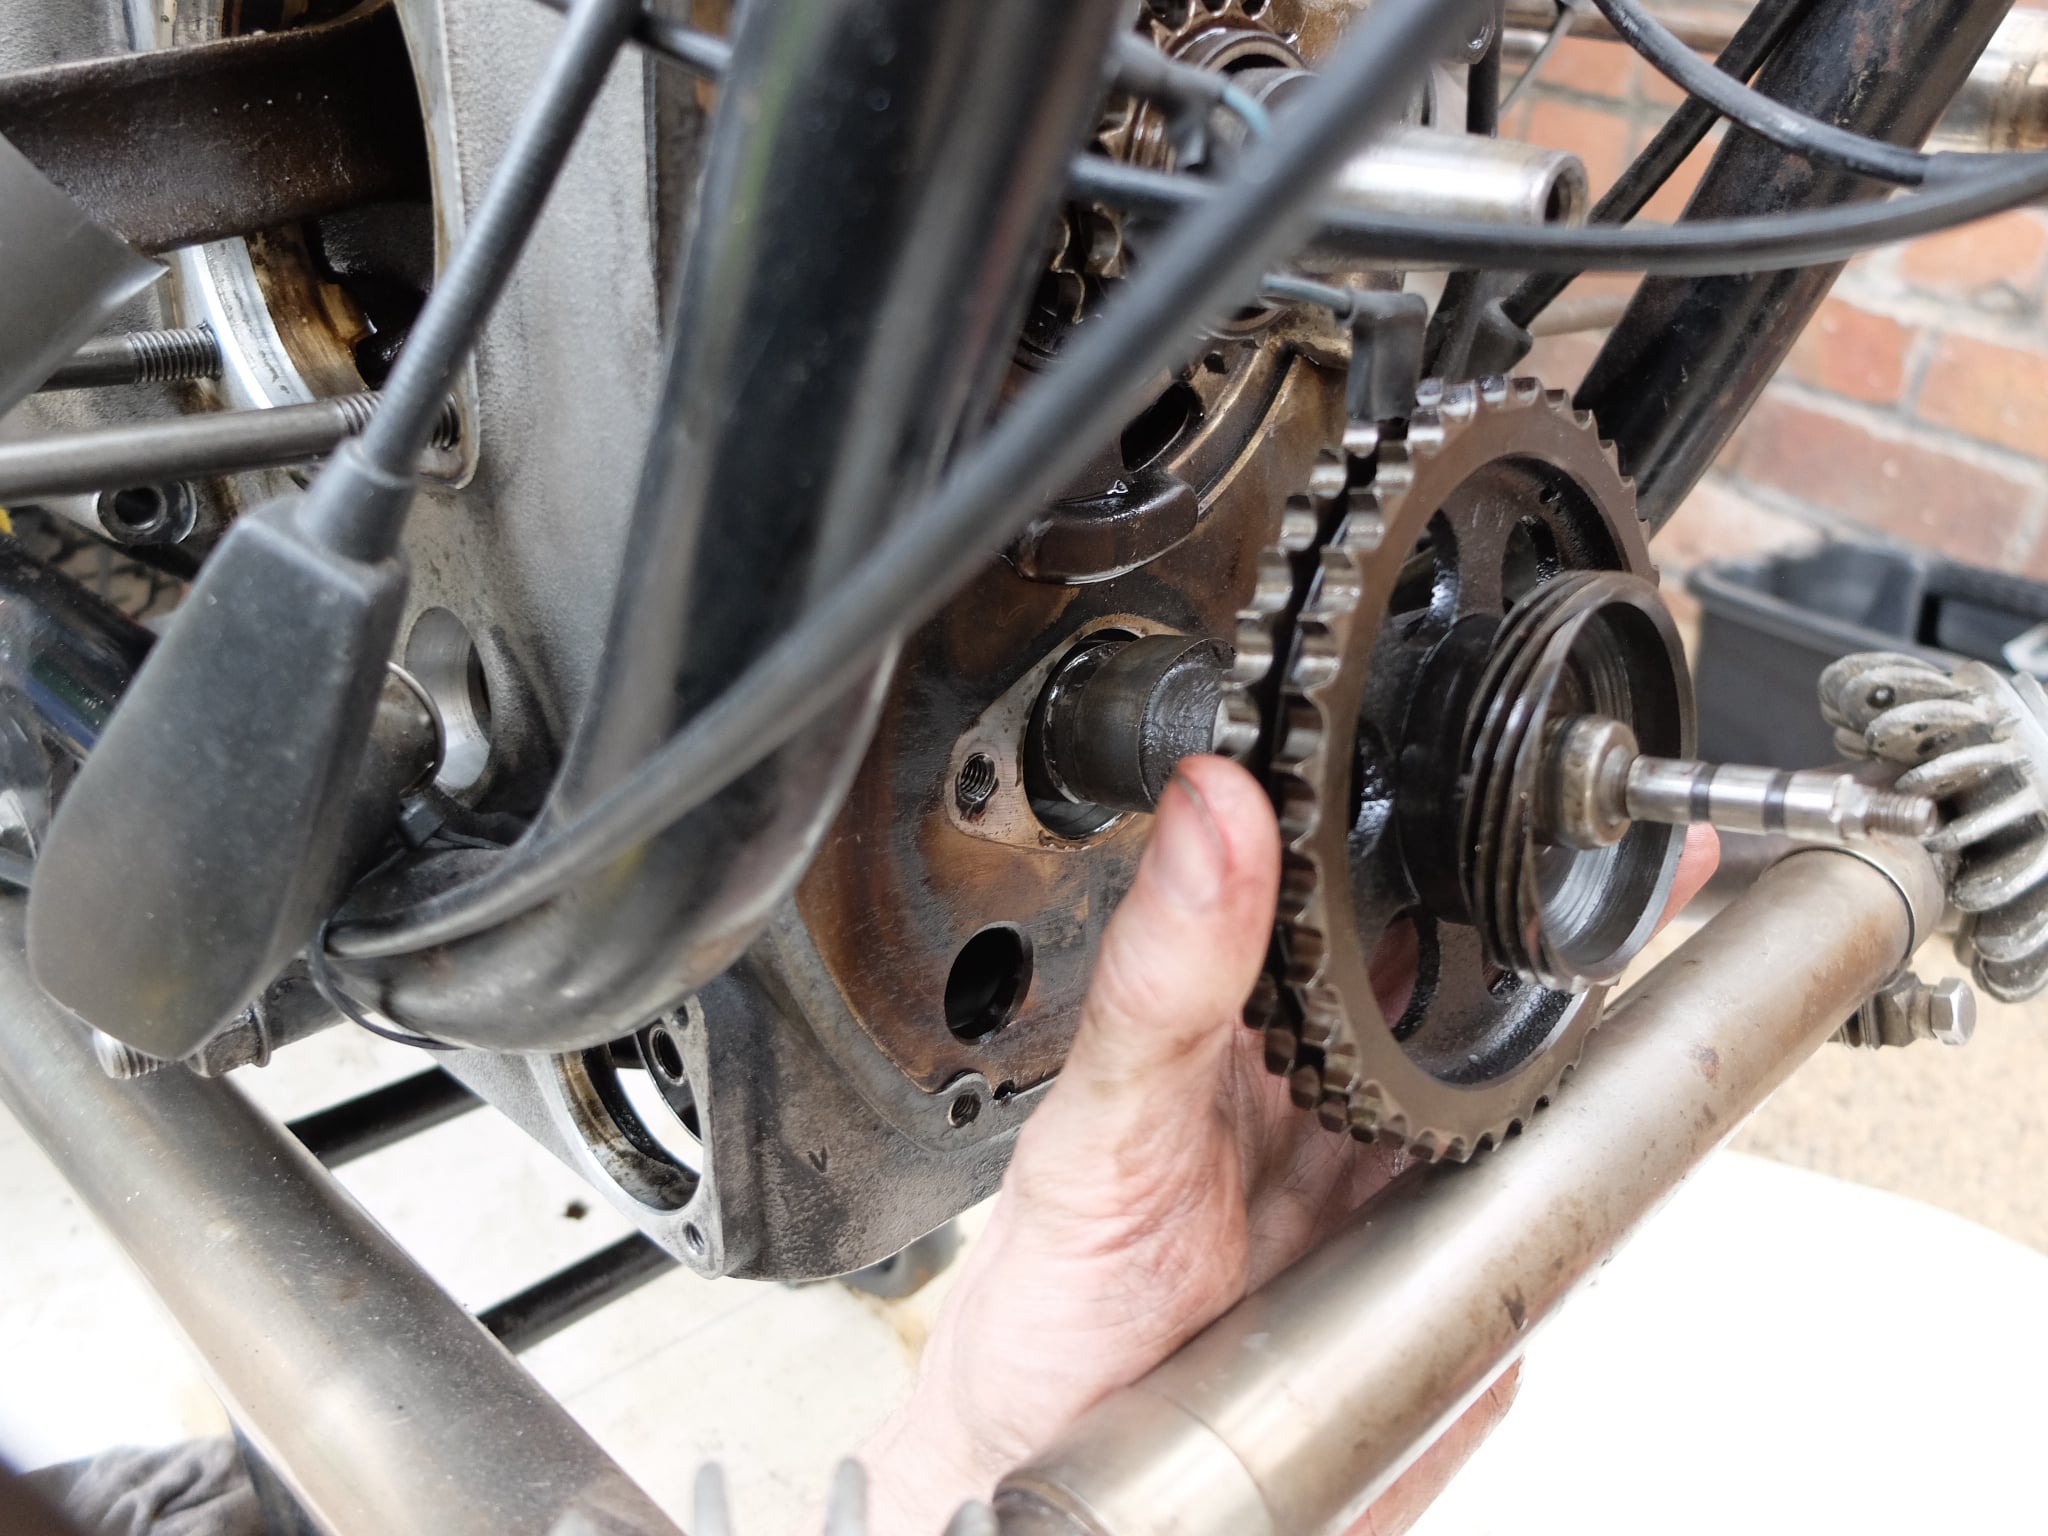
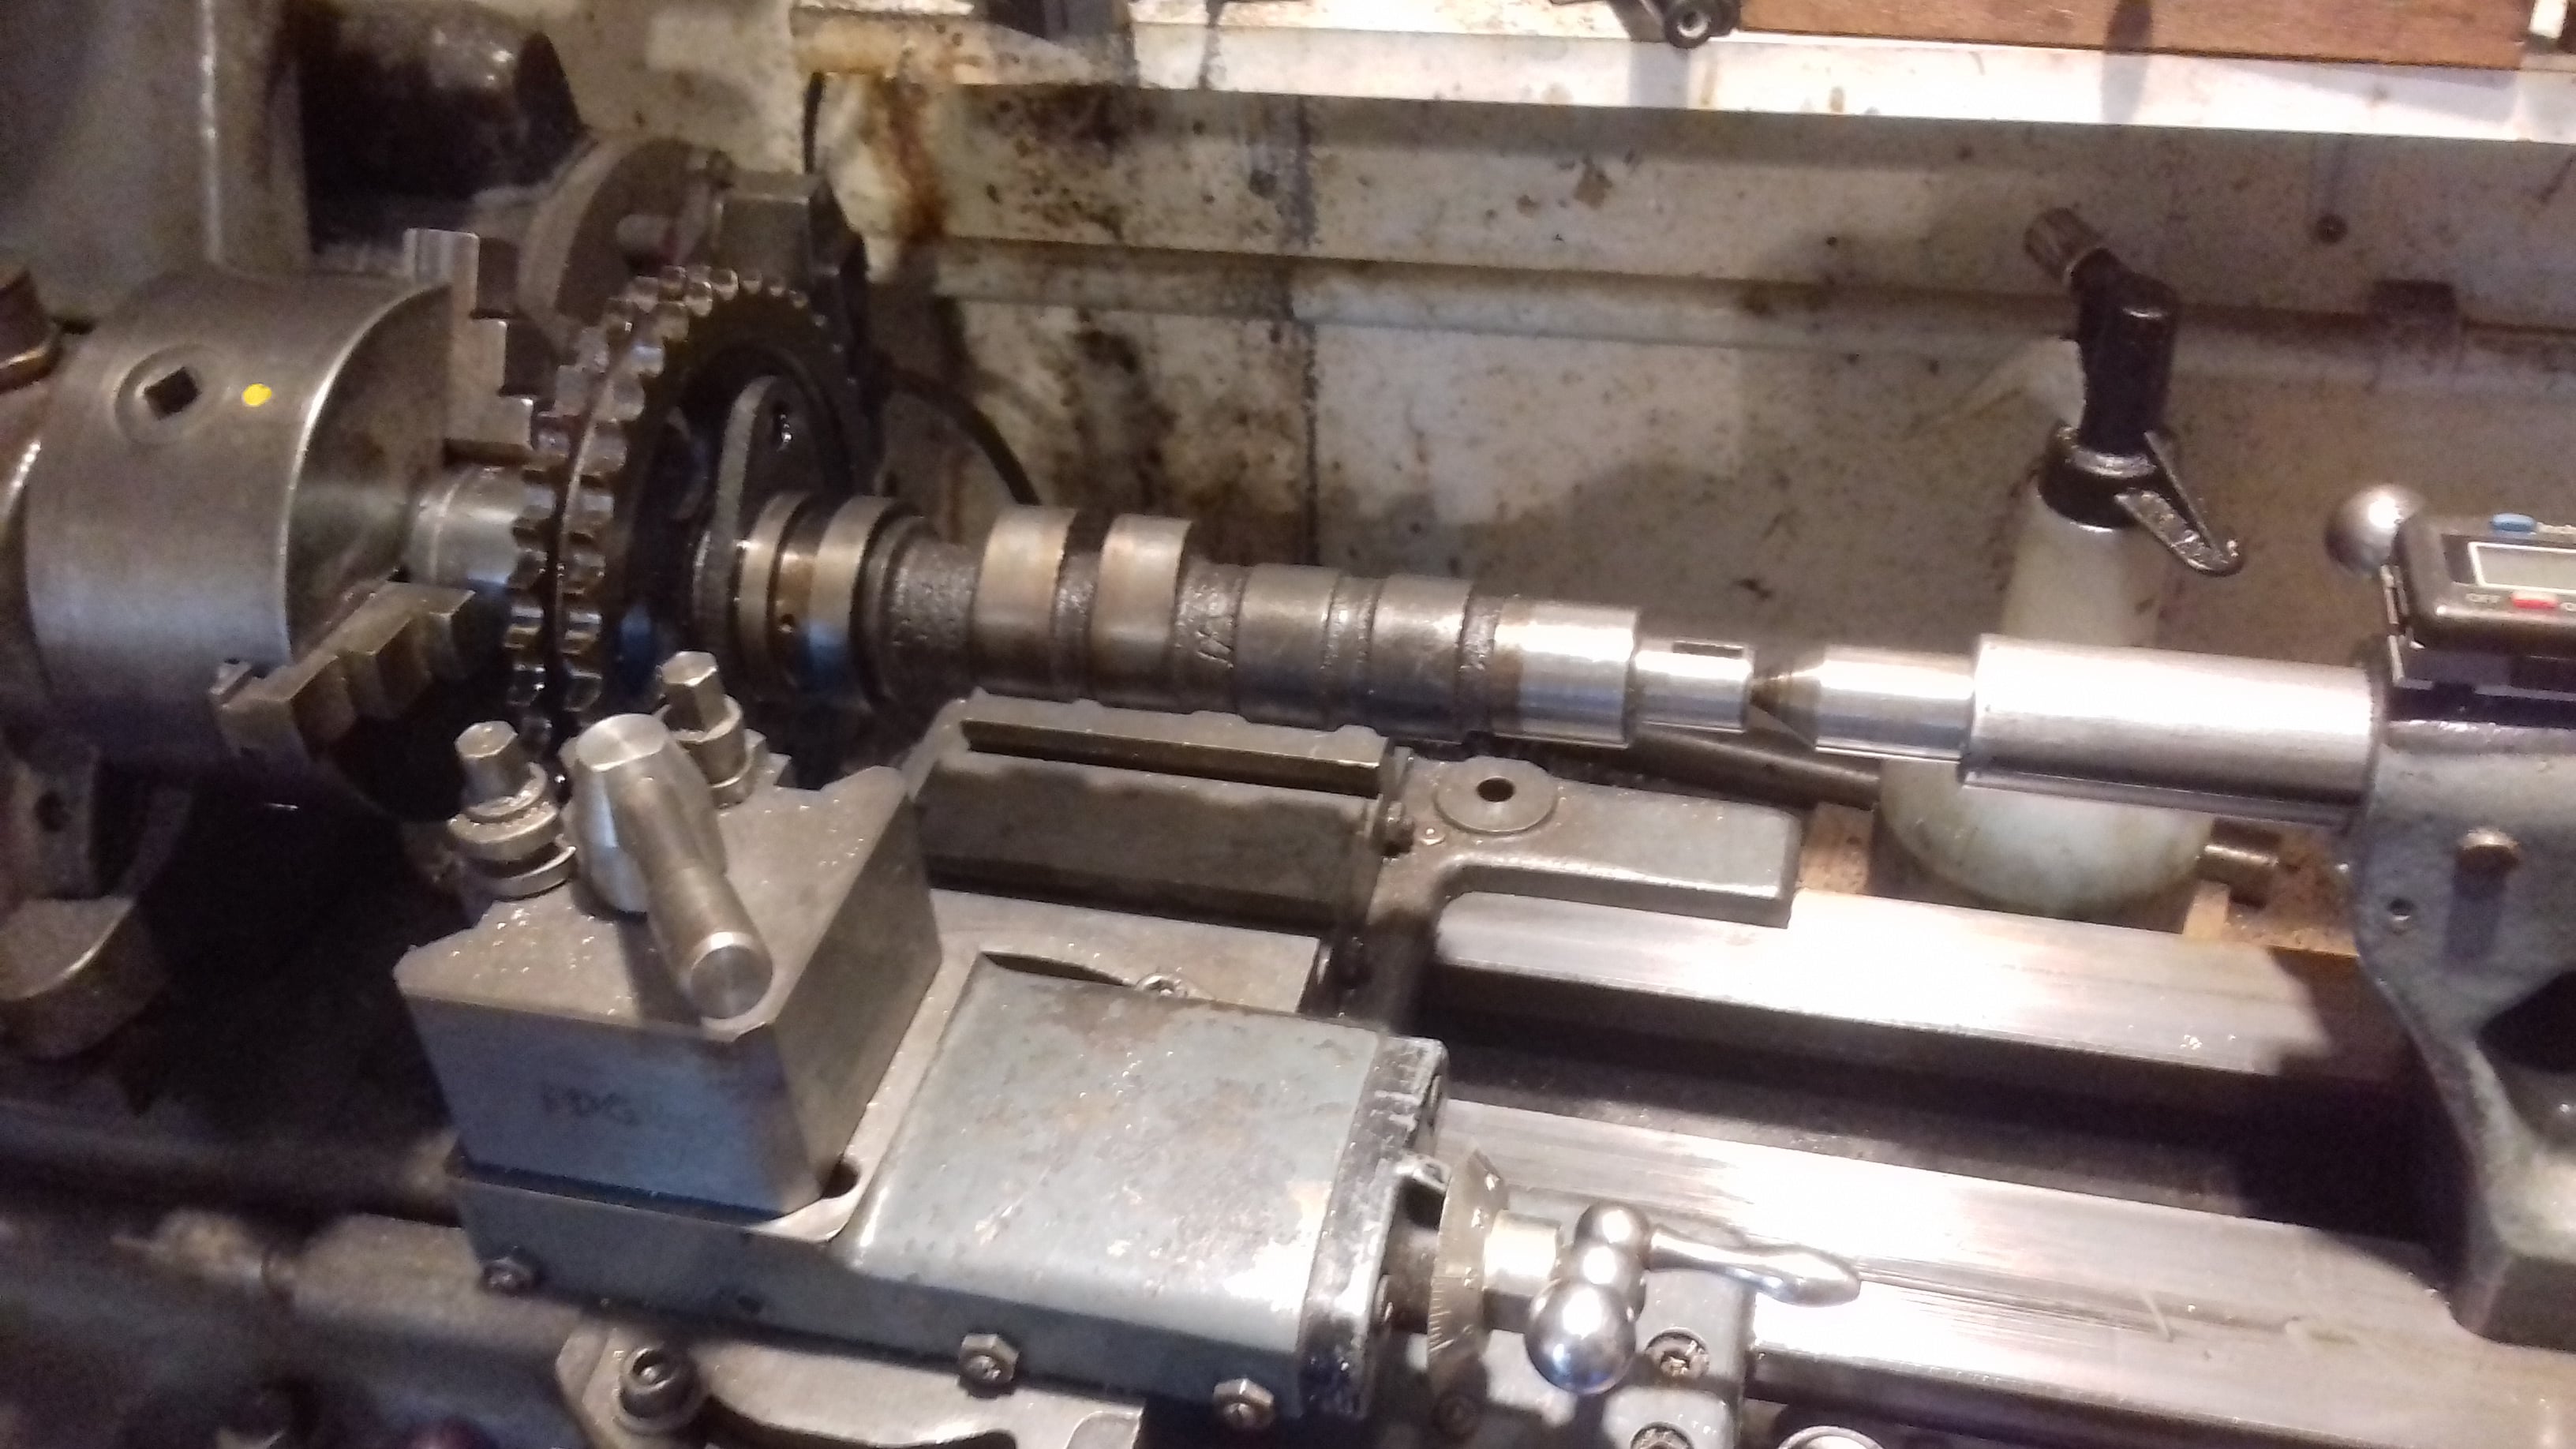
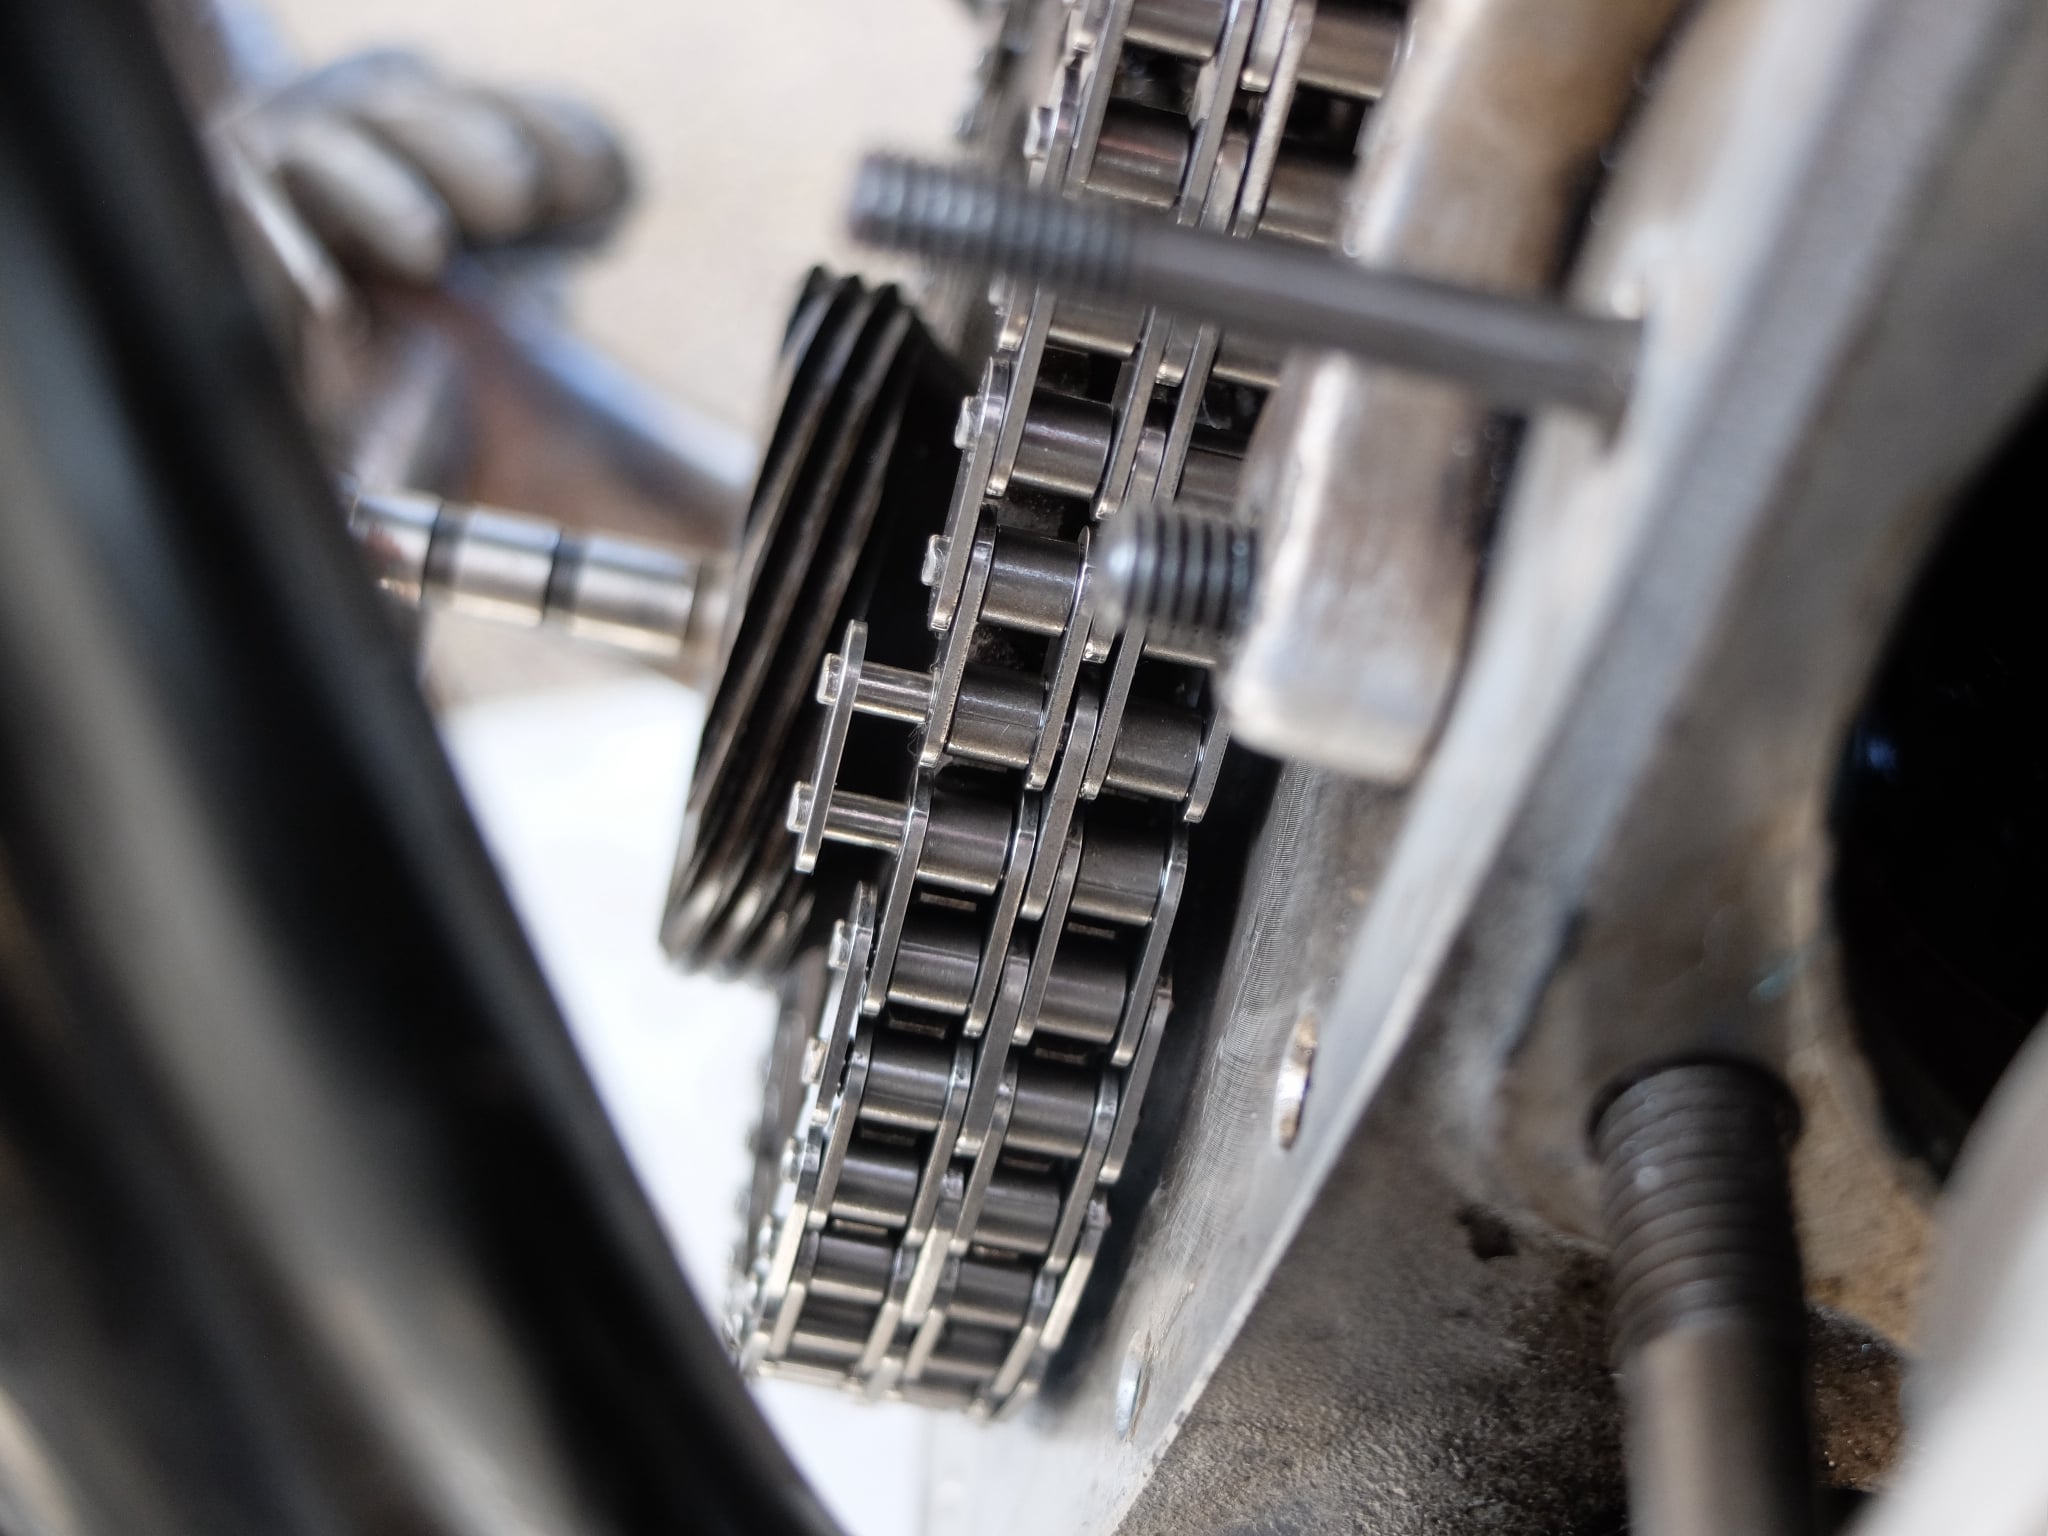
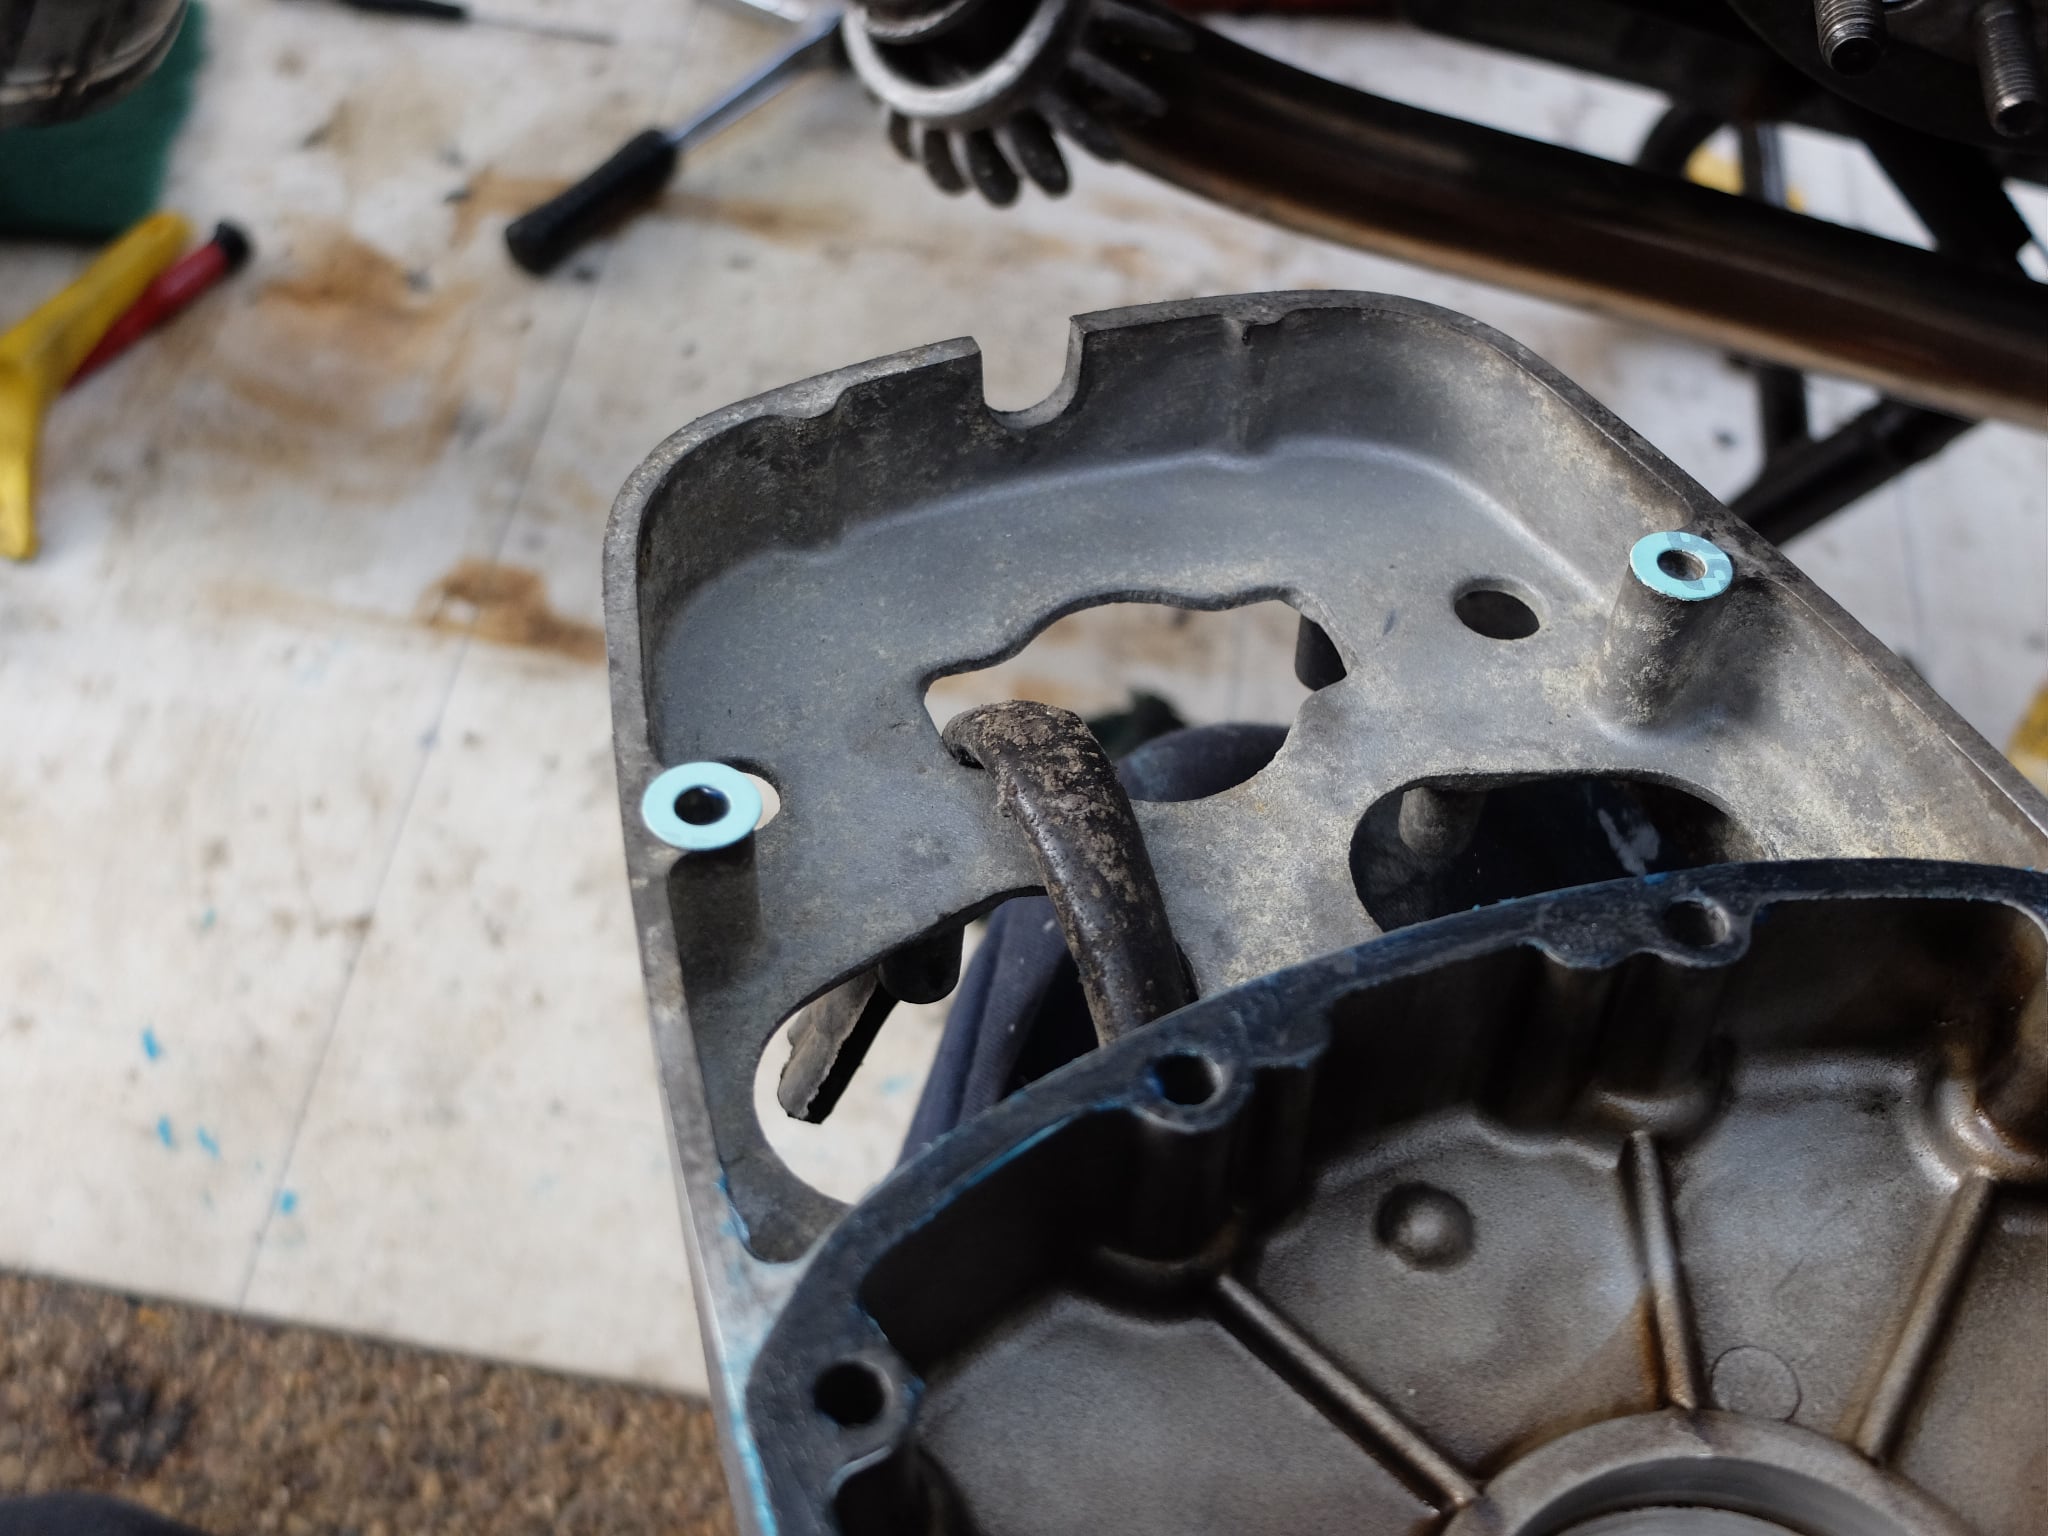
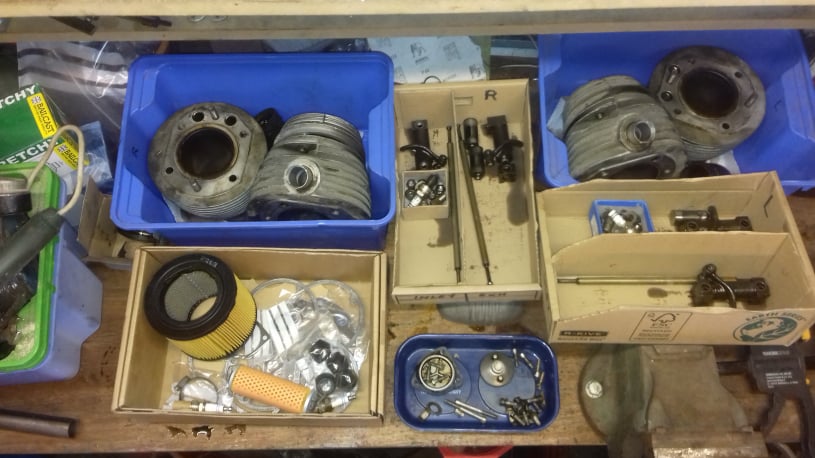
As part of an investigation into a gnarly tapping noise on the BMW, the camshaft was replaced along with the timing chain and cam followers.

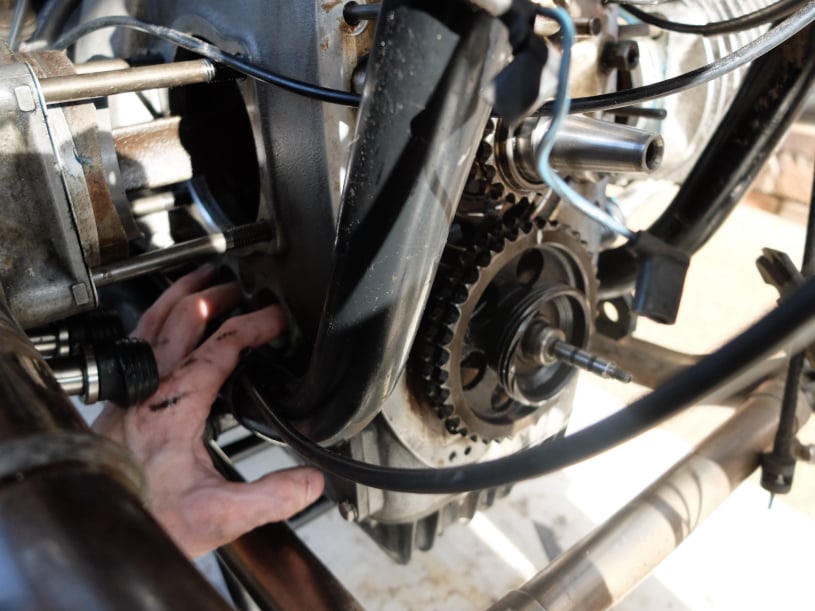
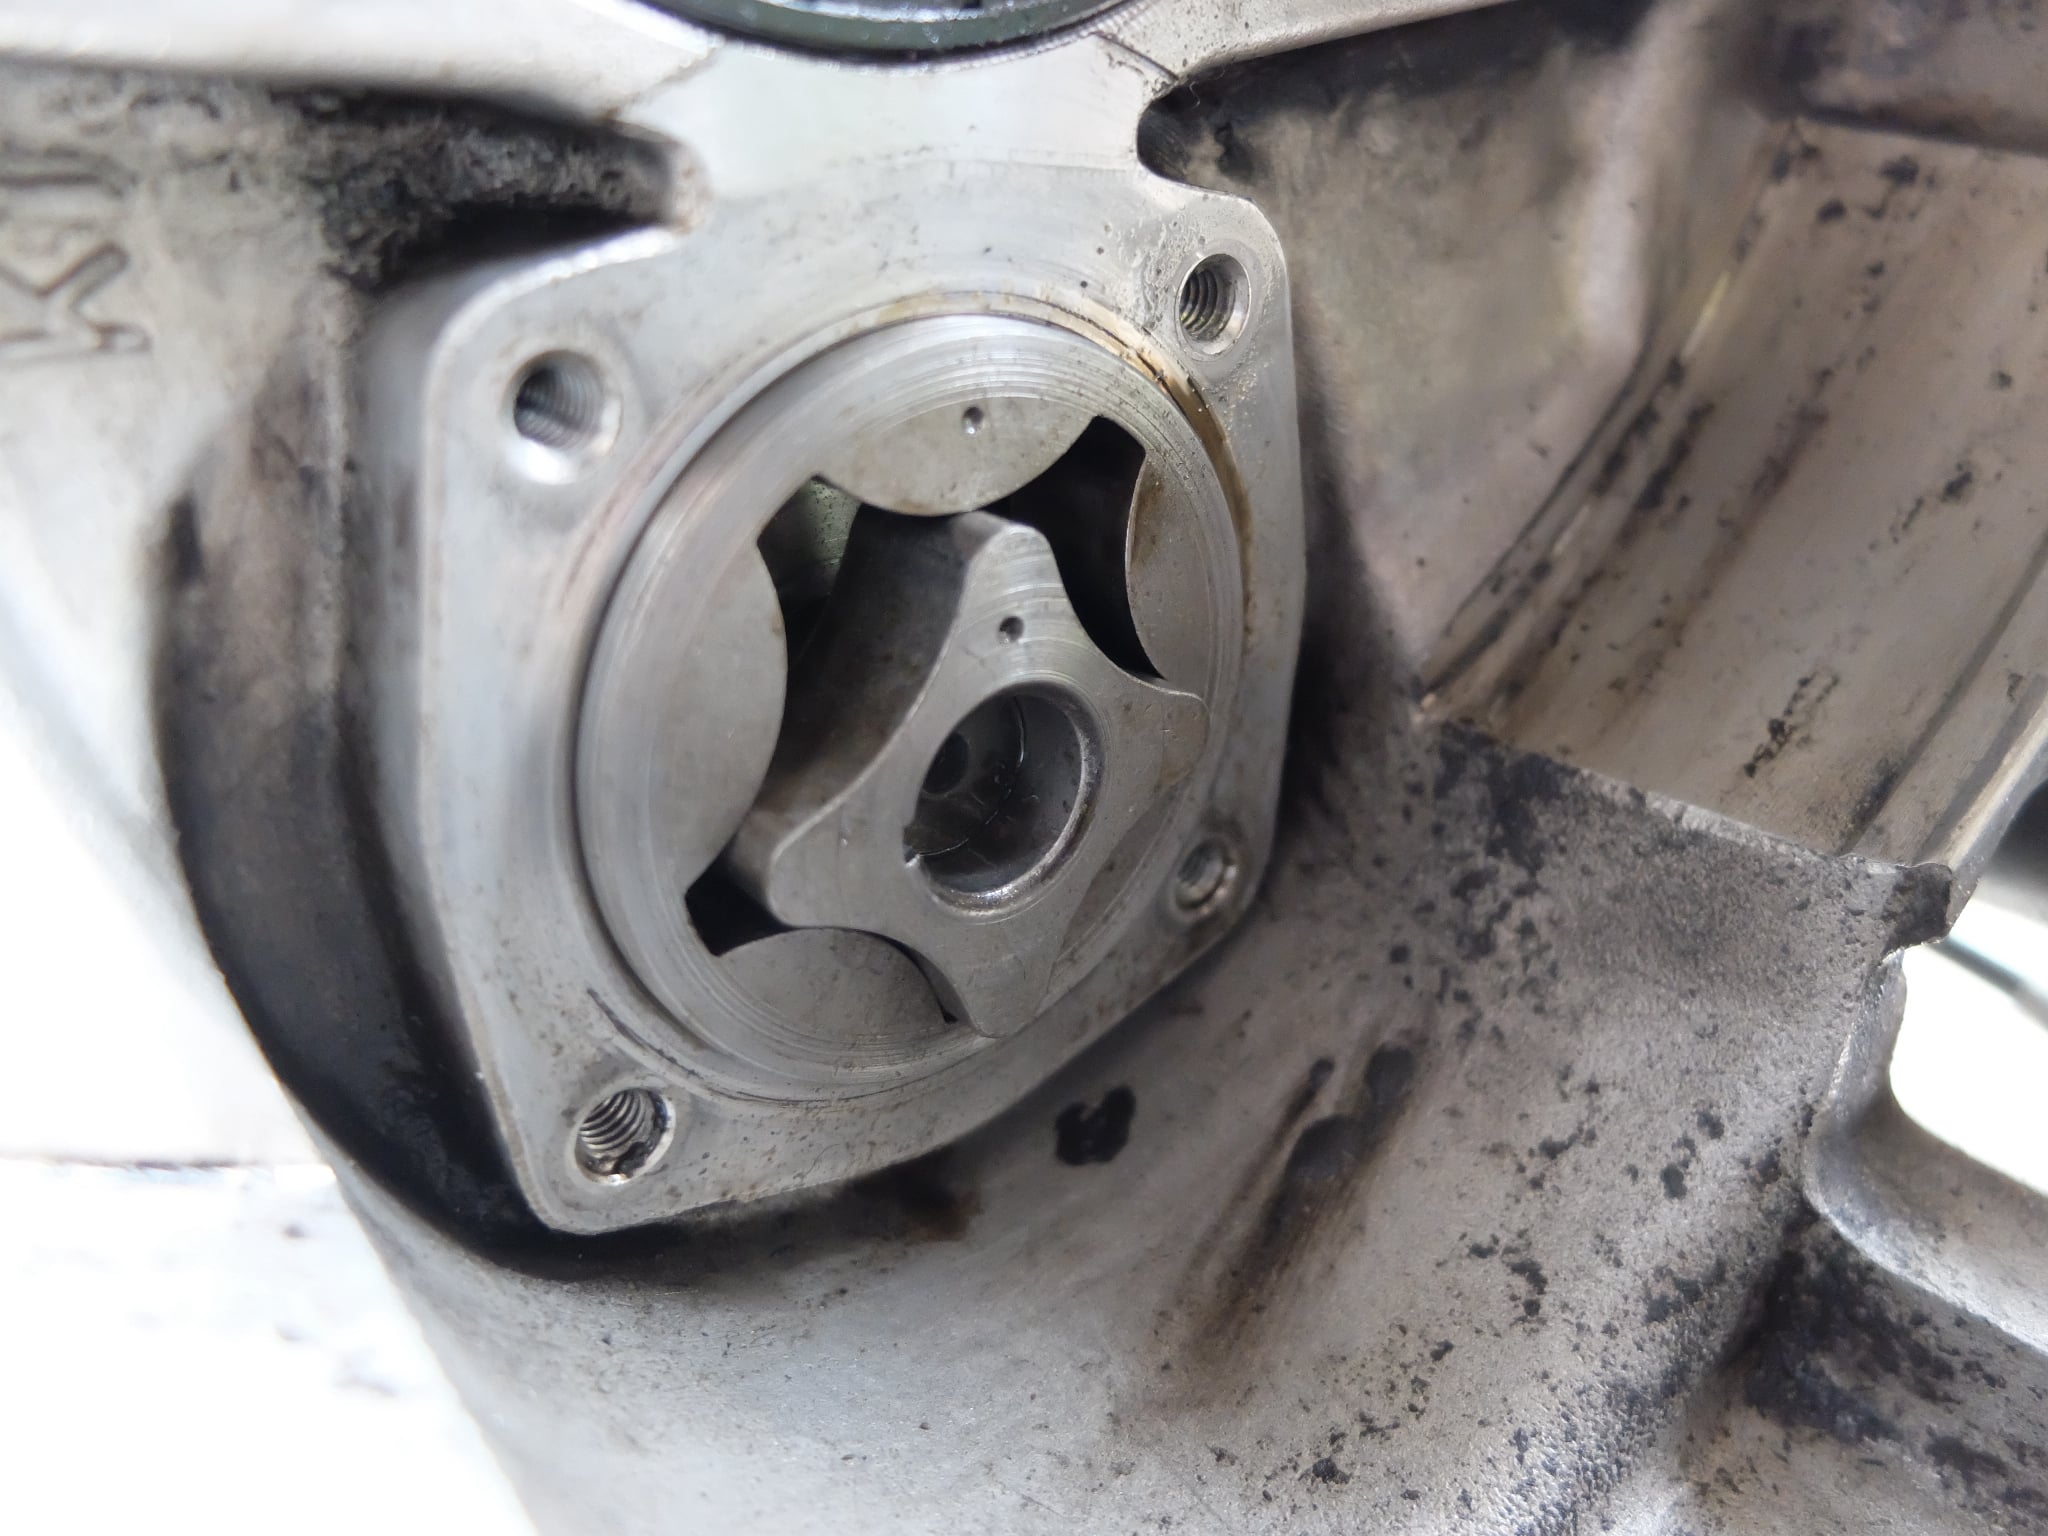
Due to debris found in the sump, the oil pump was checked for damage and the bores where checked too.
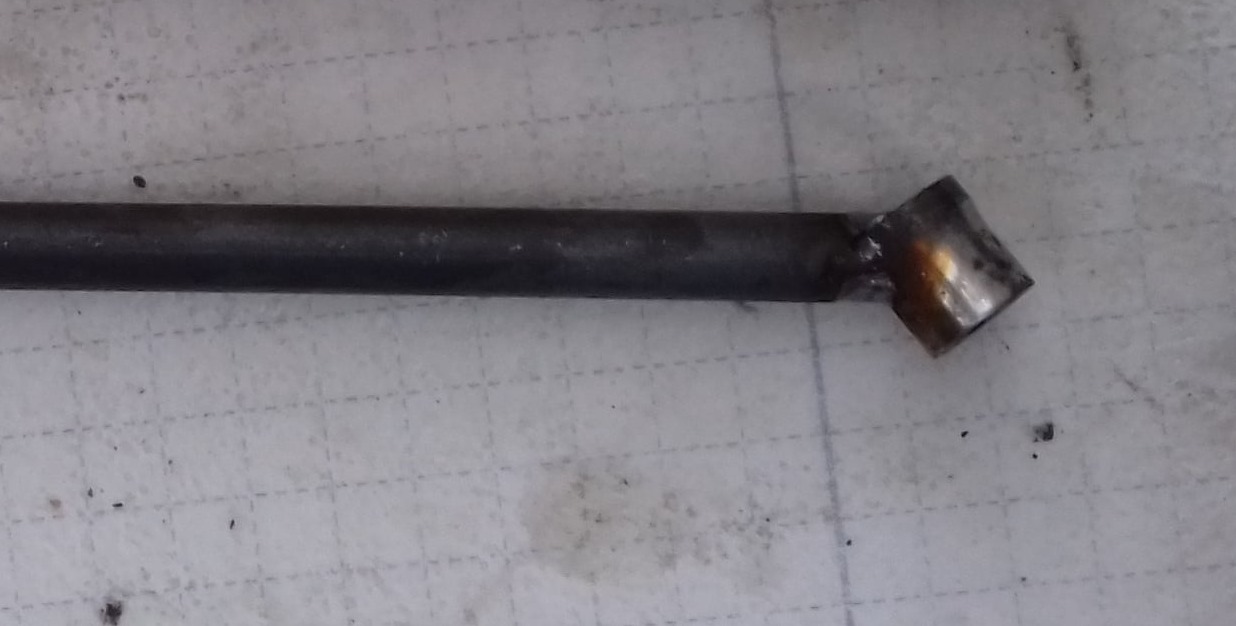
New valve guides were fitted too.

Mobirise Website Builder

First steps are the removal of the tank and seat and the disconnection of the battery. Next the front engine cover should be removed to reveal the alternator, diode board and points. The points and advance weight mechanism need to be removed from the end of the camshaft.
A note being made of all the electrical connections.

Mobirise Website Builder

The diode board should be disconnected and unscrewed from the engine block, taking a note of the connections. 

Mobirise Website Builder

The alternator brush springs can be lifted away from the brushes with a flat bladed screwdriver....

Mobirise Website Builder

...and the alternator body removed.

Mobirise Website Builder

To remove the armature of the alternator a special 8mm bolt was used to extract it from the tapered shaft. First the centre bolt is removed then the special bolt was screwed in to lift the armature off the tapered shaft. A normal bolt may give problems here; if the end swages during the extraction, then you can't take it out again! If a homemade tool is used it should be heated to red hot and quenched at the end to prevent this.

Mobirise Website Builder

The timing chain cover can now be removed to reveal the timing chain and tensioner mechanism.
Original timing chains had no split link and removal requires simultaneous extraction of both sprockets from the shafts.
In this rebuild it was decided to replace the timing chain with a later split-link type allowing this one to be cut off - an easier option.

The nose bearing from behind the alternator can be removed with a 2 legged puller although the ends of the puller may have to be ground down, to fit between the bearing and the chain.

Then the chain was cut with a multi-tool.


Mobirise Website Builder

Before the camshaft can be extracted the cam followers were removed.

To access these, you can just extract the cylinder part-way out, thereby removing the need to re-compress the piston rings.
However on this job the cylinders were fully removed to check on the condition of the bores.

To enable the cylinders to be removed the rocker covers, rocker assemblies and push rods would have to be extracted.

Mobirise Website Builder

Inspection showed that the cam followers were in a bad way.

Mobirise Website Builder

Wear was evident on the cam too 😥.

Mobirise Website Builder

Cylinder bore condition was healthy.

Mobirise Website Builder

On early BMW's like the R60 the oil pump at the back of the camshaft is driven with a woodruff key.
It is therefore necessary to remove the oil pump and the woodruff key itself, to allow the camshaft to be extracted out the front of the engine.
To access the oil pump the gearbox and clutch and flywheel had to be removed.

Mobirise Website Builder

To remove the camshaft, a tool was made up to access the two partly hidden bolts behind the timing sprocket.
The tool was an old socket, cut down and welded to a piece of 10mm bar.

Mobirise Website Builder

Extracting the camshaft.
A good secondhand camshaft was provided by Motorworks in the UK. Also new cam followers and a duplex timing chain.

Mobirise Website Builder

The sprocket was extracted from the old camshaft using a three legged puller 
Then the sprocket was pushed back onto a new camshaft using the lathe tail stock as a press to keep everything square.
Float of the bearing housing was checked to be within 0.08mm -> 0.12mm using feeler gauges.

Mobirise Website Builder

The oil pump parts were inspected and found to be acceptable.
During re-assembly the dots on the oil pump parts should be placed facing the flywheel / back of the bike.

Mobirise Website Builder

The new timing chain needs to be  wrapped round the gears and joined with the split link.

Mobirise Website Builder

The circlips for the split link can be pushed on using a magnetised screwdriver and a  lot of patience 😐.

Mobirise Website Builder

The timing chain cover can now be replaced with a new gasket including some spacer washers made out of gasket material for the top two screws to keep everything in line.

Mobirise Website Builder

On this job, the cylinder heads were sent away to have new valve guides and hardened valve seats fitted. 
Although the piston bores were good, the piston rings were replaced noting the orientations shown in the sketch <-.

Of course a new oil filter and oil was used; and the sump gasket was renewed.

A note about fitting the advanced weights on the cam - only light torque should be used on the securing nut, to avoid bending the nose of the cam which is easily done.

AI Website Maker