Details for Replacing the Water Pump on a Saab V4
A small water pump leak meant replacement was needed.
A small water pump leak meant replacement was needed.
The bonnet was removed by pulling the 'R' clips on each hinge and unplugging the washer pipe.
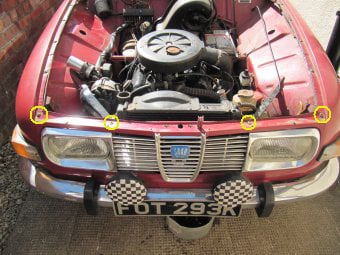
The front panel was removed by undoing the four screws shown on the right.
The bonnet release cable was disconnected and the headlights unplugged.
The coolant was drained by undoing the drain tap on the bottom of the radiator (11mm). The battery was also disconnected (13mm).
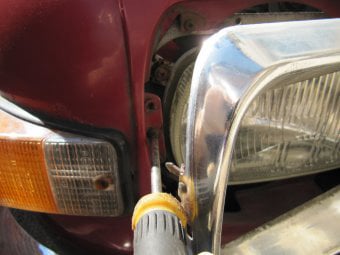
Older cars with the chrome grill have a clamp on each end which can be accessed behind the headlight trim. This can just be loosened and the clamp swung clear.
Newer cars with the plastic grill have a simpler self-tapping screw in place of this arrangement..
The radiator was removed by undoing top and bottom hoses and the two lower securing bolts (and on this car unplugging the electric fan). It was lifted clear with expansion tank in situ.
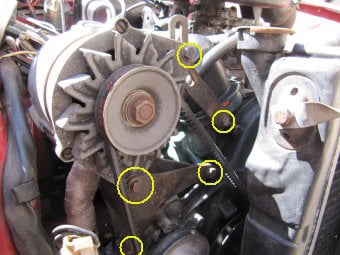
Next the alternator and mounting clamp were removed by undoing the 13mm bolts shown.
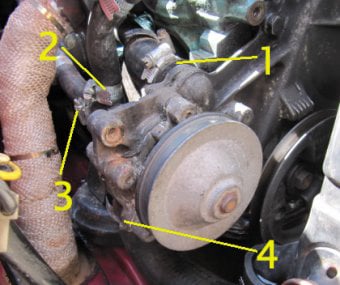
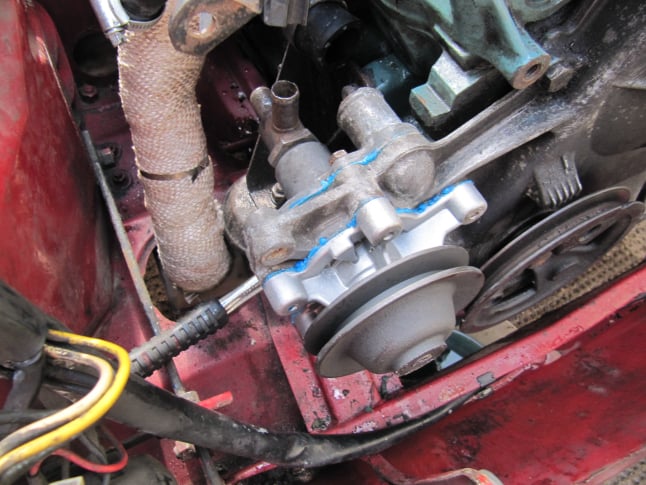
The four hoses on the back of the water pump were removed.
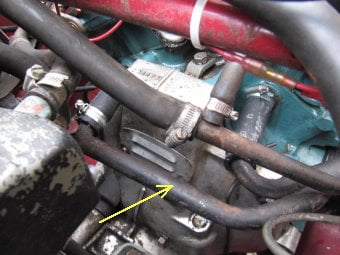
The top hose (1) is most easily removed by pulling back the whole pipe assembly which it is connected to (see arrowed part).
This involves undoing the two hoses on the back on the engine block and wrestling the whole thing clear.
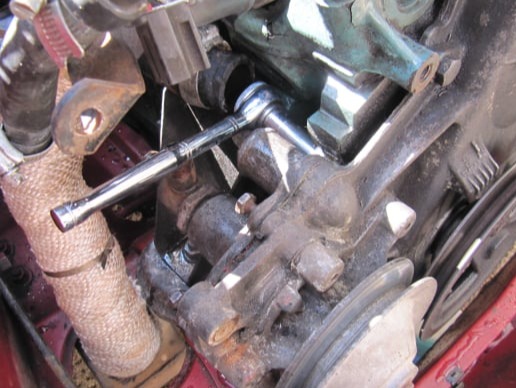
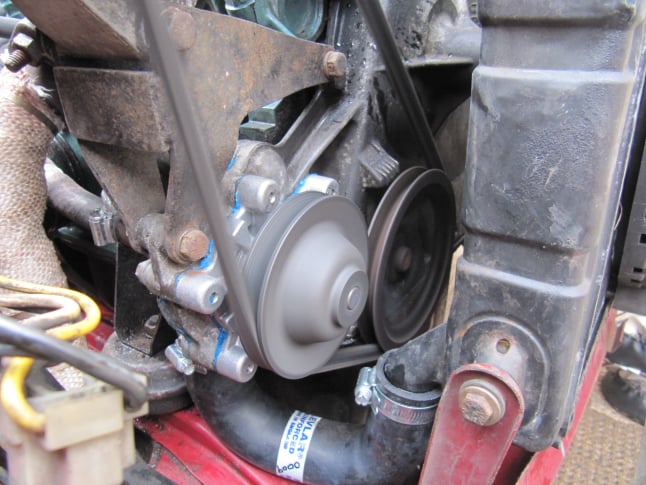
The pump and back plate are held in place by five bolts. These can be undone using a selection of 10mm sockets and spanners.
Majority of bolts were removed using a long 10mm series socket on a 1/4" drive wrench of the size shown.
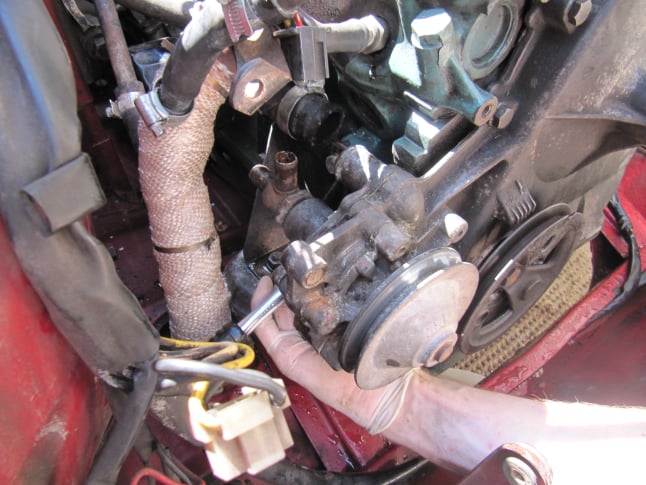
The lower bolt nearest the engine is more tricky to get at and required a different socket and wrench.
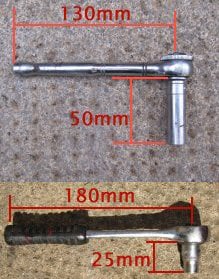
The tools used
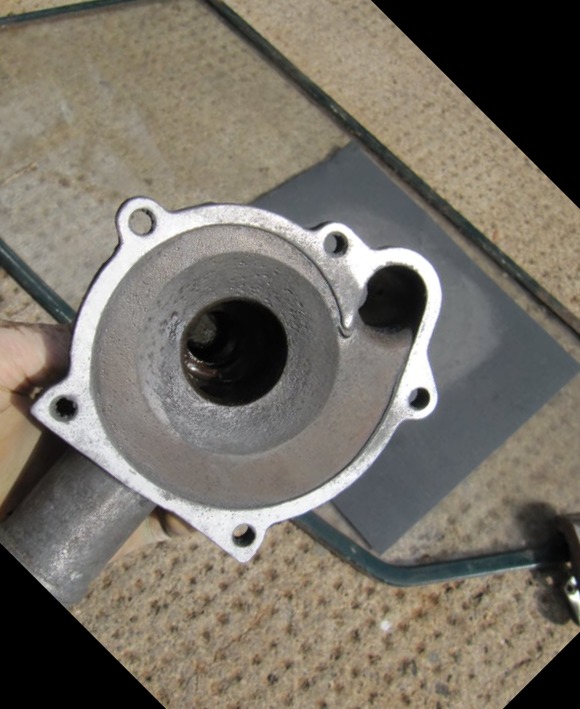
The rear plate of the pump was cleaned up using some wet and dry paper on a flat surface such as a piece of glass.
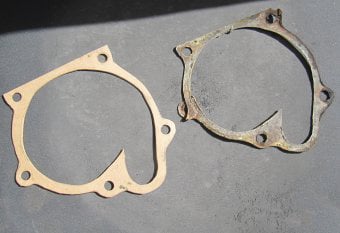
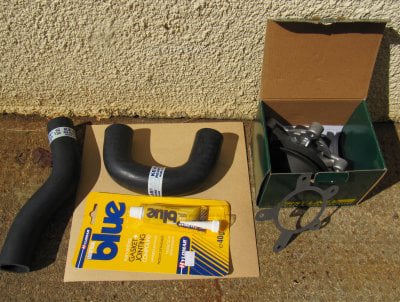
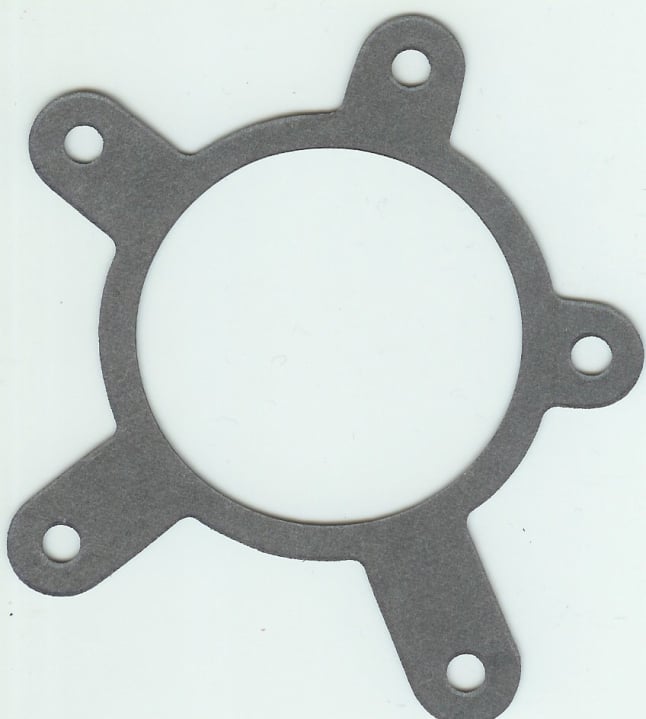
The water pump replacement part came with a new front gasket, but not a rear one.
A home-made one was cut from 0.75mm gasket paper, using the old gasket as a template.
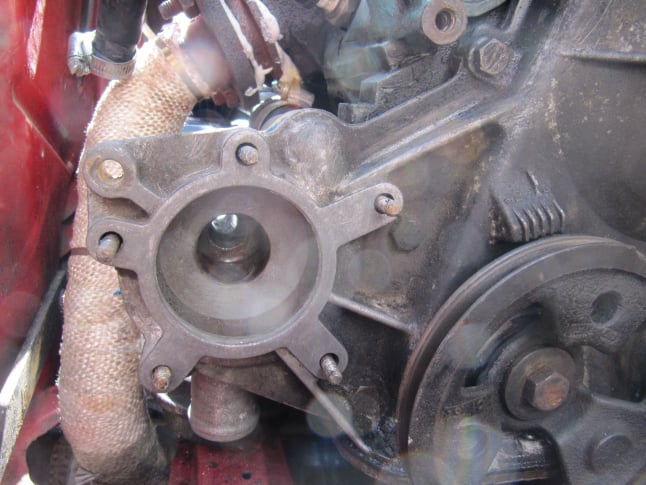
The pump mounting faces were also cleaned on the car using a plastic scraper and some Scotch-Brite cloth. This part is Aluminium so care has to be taken not to damage the surface.
The bolts were wire brushed to clean them up.
To re-assemble all the parts were located and bolts pushed through. A light bead of blue Hylomar jointing compound was used on both sides of both gaskets.
The bolts were smeared with a little Copper-Ease grease and then they were progressively tightened to pull things tight.
All the hoses were reconnected. A light smear of liquid soap made this much easier.
The top connection can be particularly tricky because it has to be pushed into place at the same time as the two rear hoses on the engine block.
The alternator was replaced and the radiator put back, taking care to use the short bolts so that they don't puncture the radiator side tanks. The engine and expansion tank were filled up with coolant and the engine started.
The engine was run up to normal operating temperature. With the heater set to hot, the system was bled using the screw (11mm) on the heater matrix and then topped up.
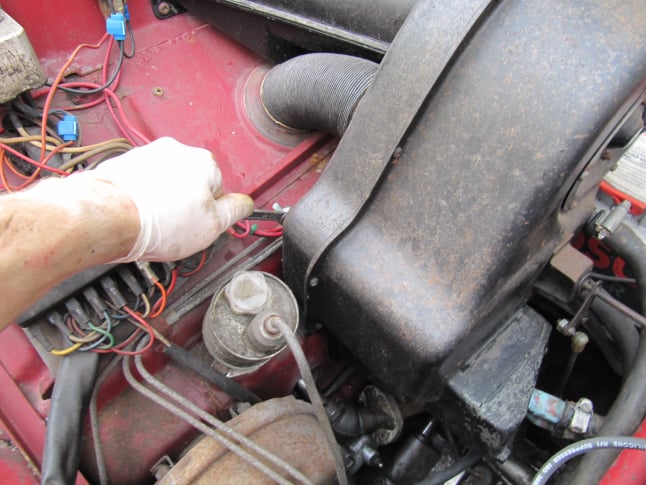
With the heater set to hot, the system was bled using the screw (11mm) on the heater matrix and then topped up.
Click this image for a full sized PDF of the front gasket to make your own.
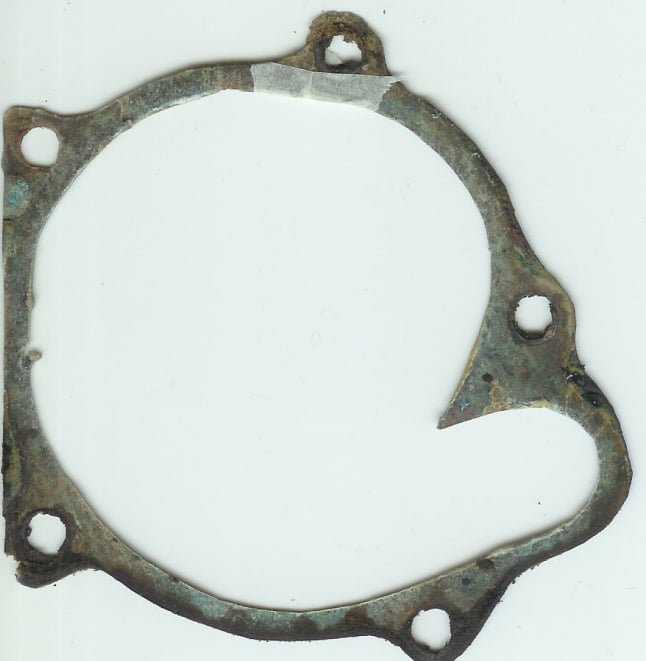
Click this image for a full sized PDF of the rear gasket to make your own.

Best AI Website Maker