Mobirise Website Builder

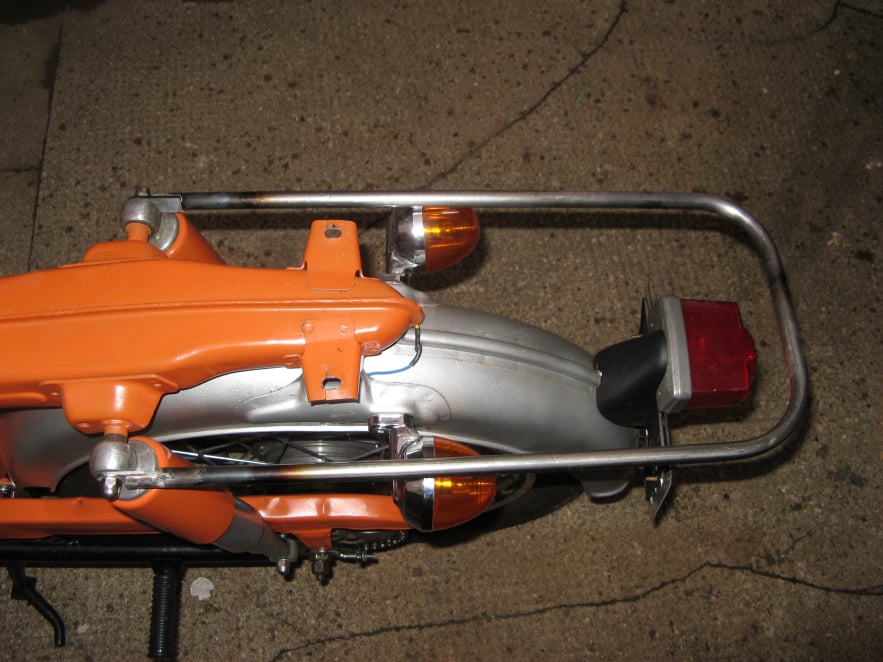
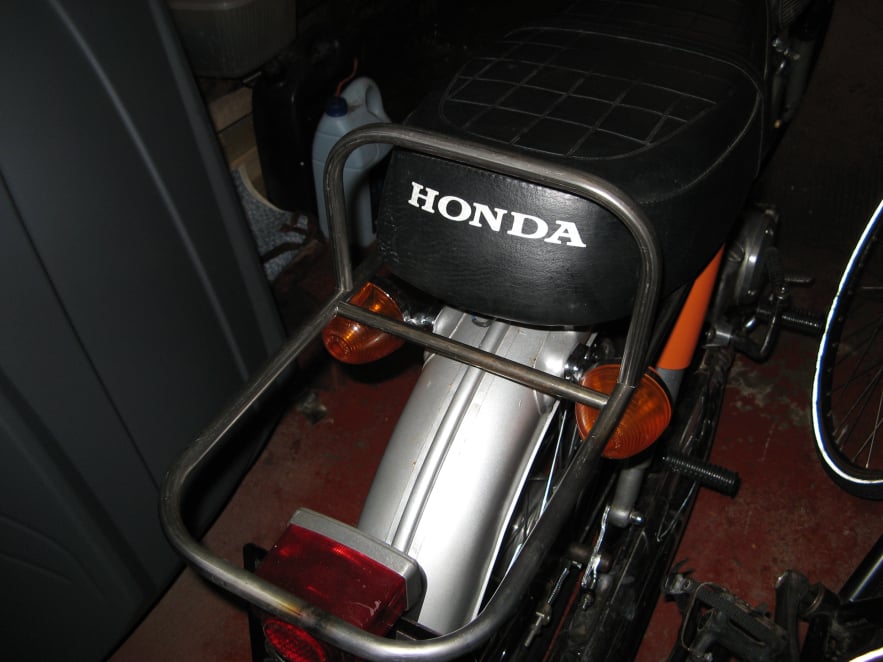
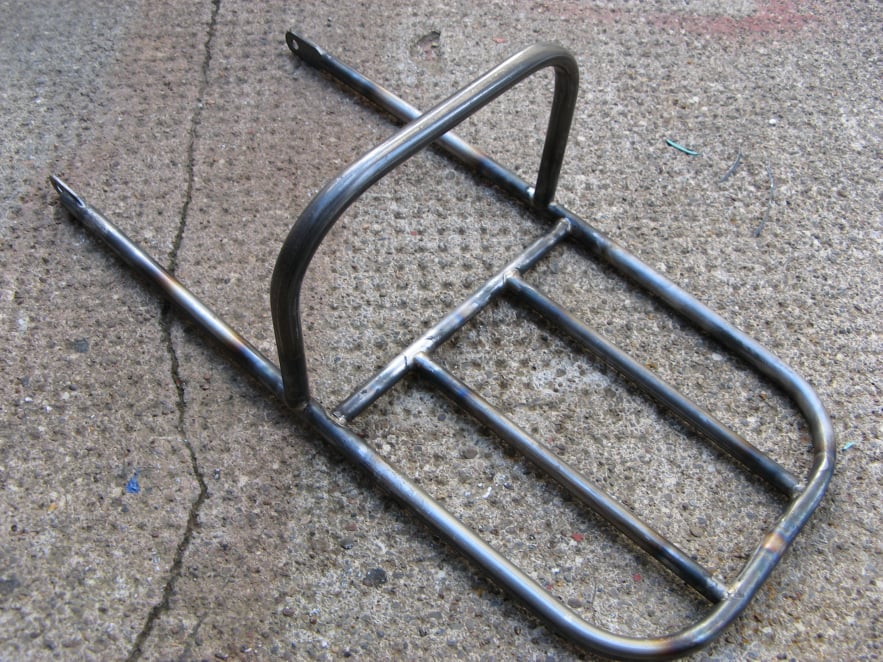
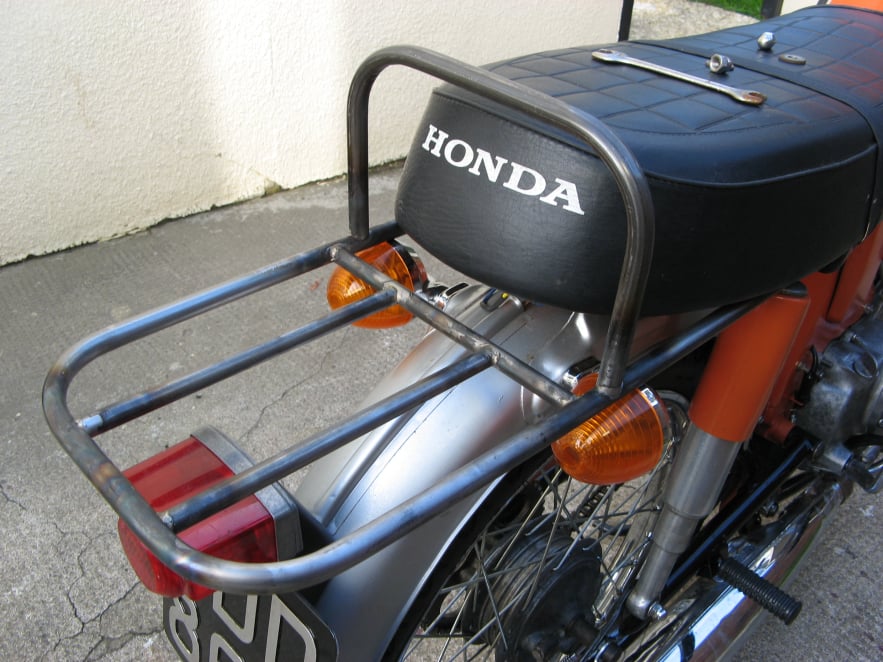
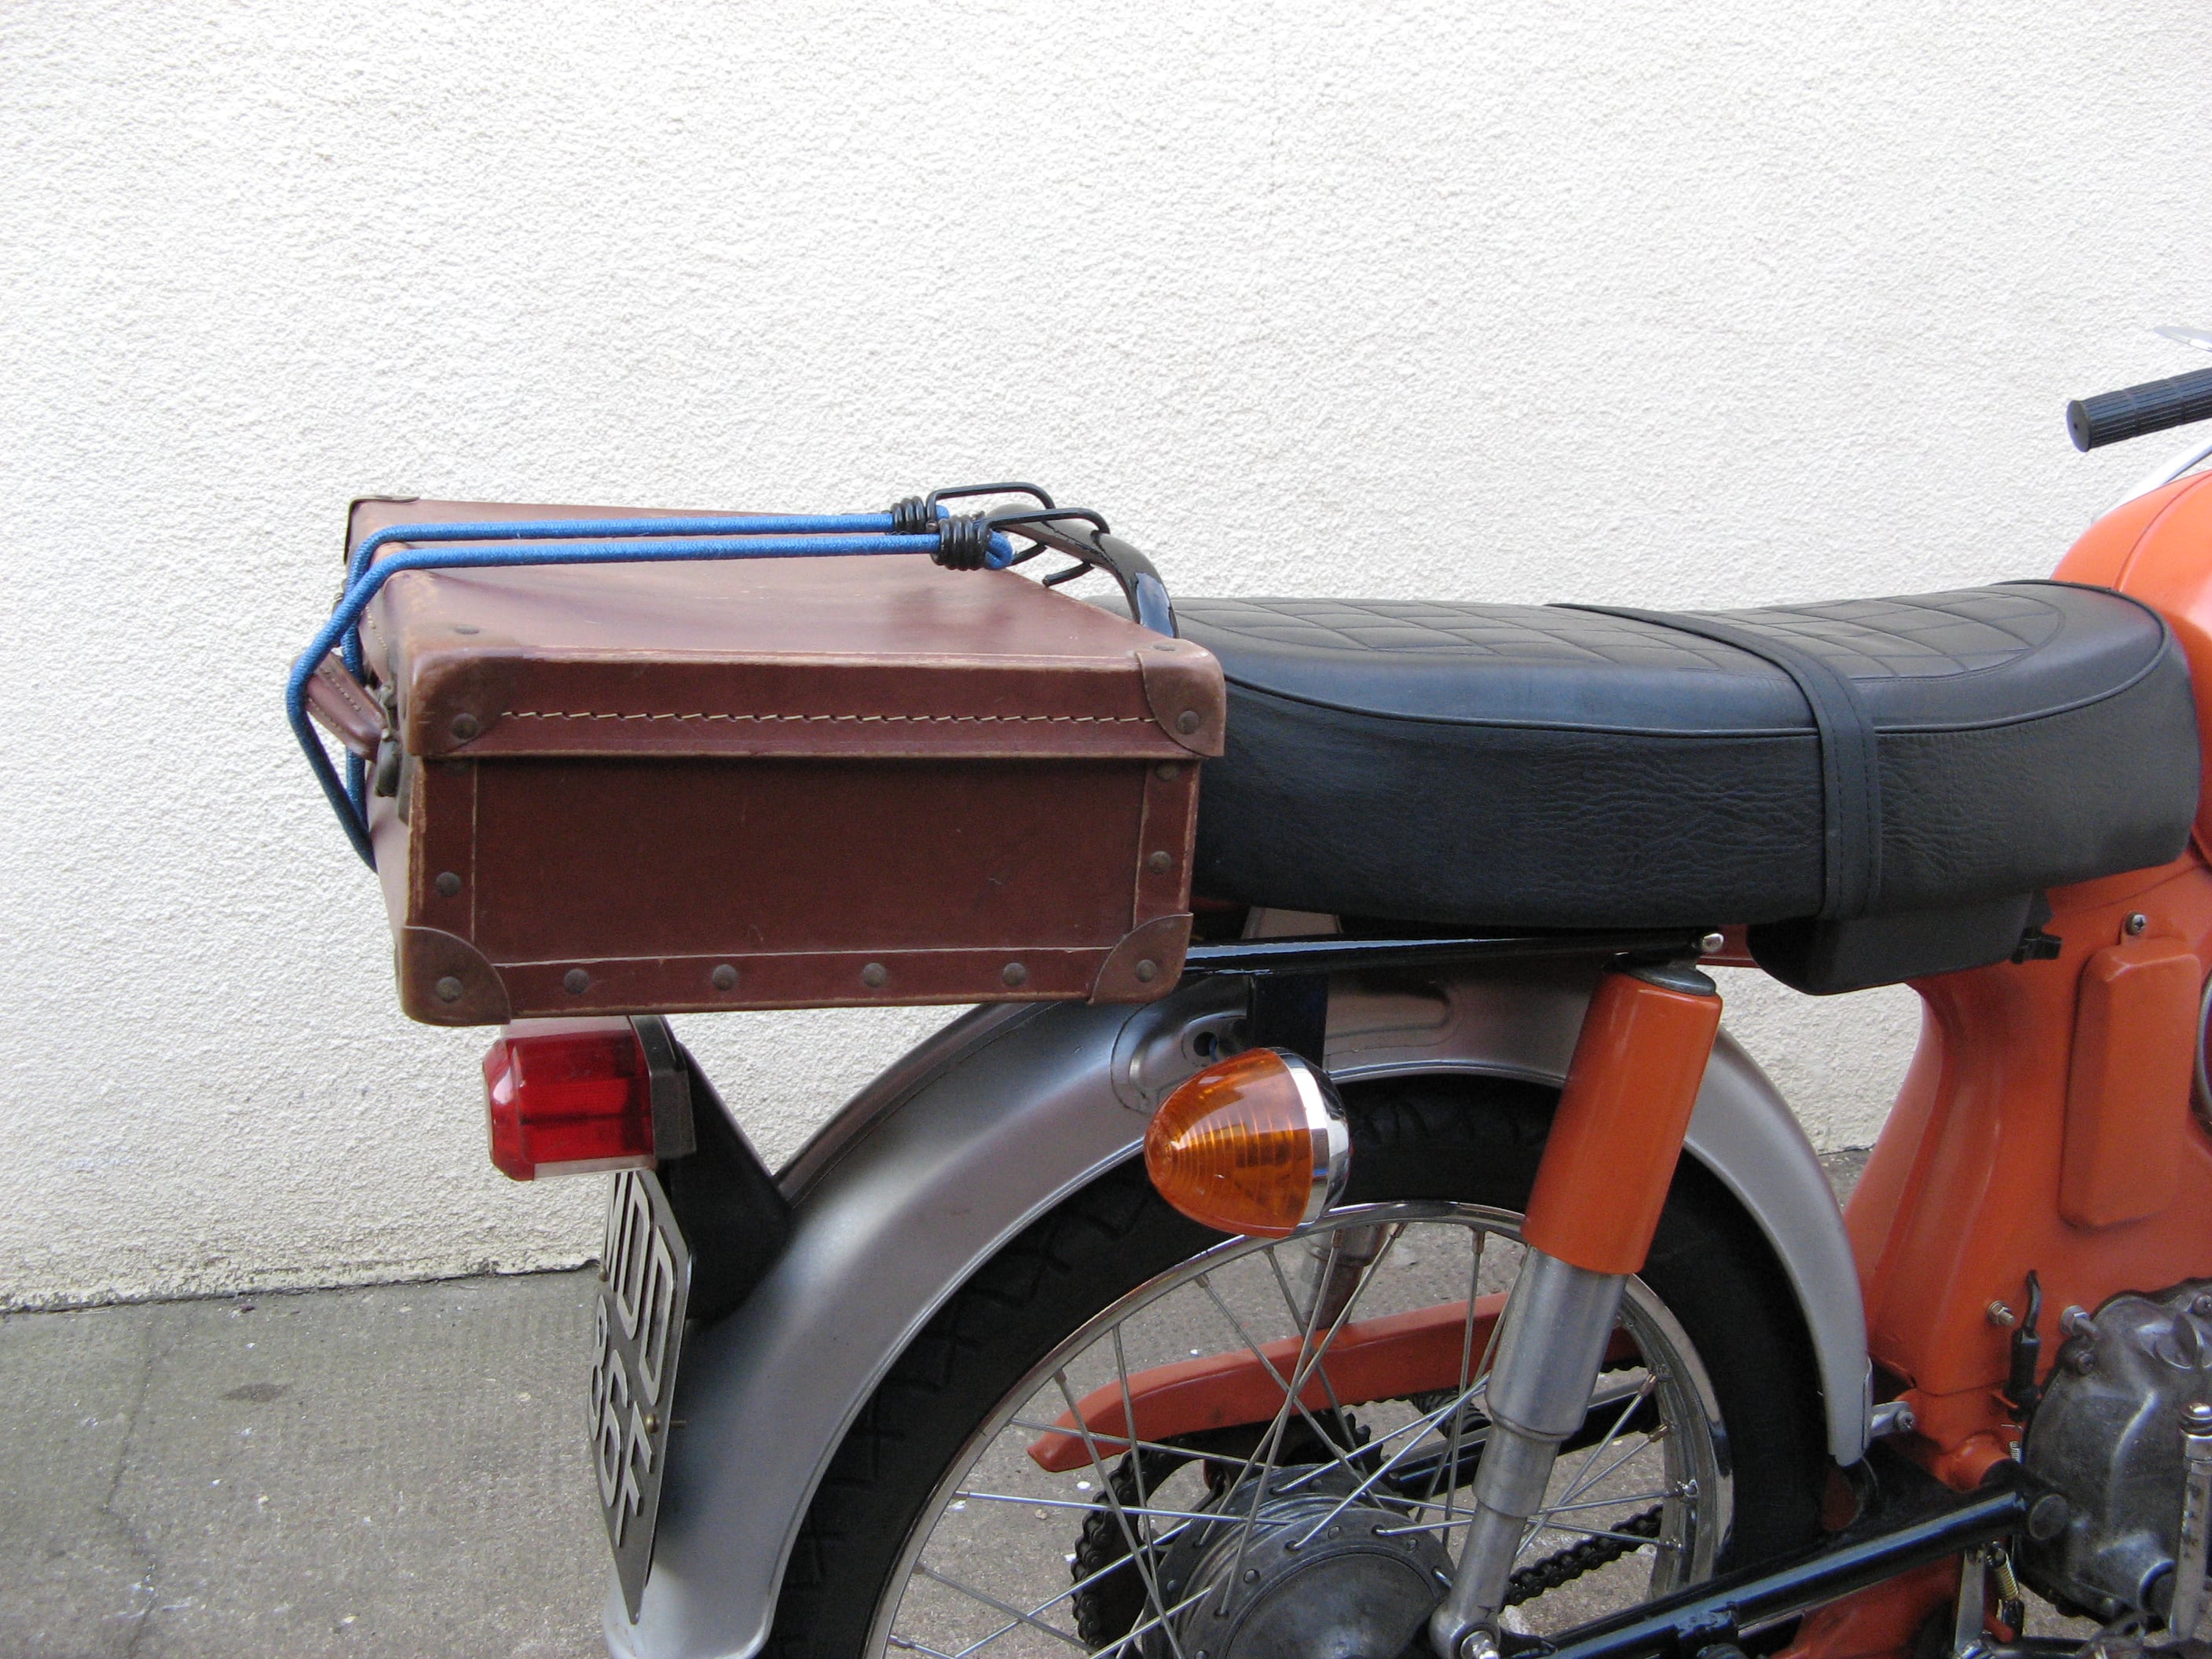
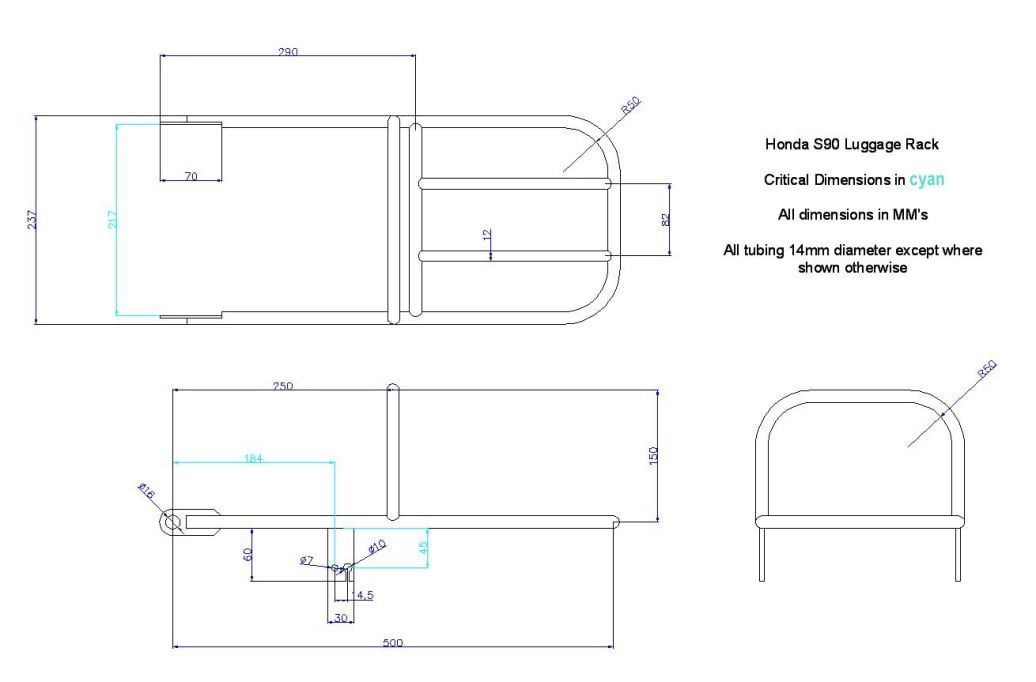
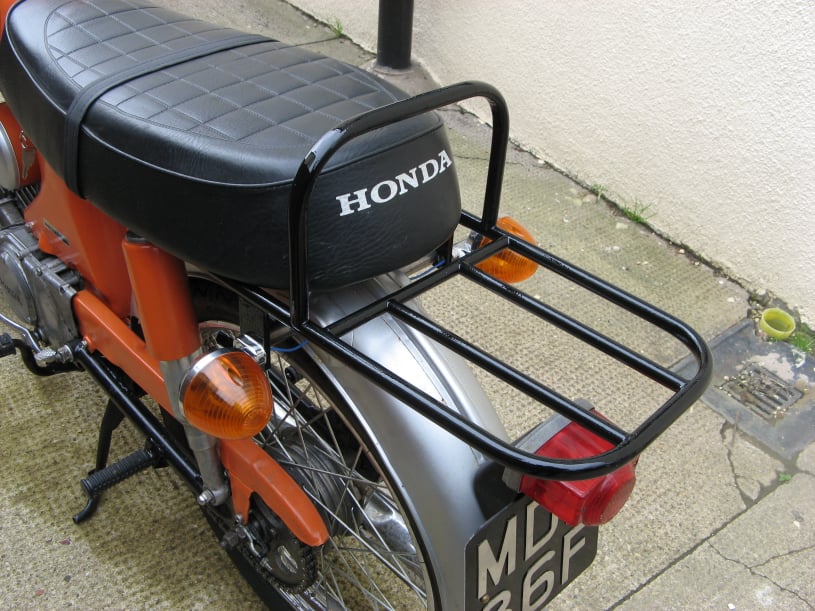
Making a luggage rack for the Honda S90

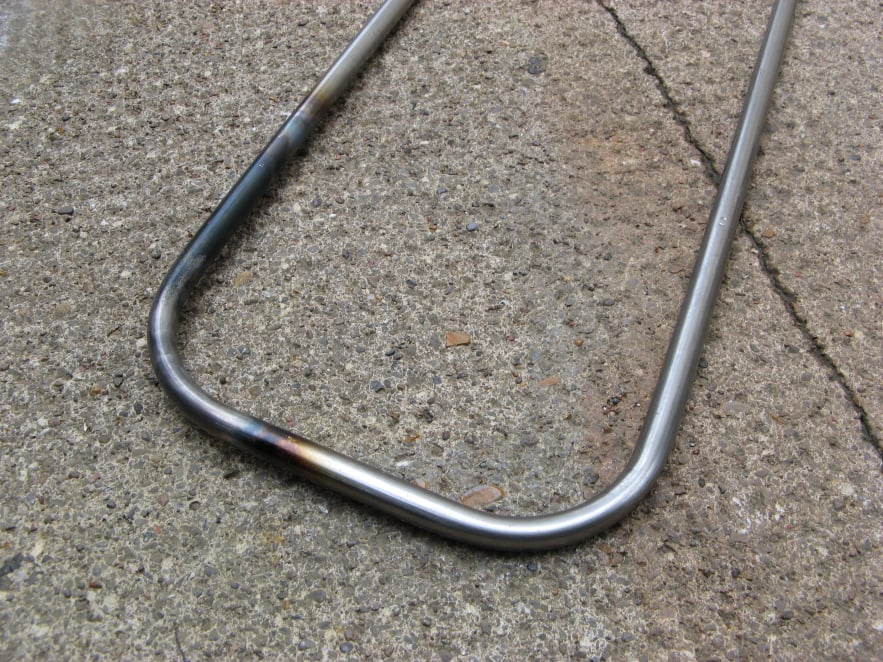
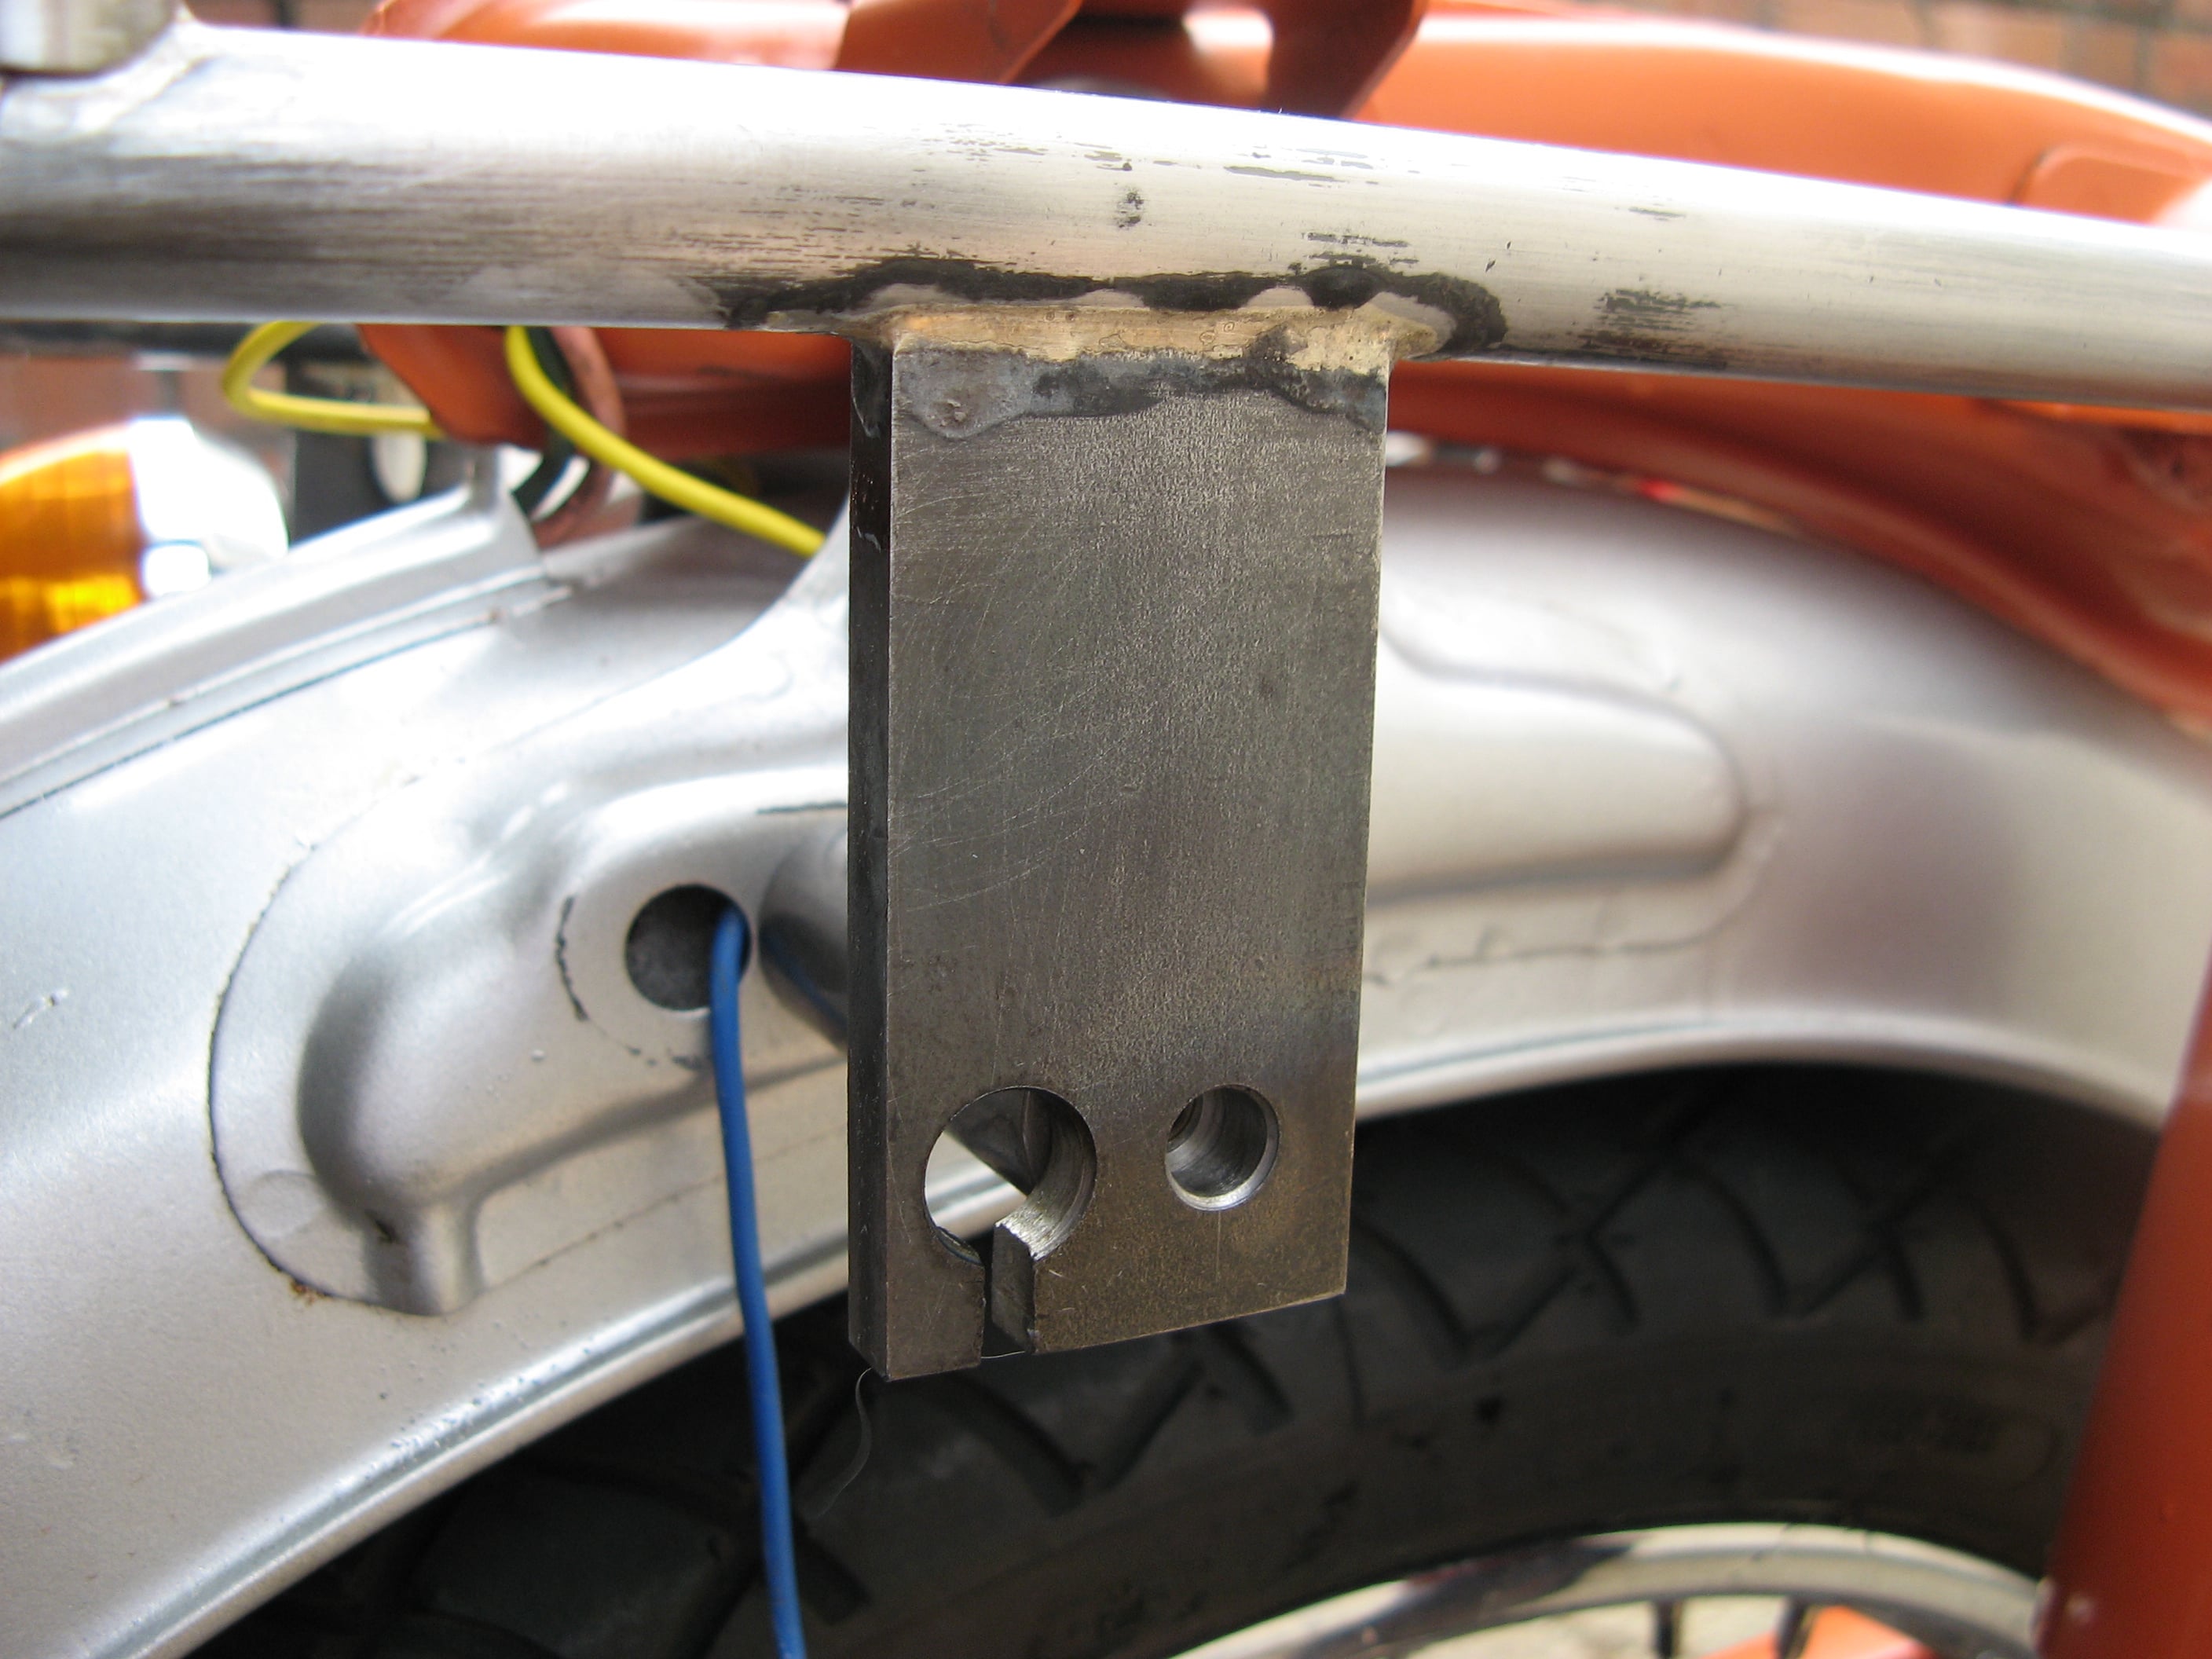
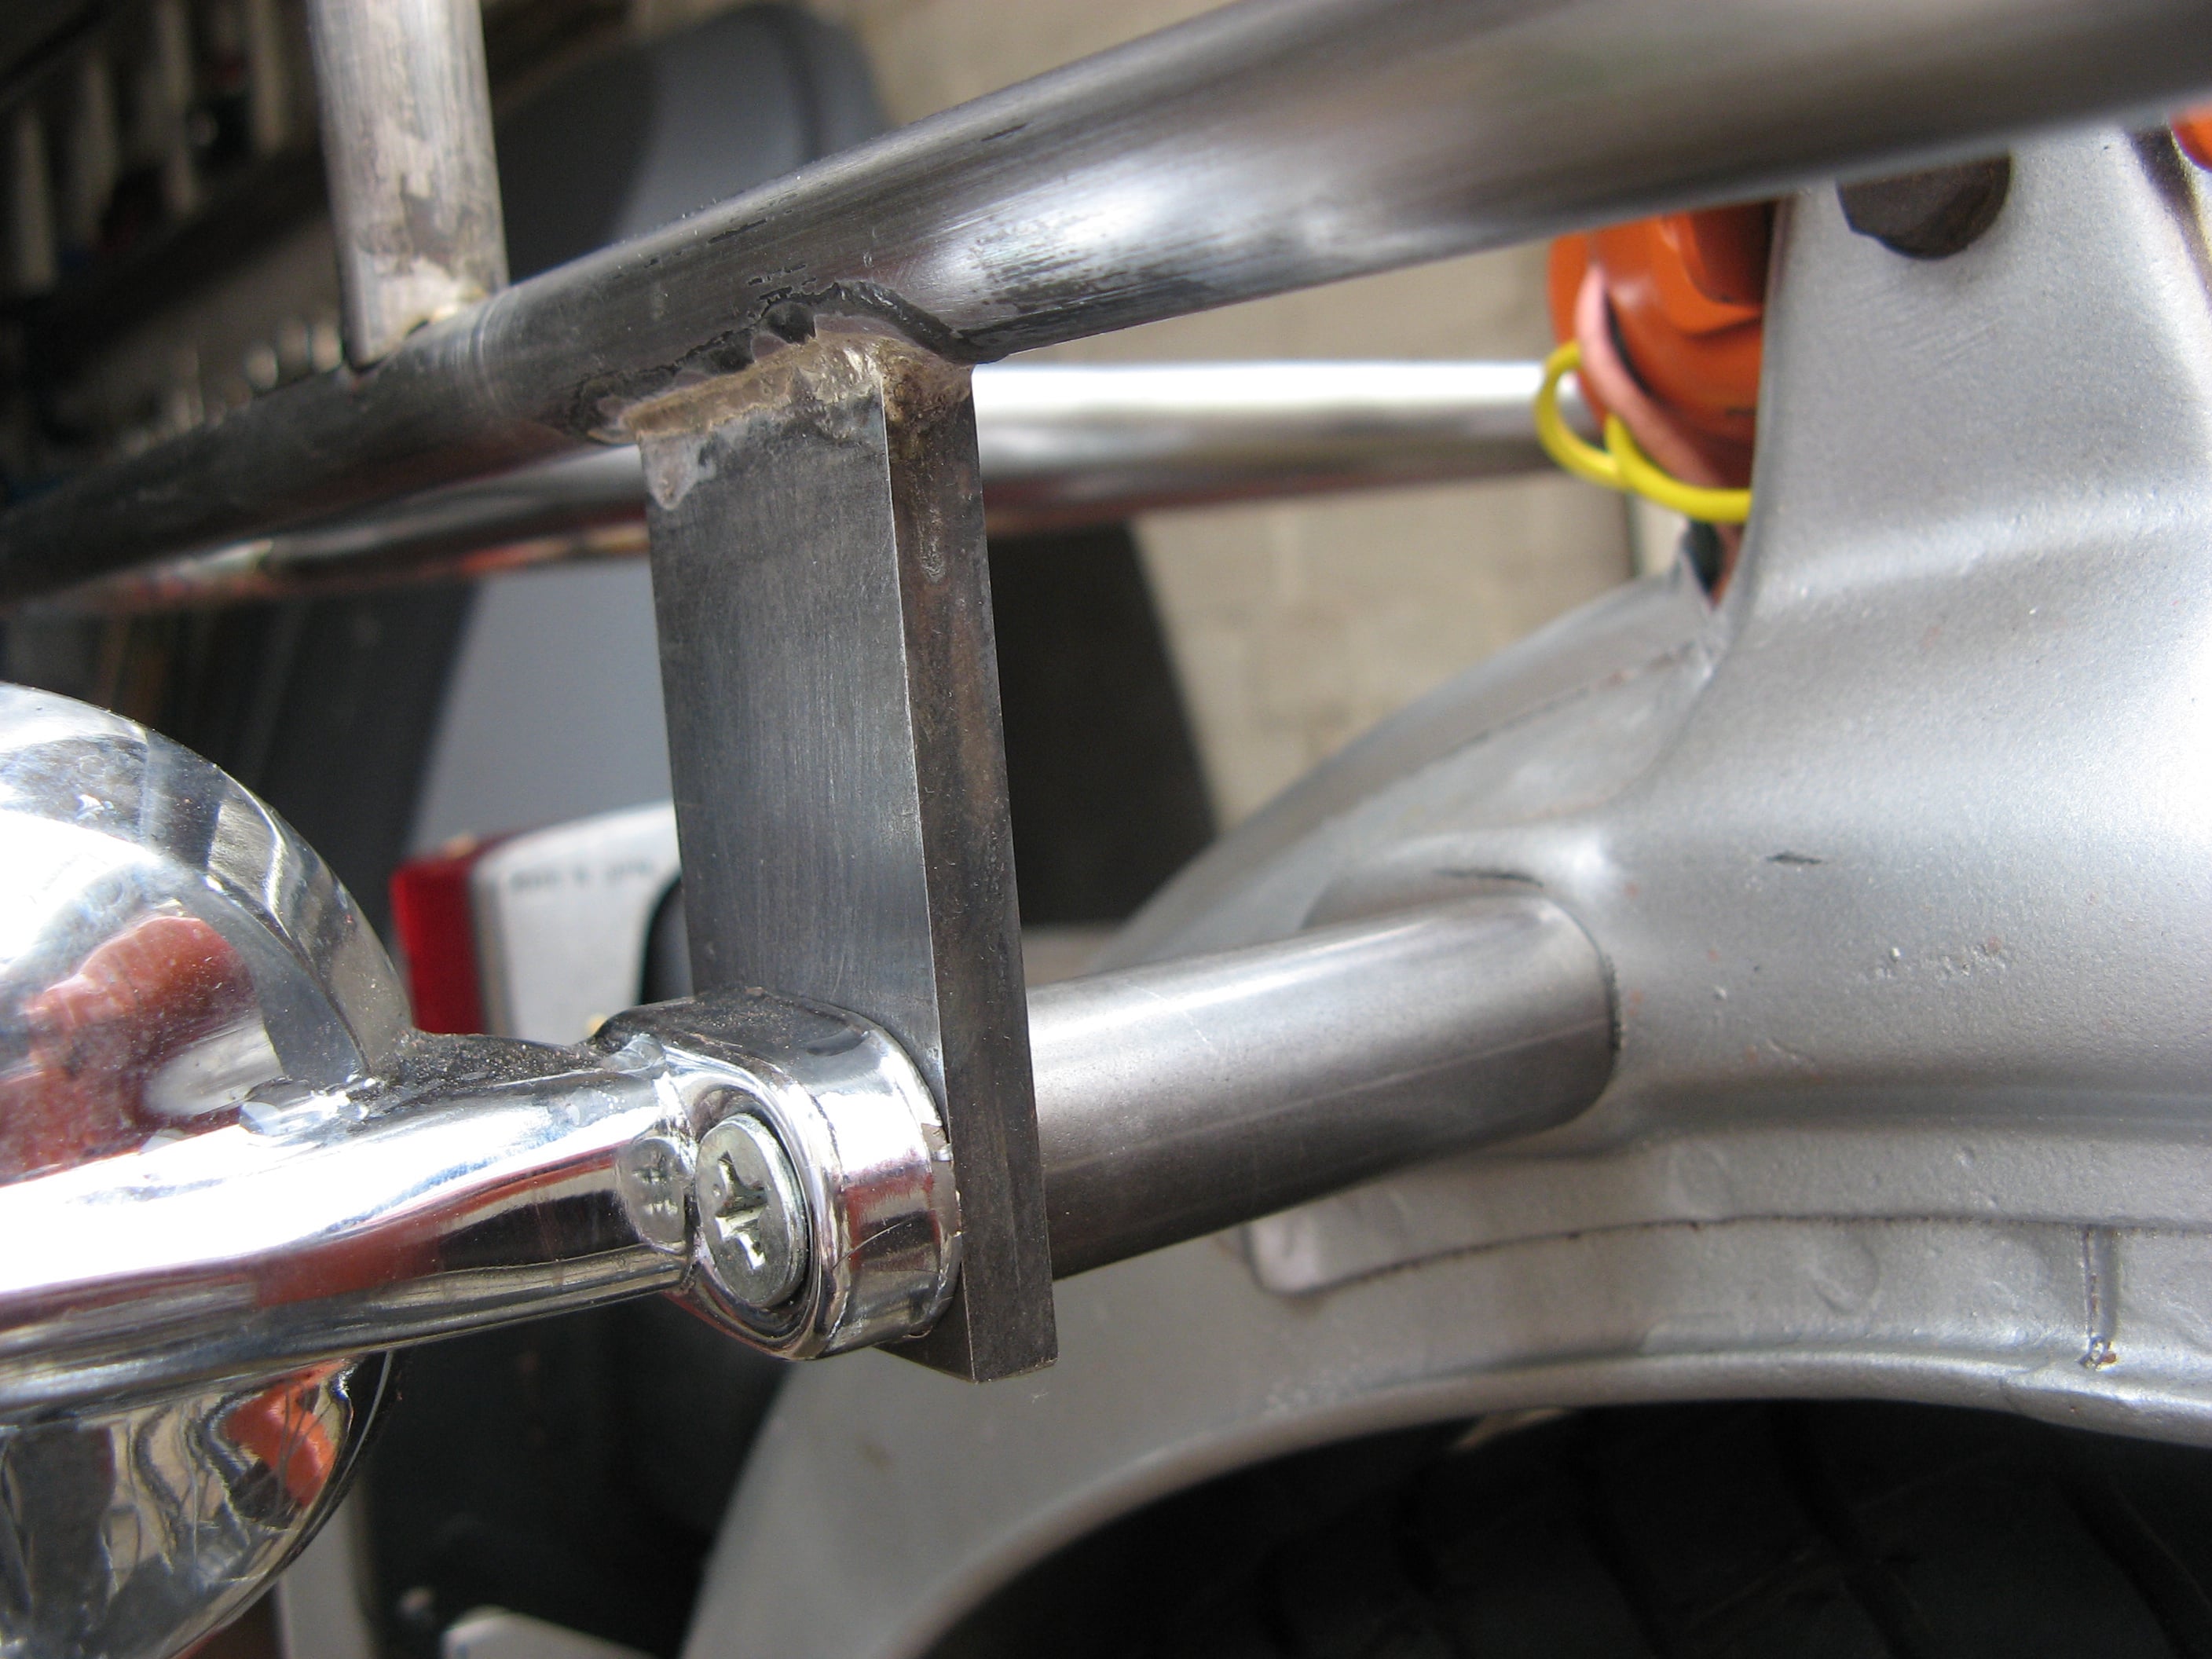
This rack was manufactured from cold rolled steel tubing of 14mm for the main frame and 12mm for the smaller cross pieces.

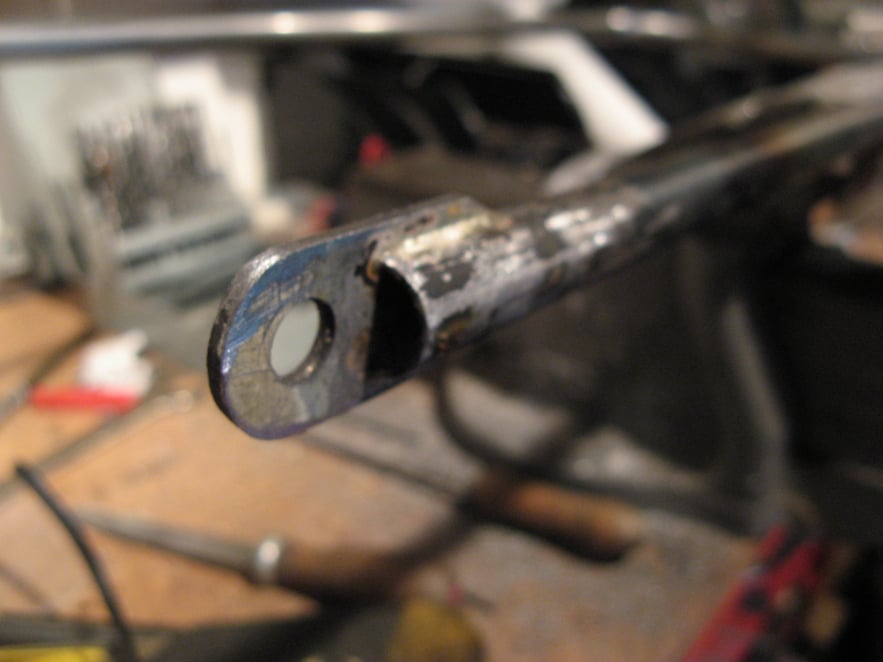
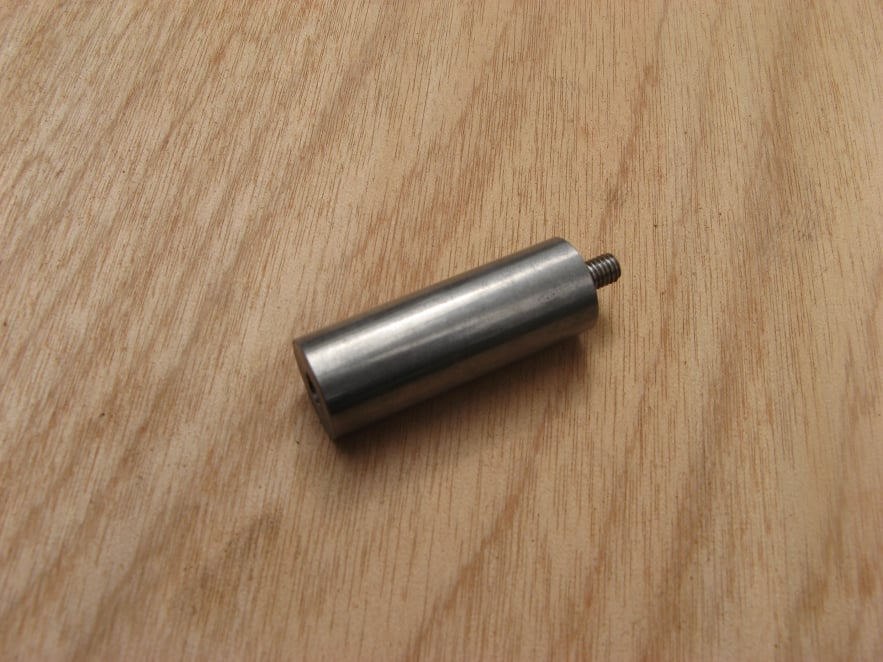
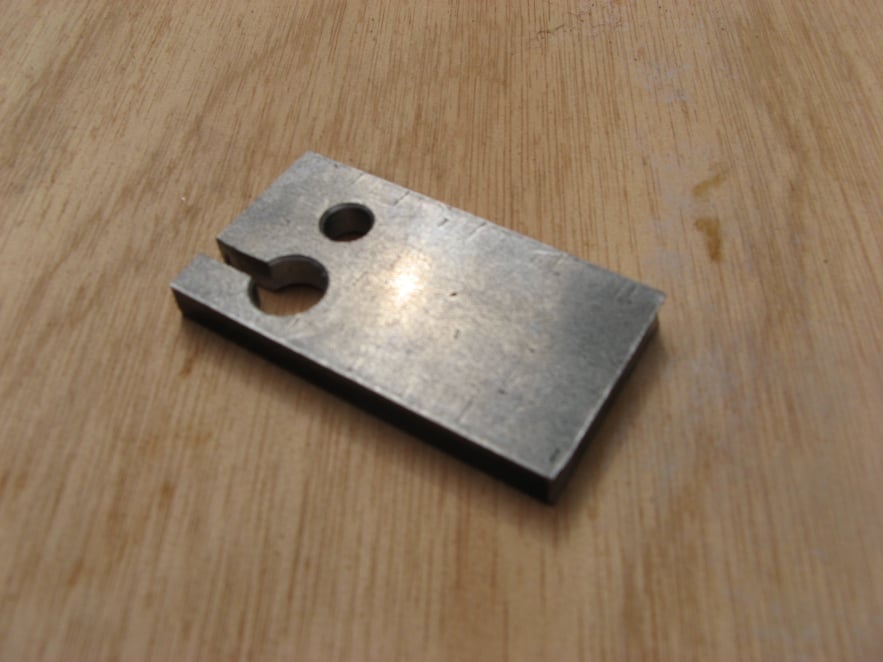
It was mounted using 4 fixing points. Two at the top of the rear shock absorber mounting and two on the rear indicator mounting points on the rear wheel arch.

Mobirise Website Builder

A piece of 14mm steel tube was bent in two places to set the width of the rack. This was approximately the width of the rear shock mountings.

Mobirise Website Builder

The ends of the tube were sliced and a drilled tab brazed on to fit the upper shock mounts.

Mobirise Website Builder

The frame was put in place on the bike without the seat to ensure that it would fit and that everything was square.

Mobirise Website Builder

With the seat back in place, two bits of 14mm pipe were cut and bent to form the grab rail and the front cross piece. Both these parts had radii filed in the ends to fit neatly against the side of the existing 14mm tube.

Mobirise Website Builder

To finish the loading area of the rack two 12mm pieces of piece were cut and filed to fit and then brazed in place.

Mobirise Website Builder

The rack was a good fit but was resting on the indicators at this point.

Mobirise Website Builder

18mm diameter threaded stand-offs were made to move the indicators out from under the rack. The stand-off was 53mm long. It had an M6x1 hole tapped in one end and an external M6x1 thread on the other. The external thread was 6mm long.

Mobirise Website Builder

The indicators were held with a single screw and a boss which also contained the wire. A plate was machined in 5mm steel. Cut and drilled as shown. This part was designed so that the indicator screw would hold the rack to the stand-off. The slot would allow the rack to be removed  without breaking the wire.

Mobirise Website Builder

To braze the plate in the correct place the rack was assembled on the bike and the plate was clamped in place. Then the rack was removed from the bike and the plate brazed in the hearth. The process was repeated on the second side.

Mobirise Website Builder

This photo shows the parts assembled. The stand-off secured the rack to the rear wheel arch and also provided an outboard mounting position for the indicator. 

Mobirise Website Builder

This rack was painted in black to finish.

Mobirise Website Builder

It was a good fit with my work bag.

Mobirise Website Builder

Drawing for the rack

Landing Page Builder