Mobirise Website Builder

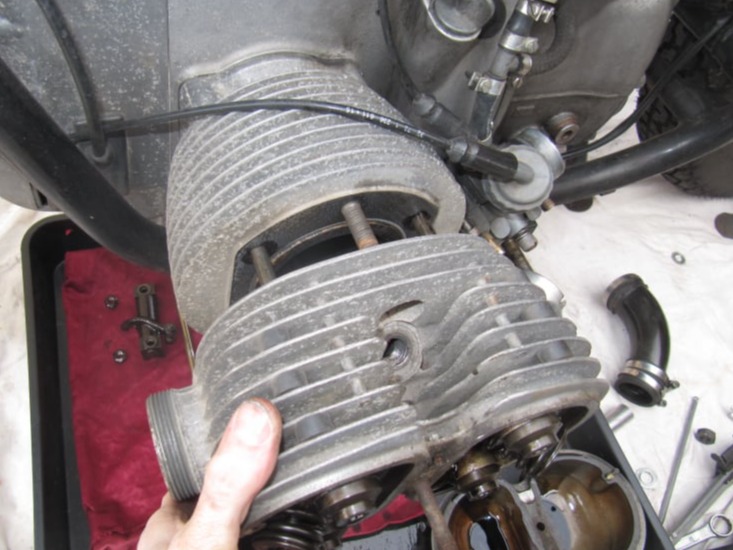
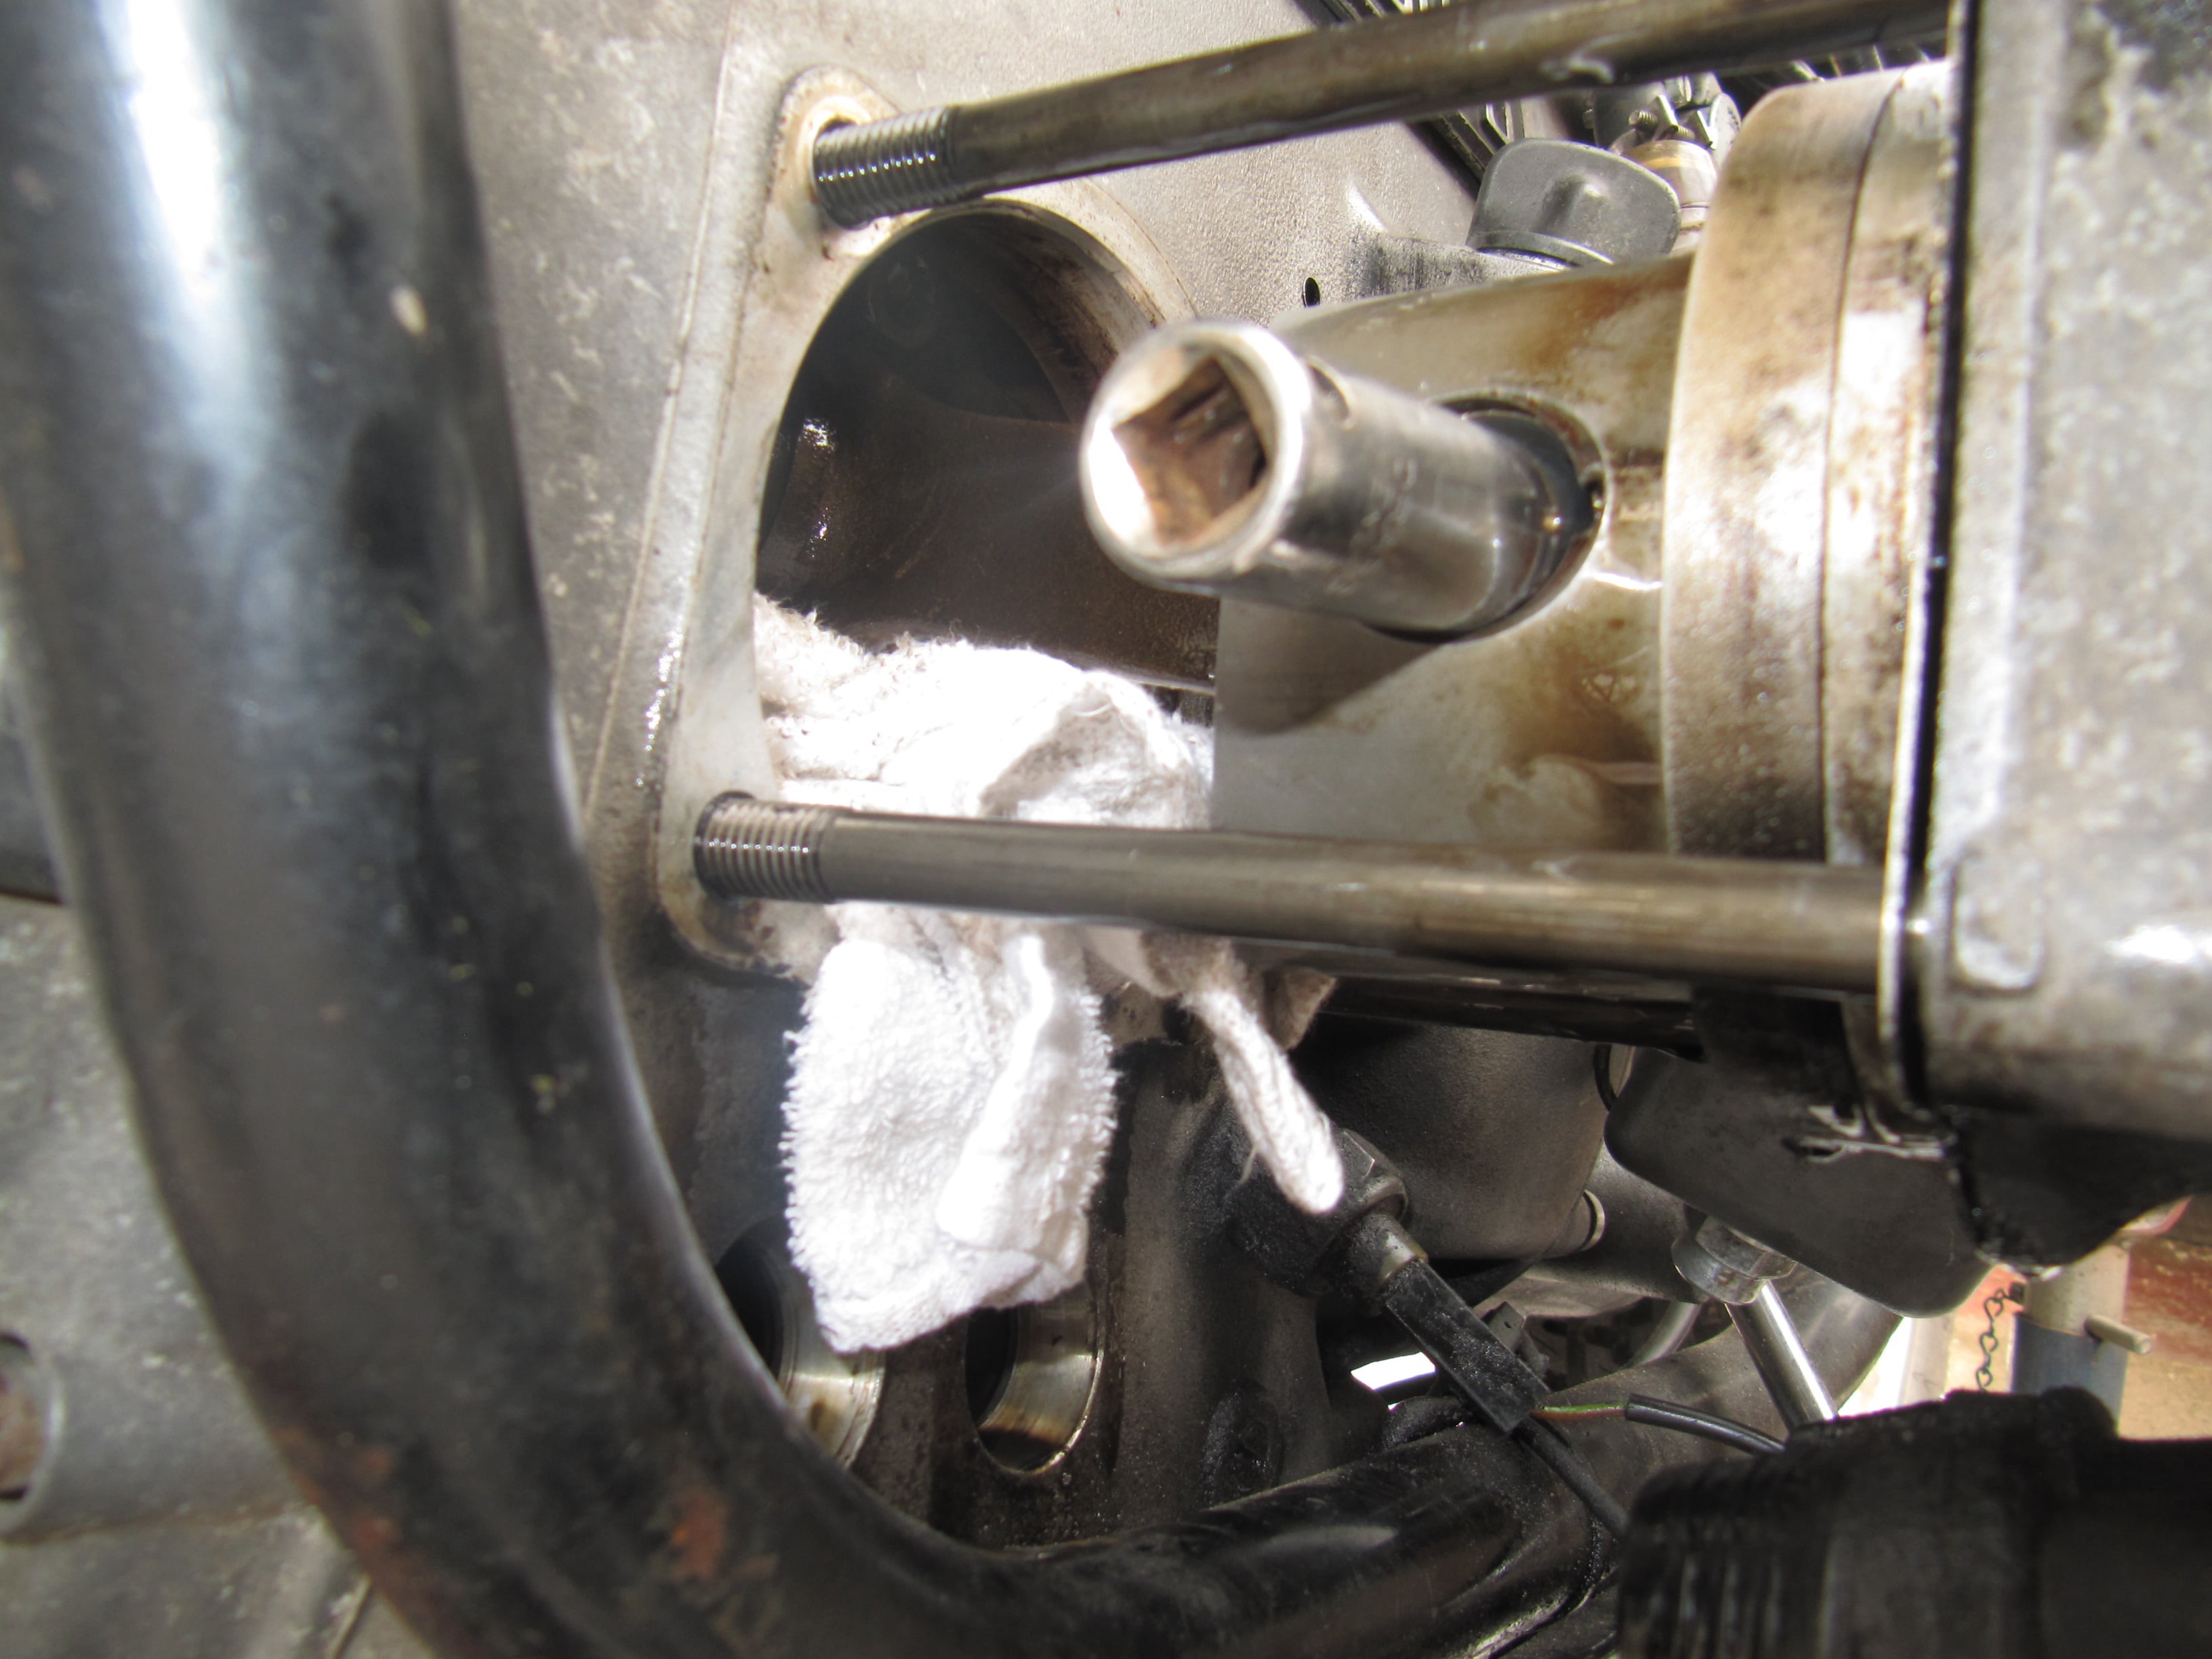
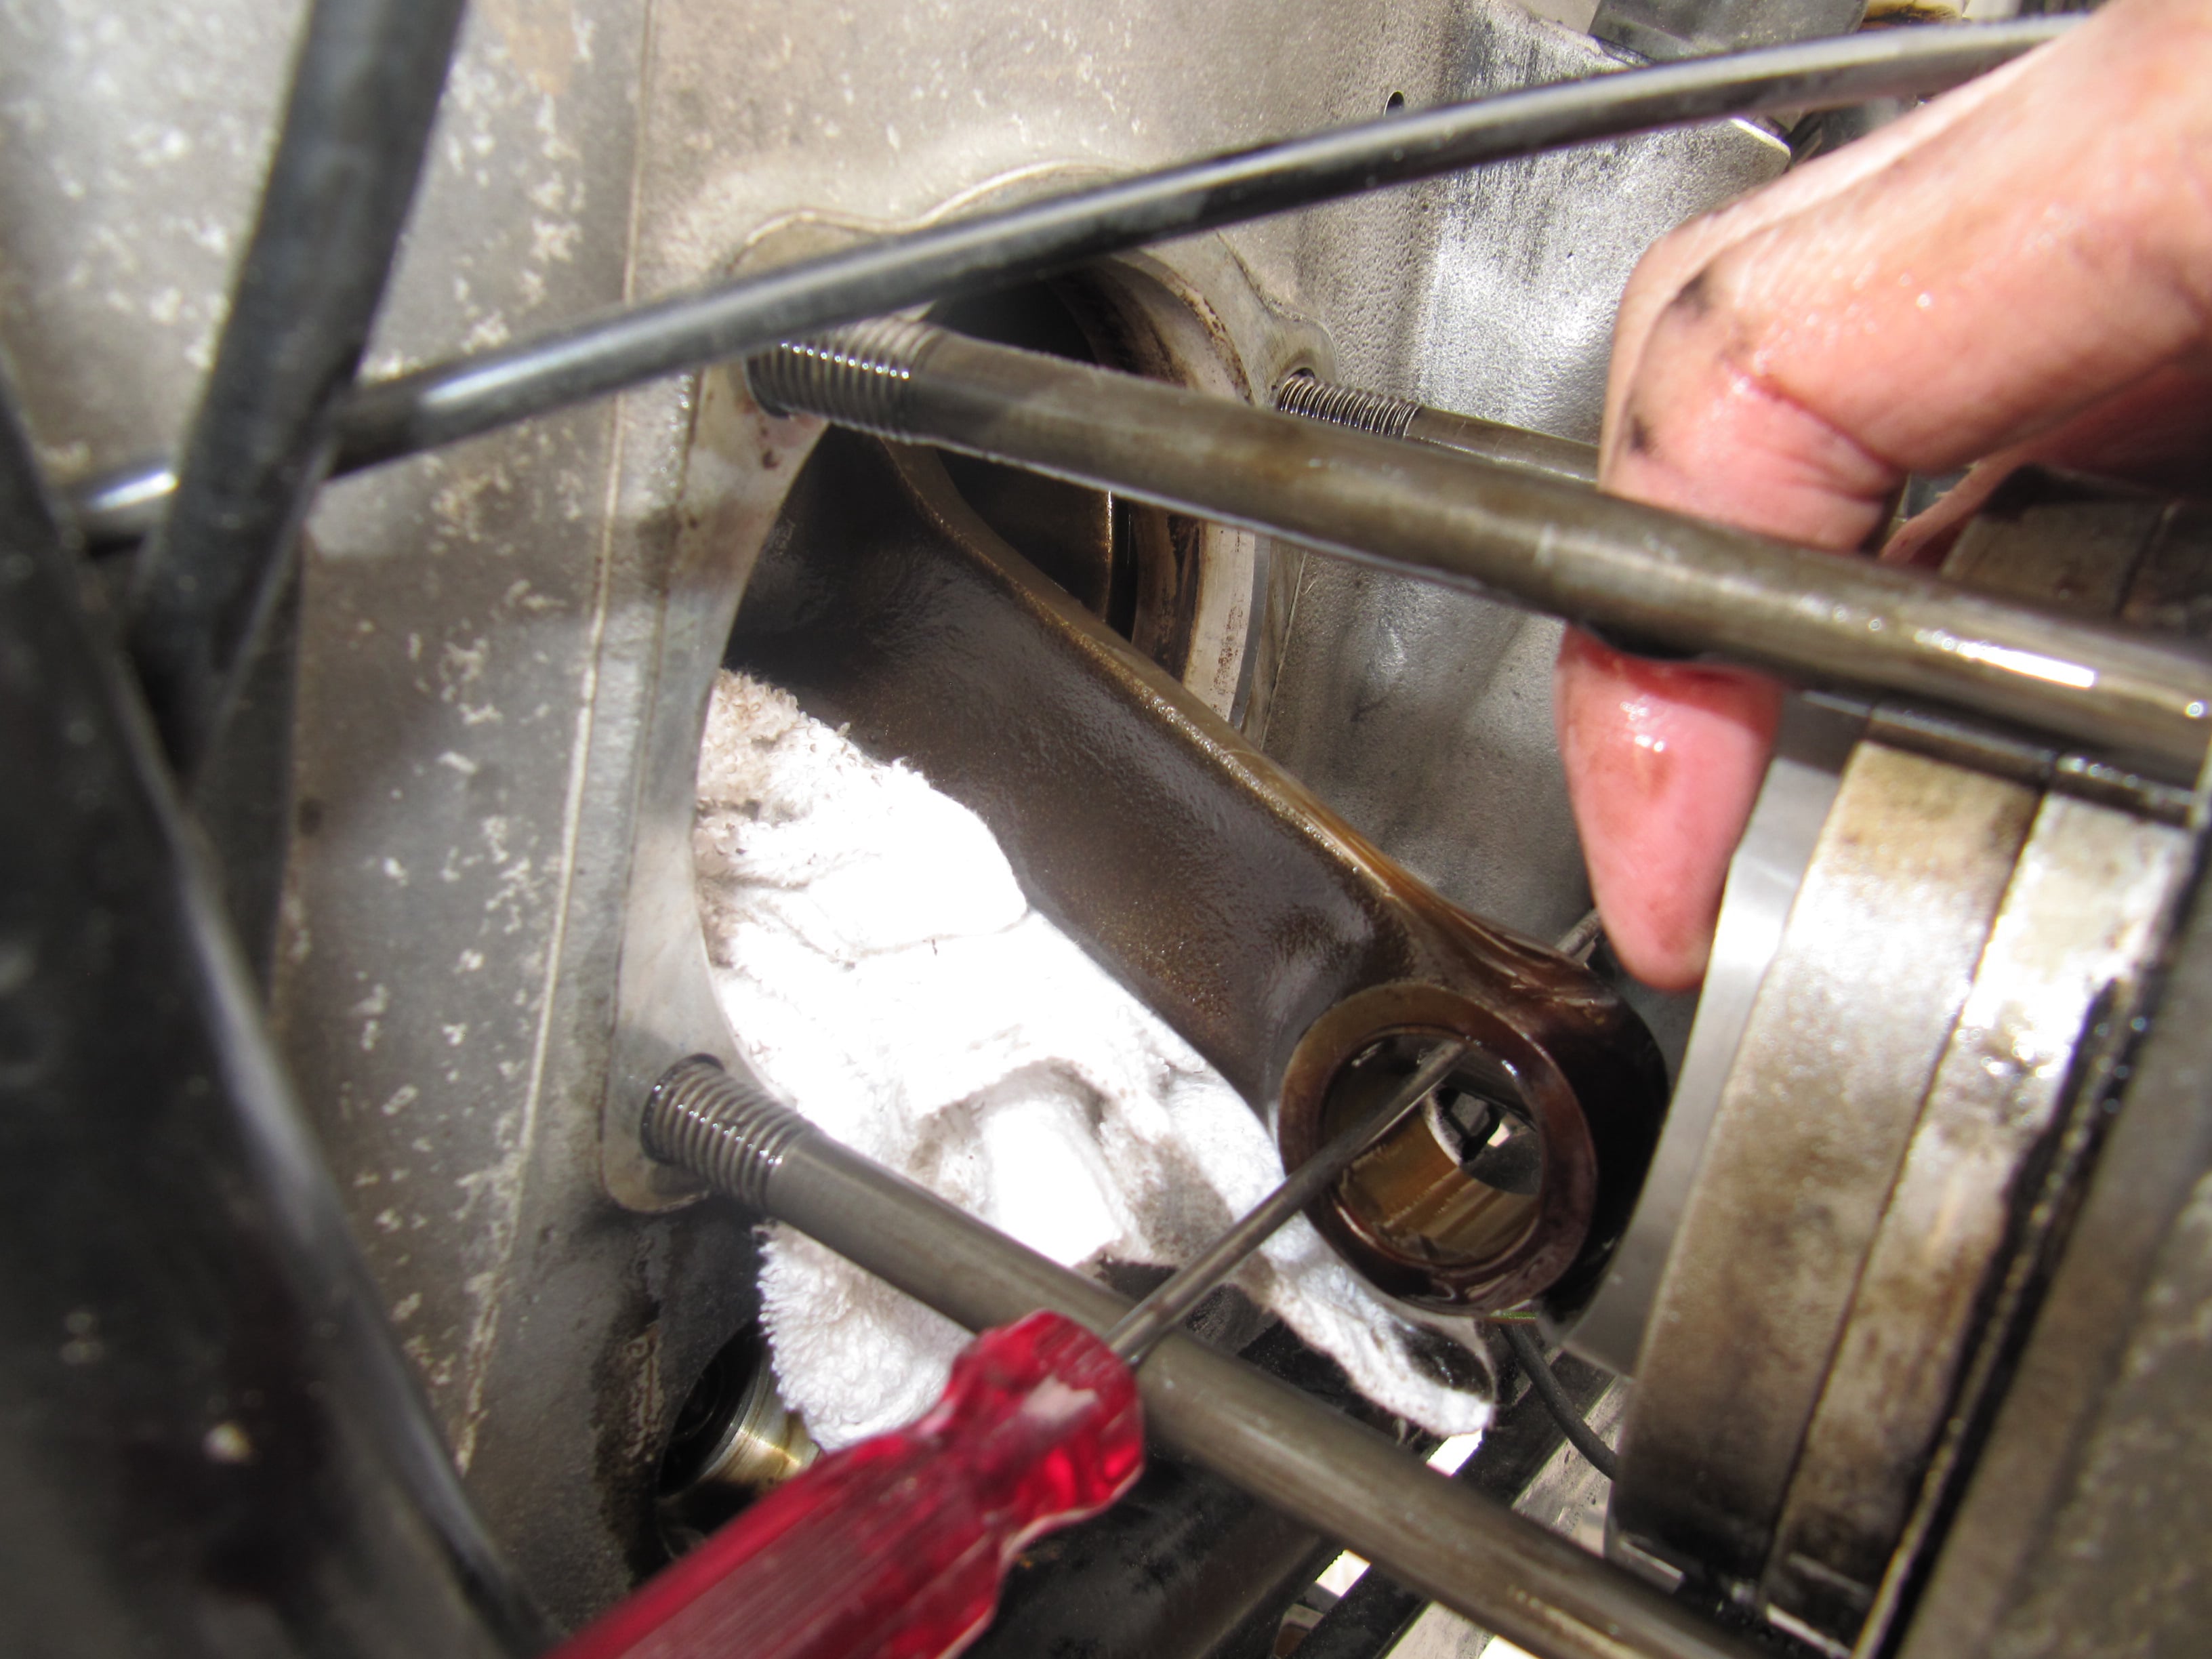
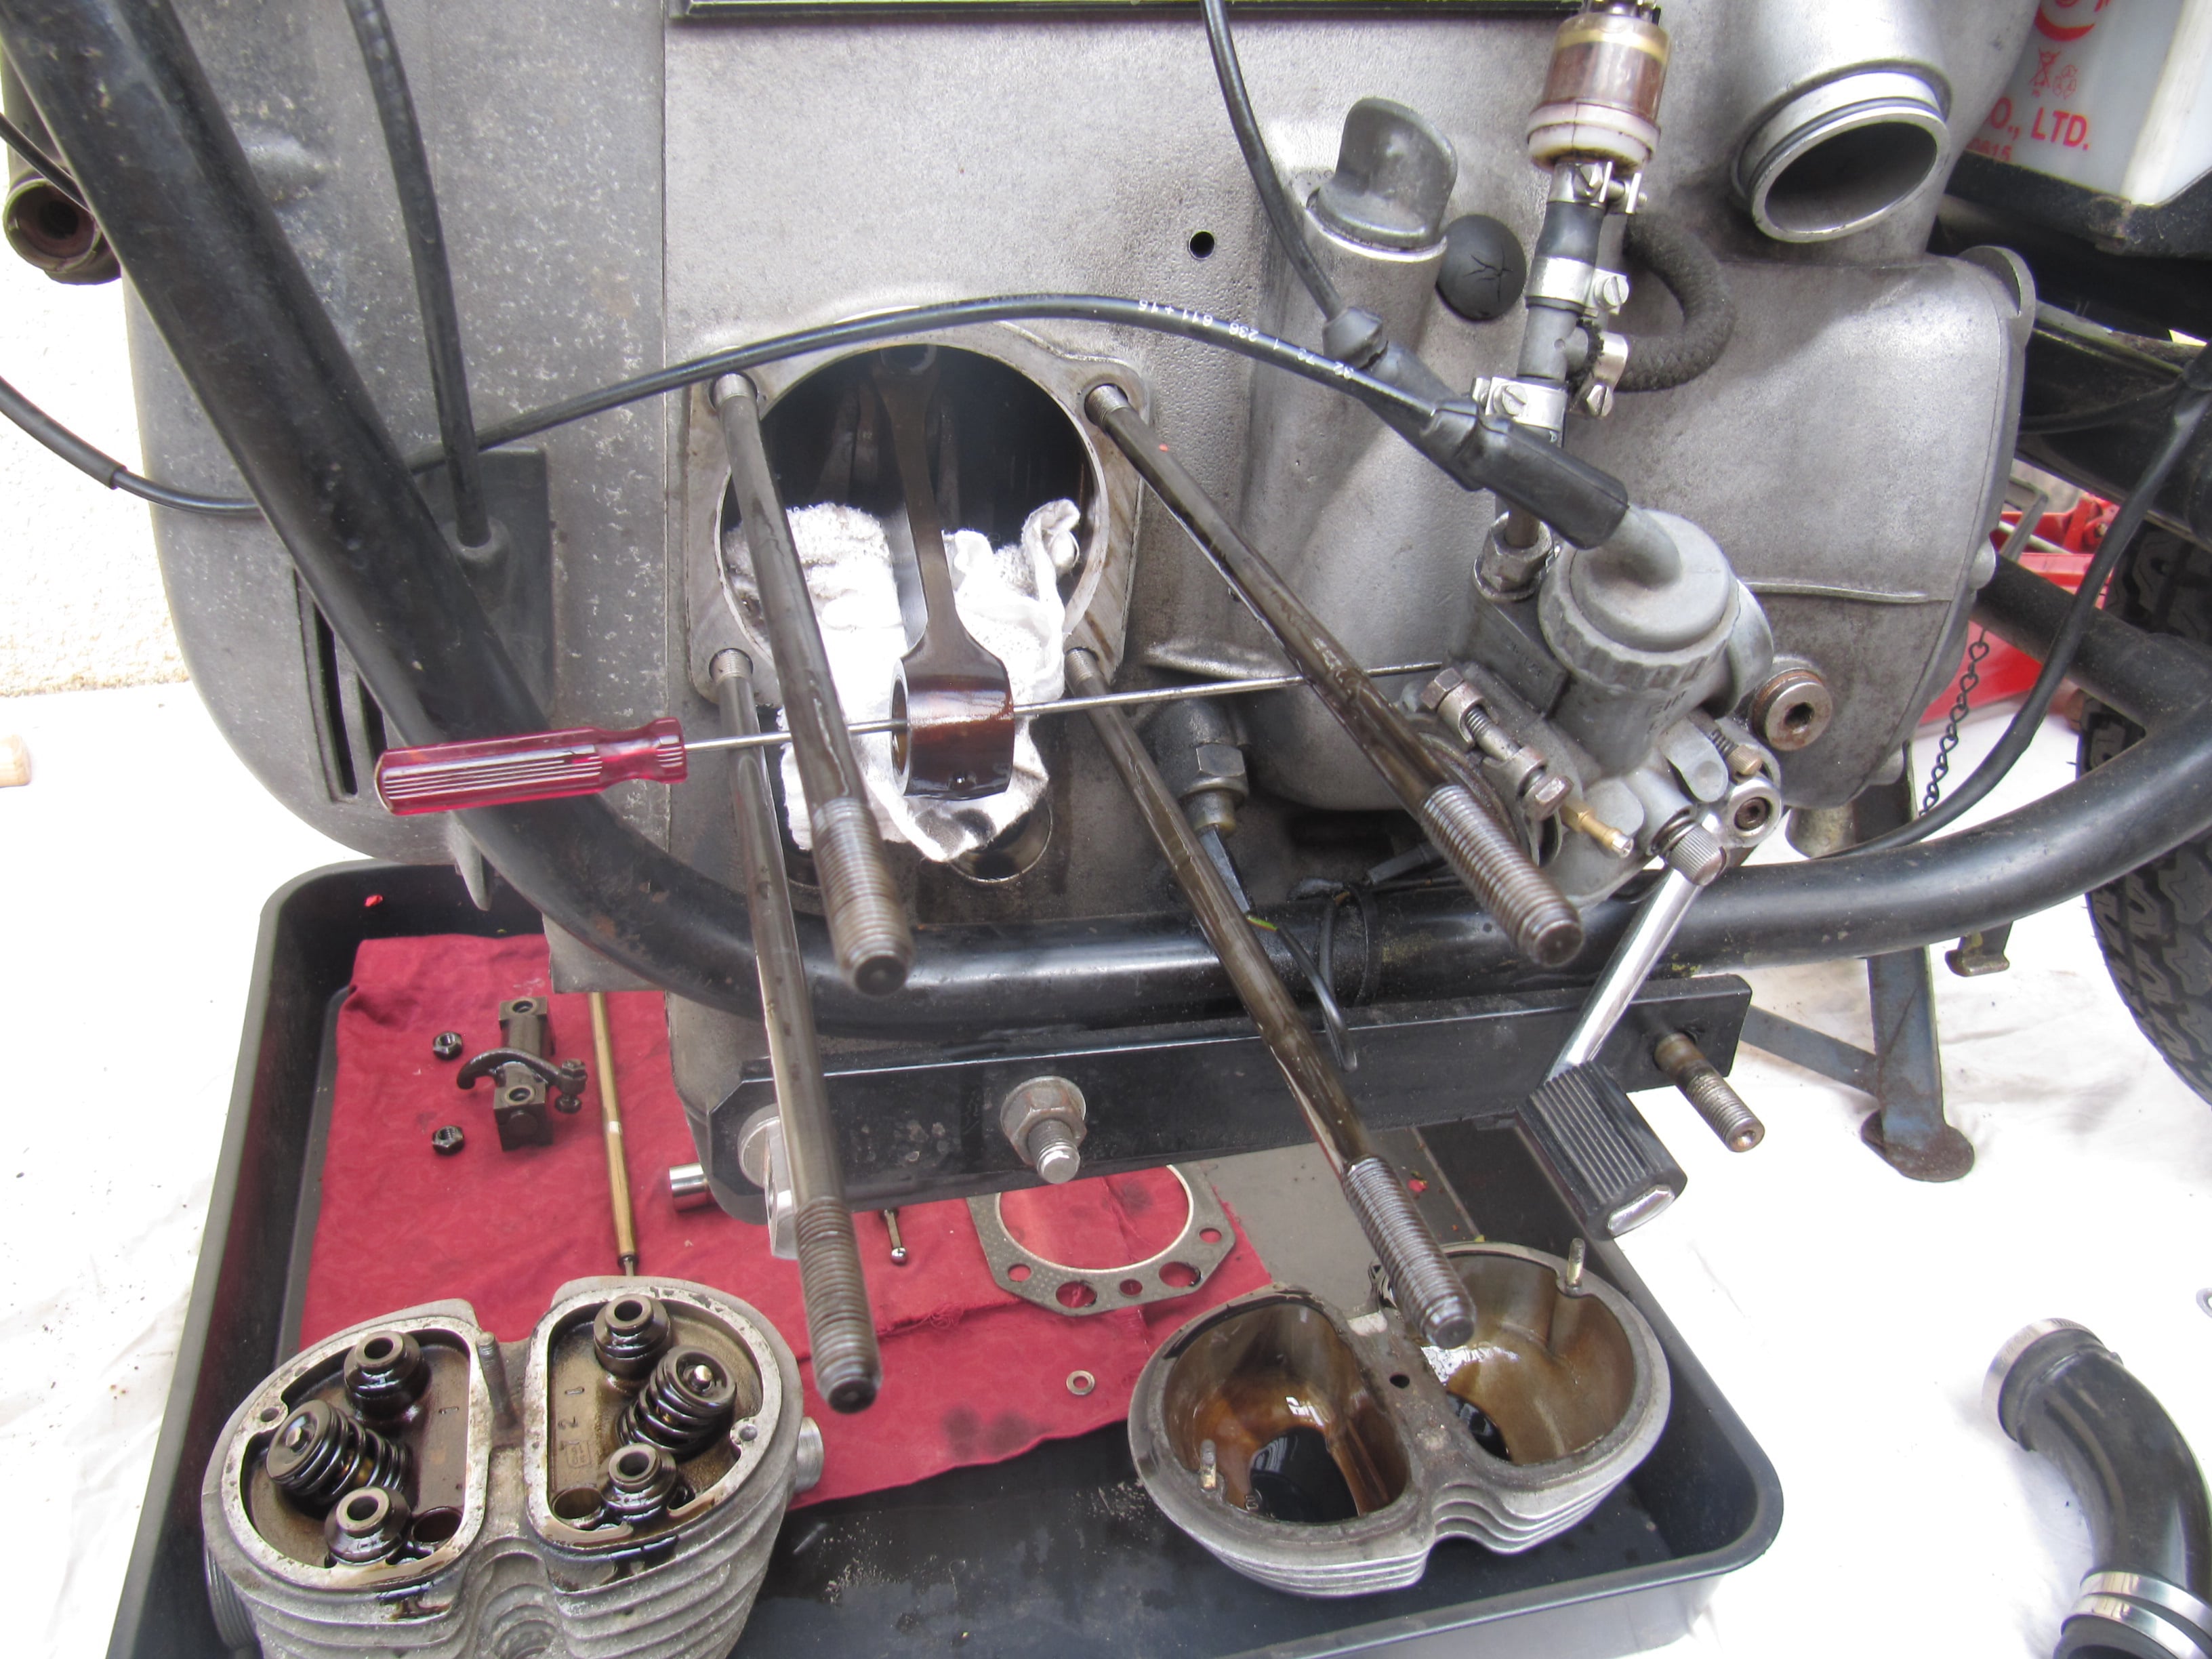
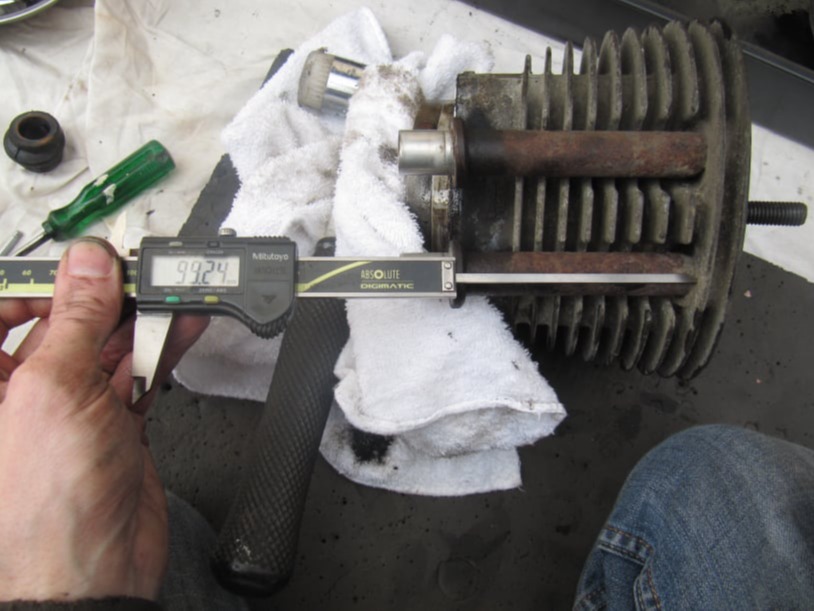
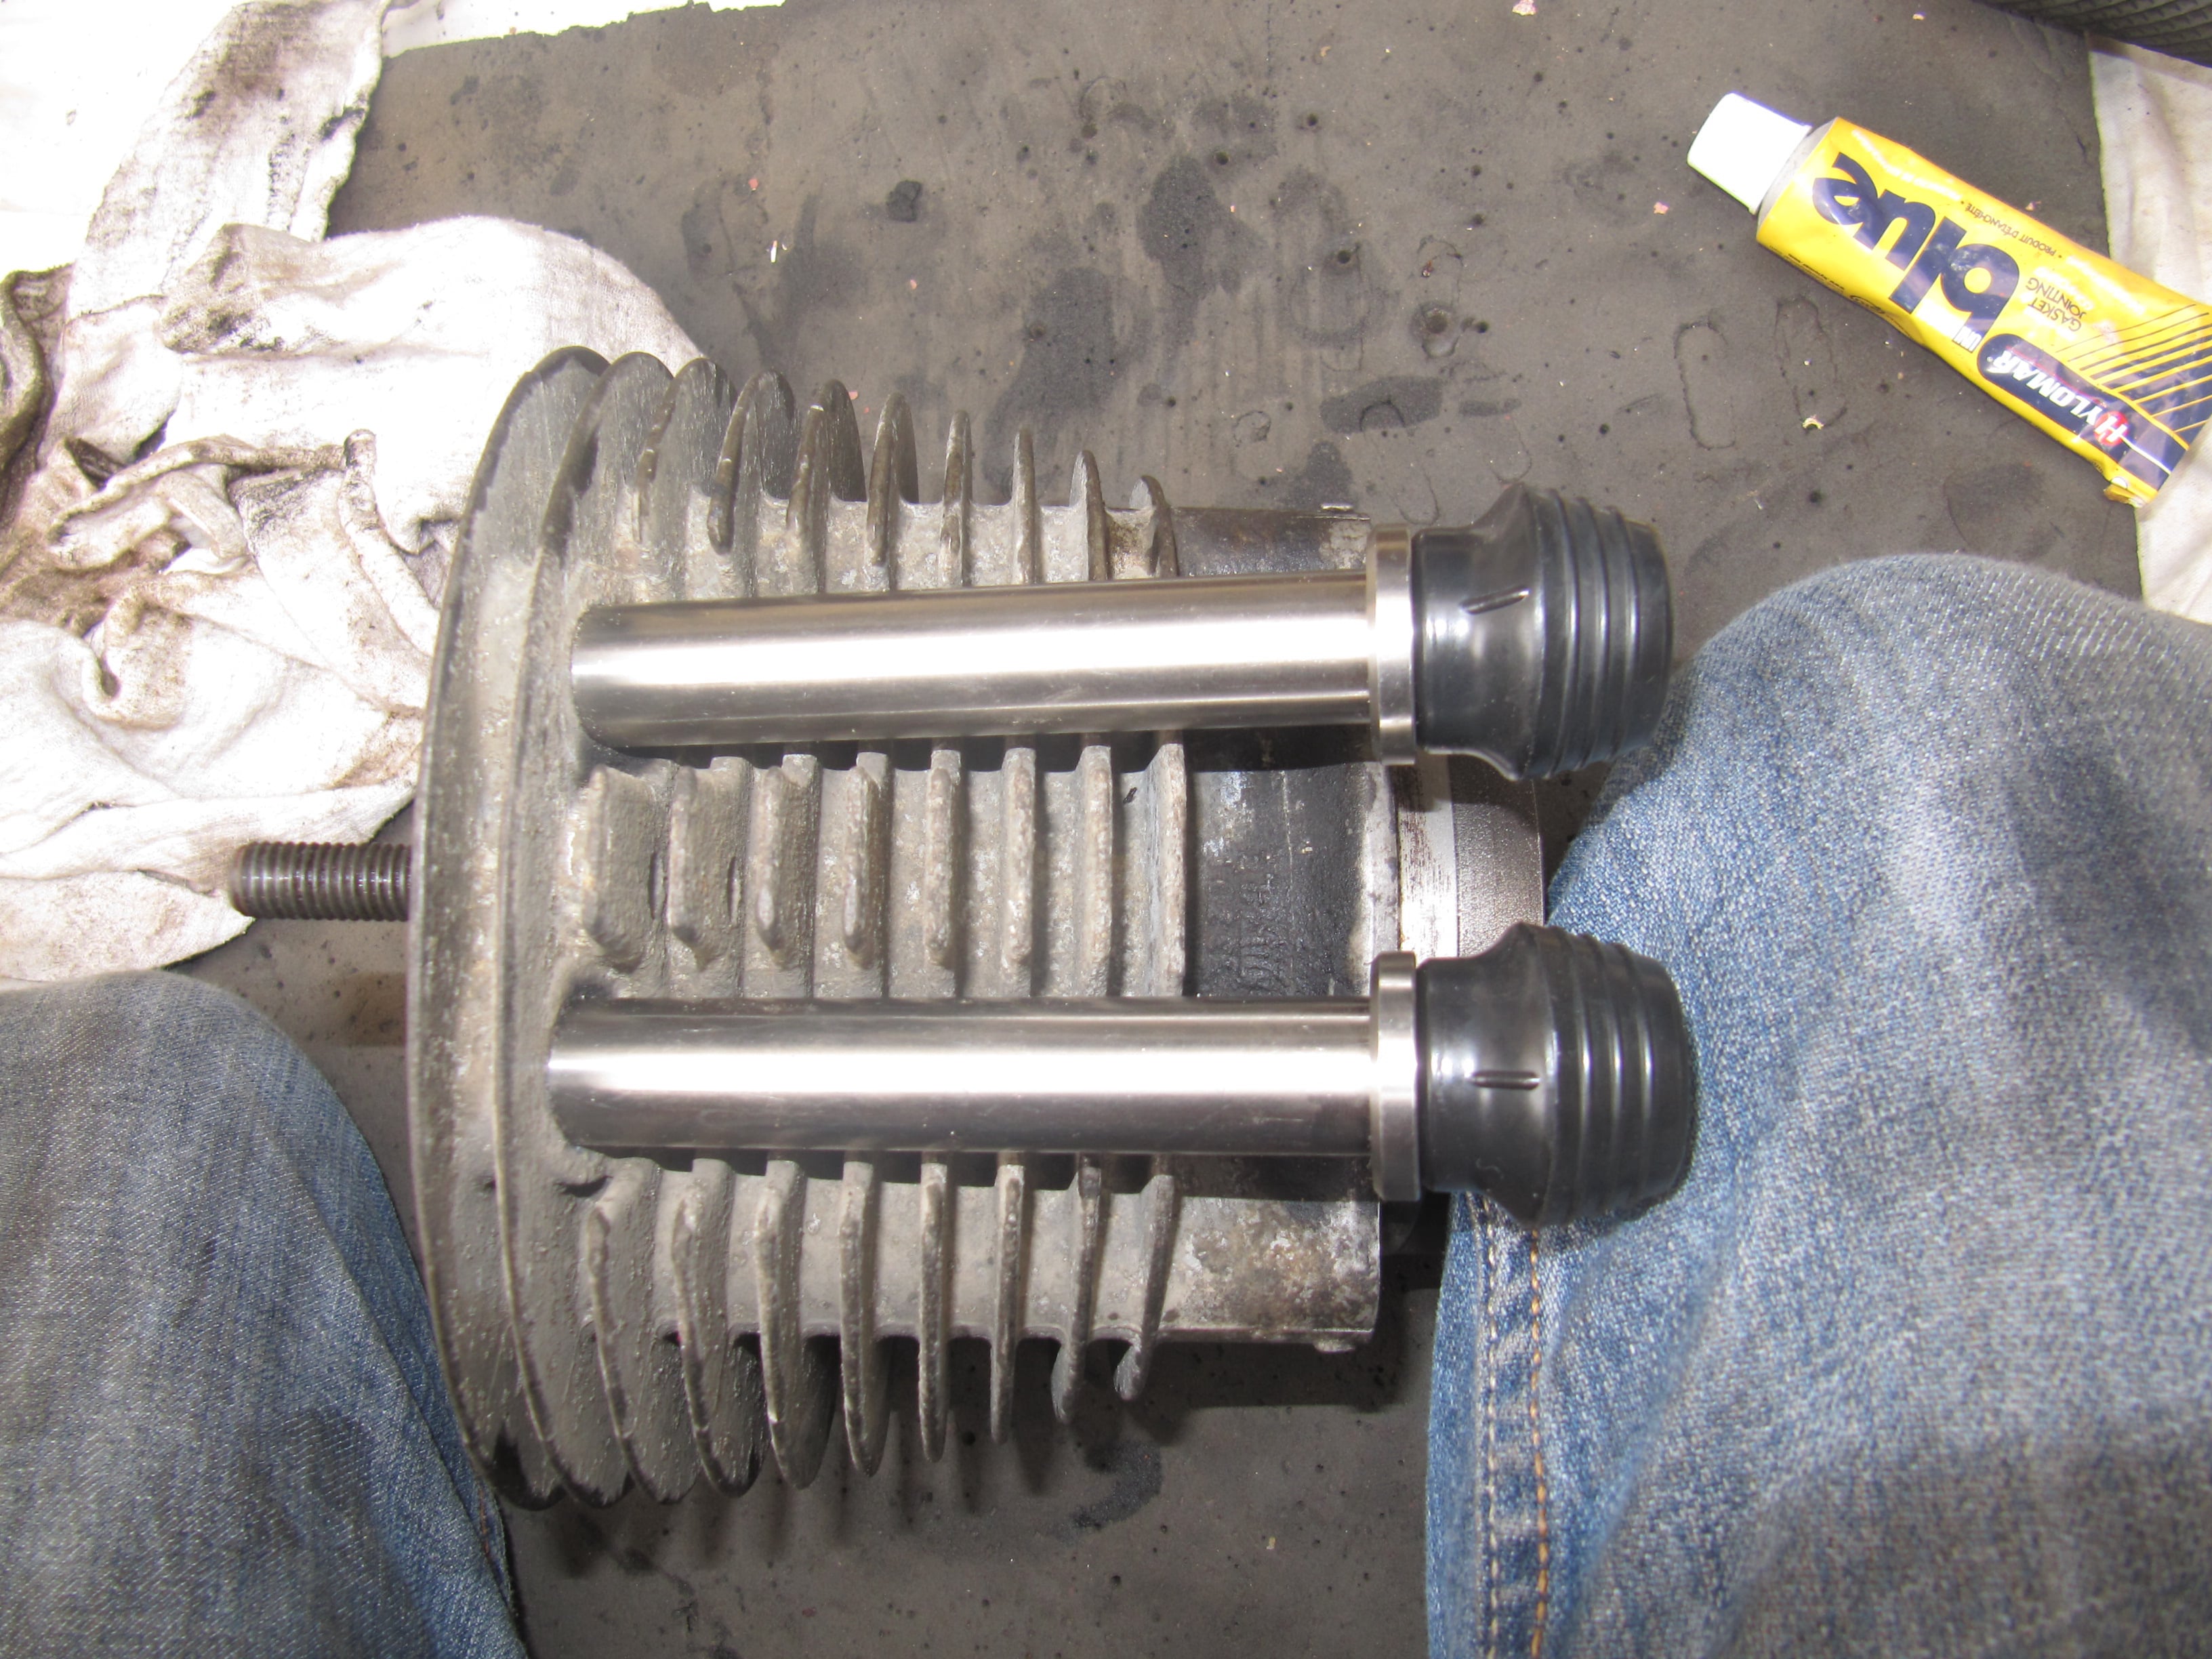
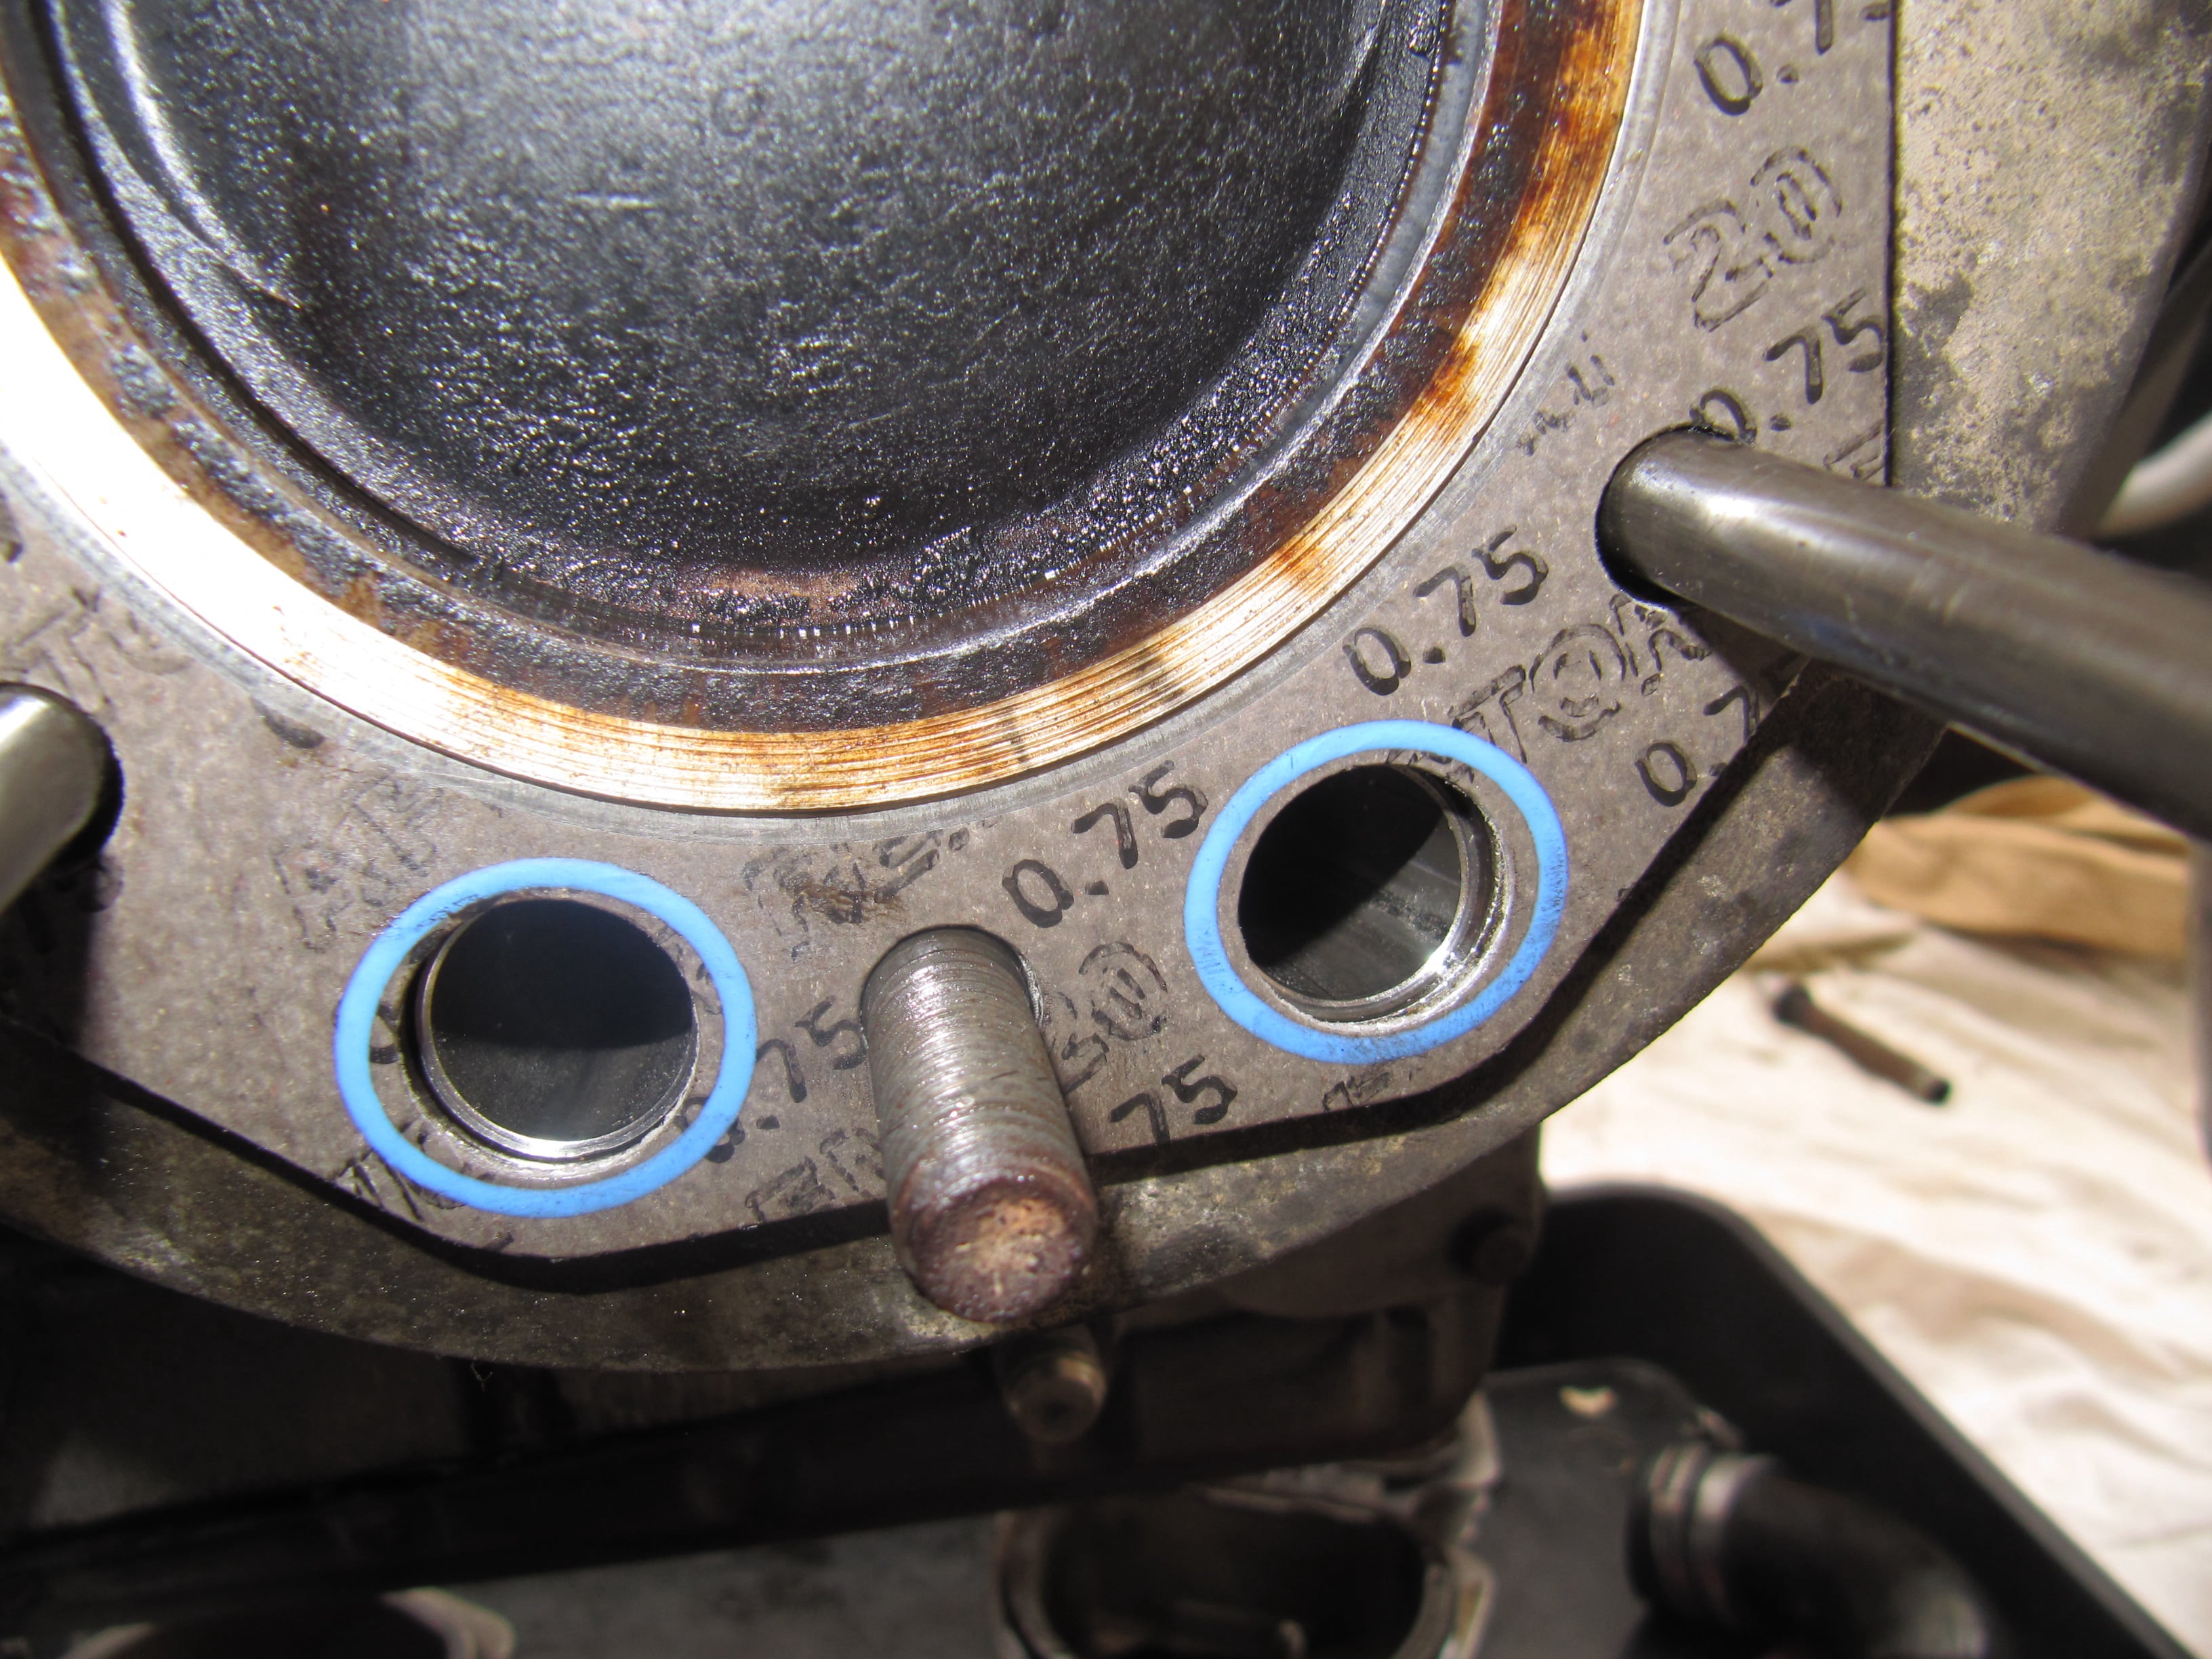
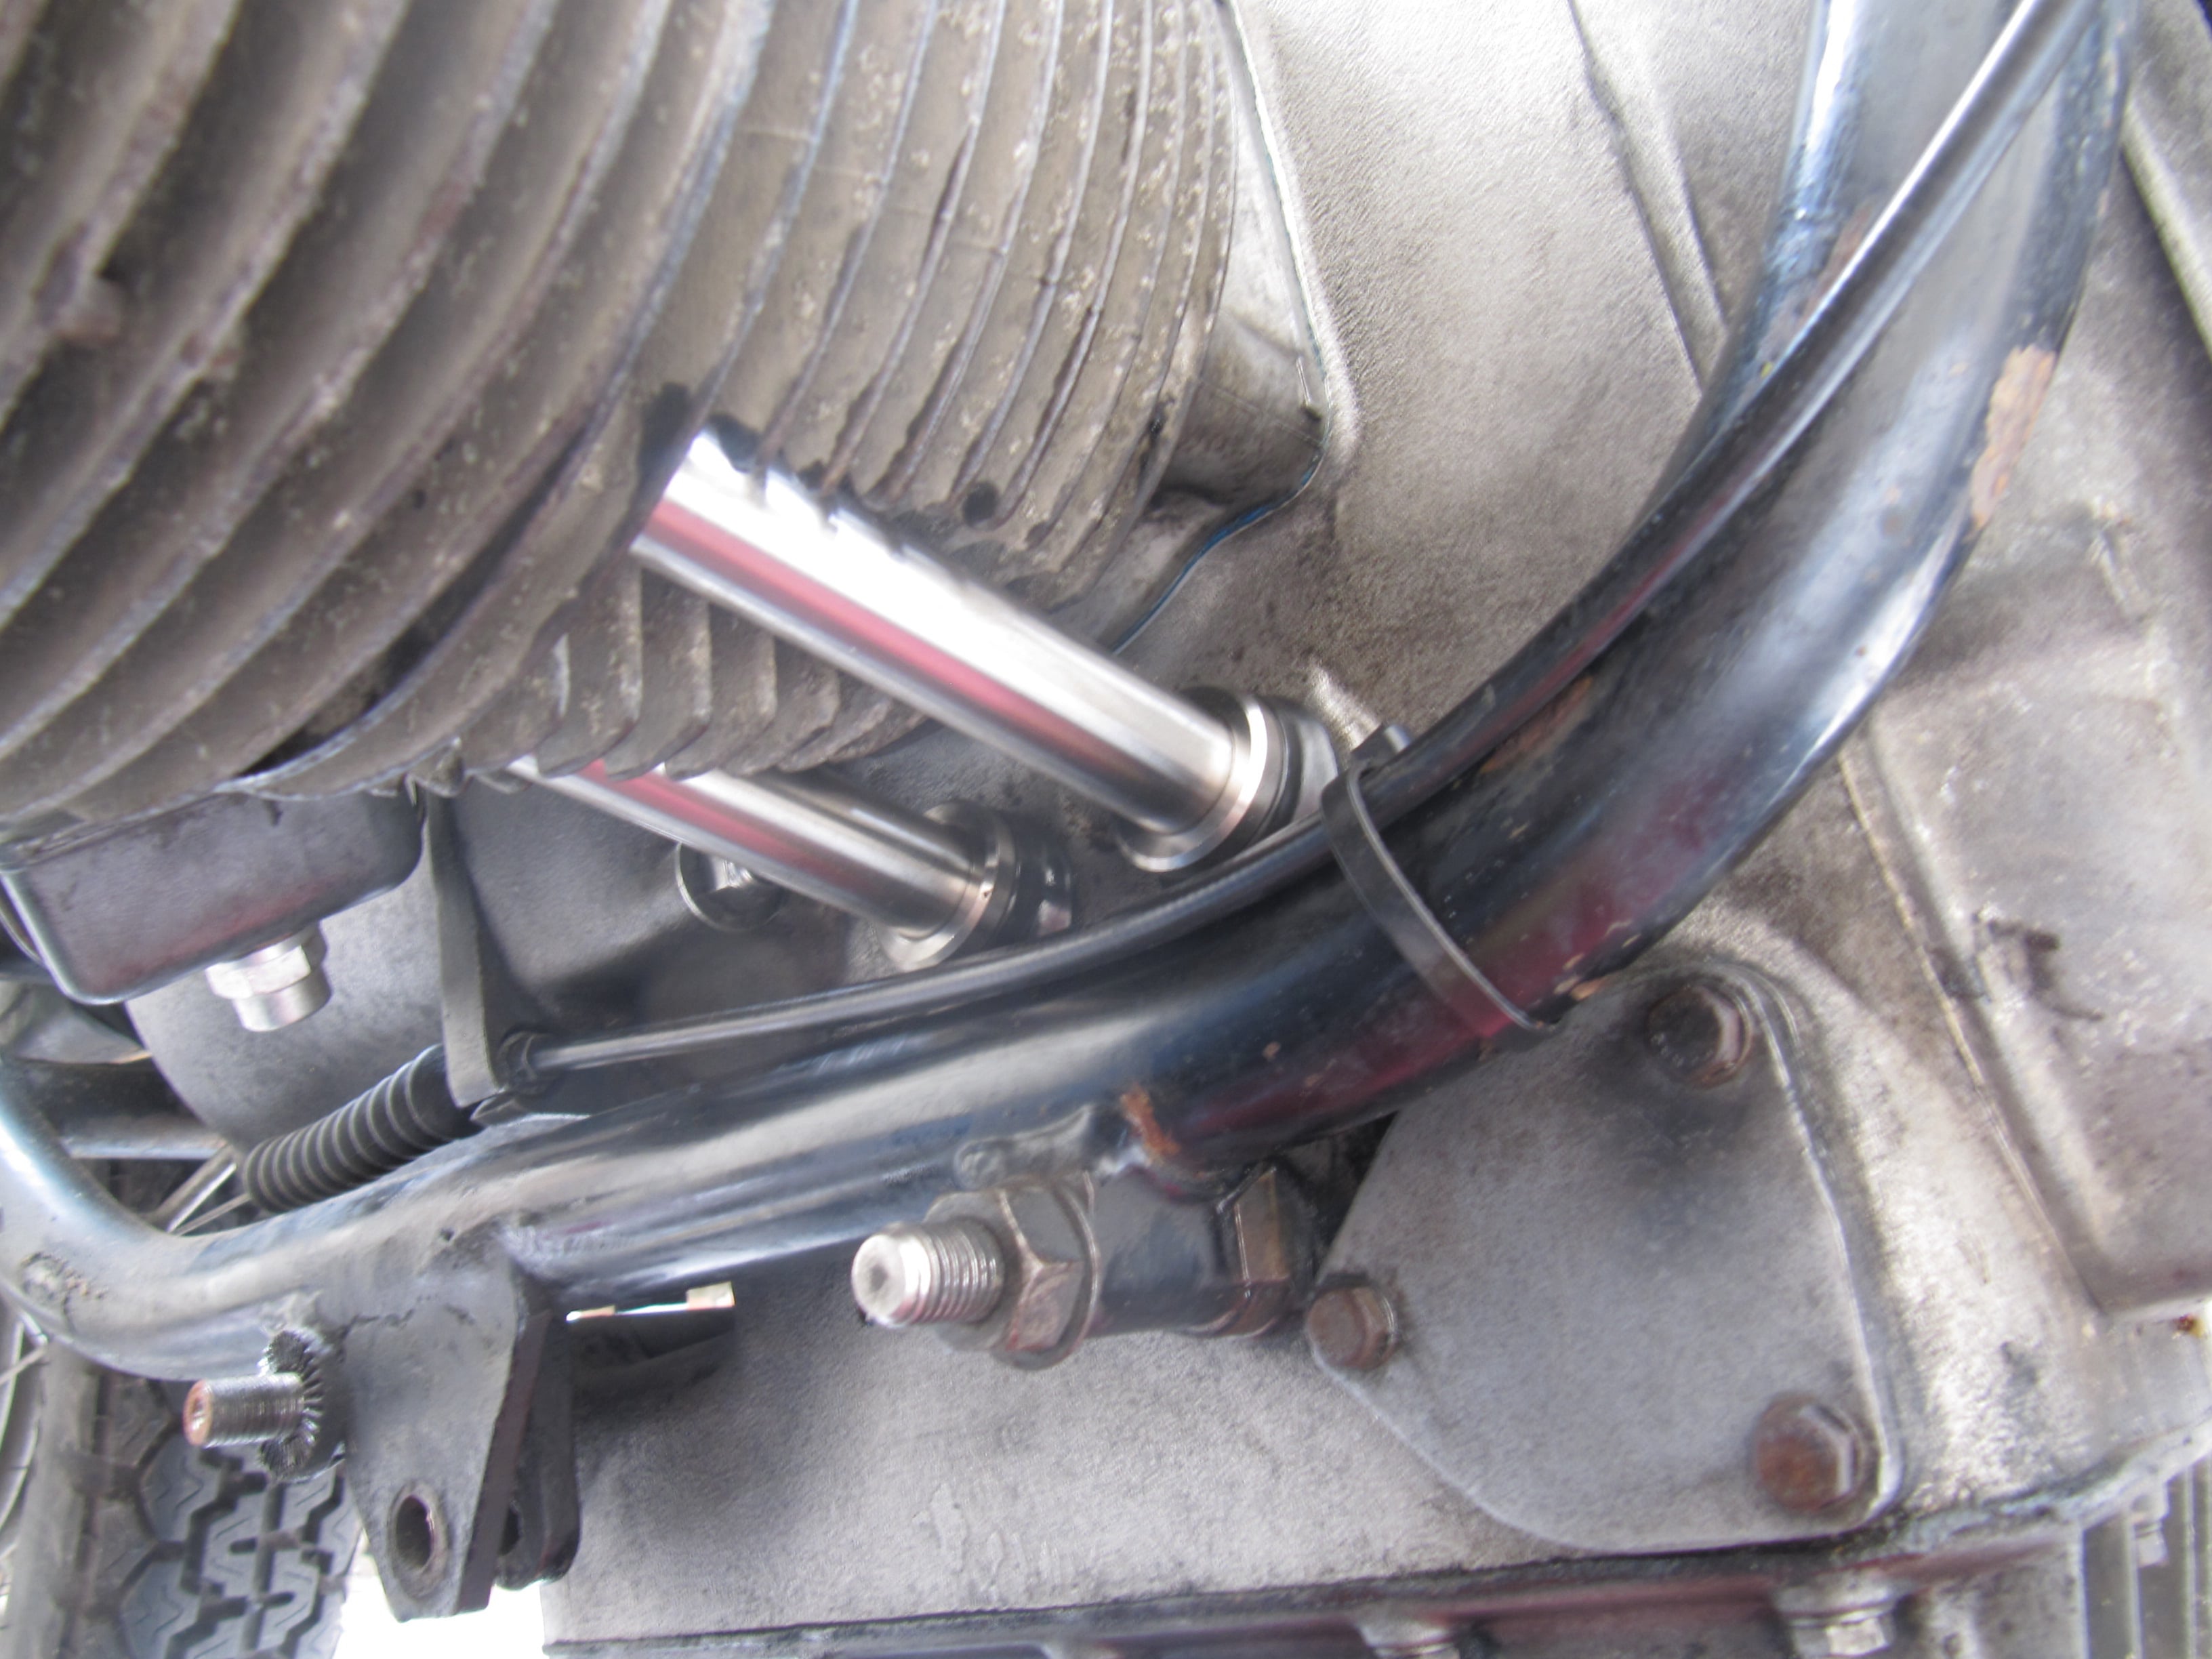
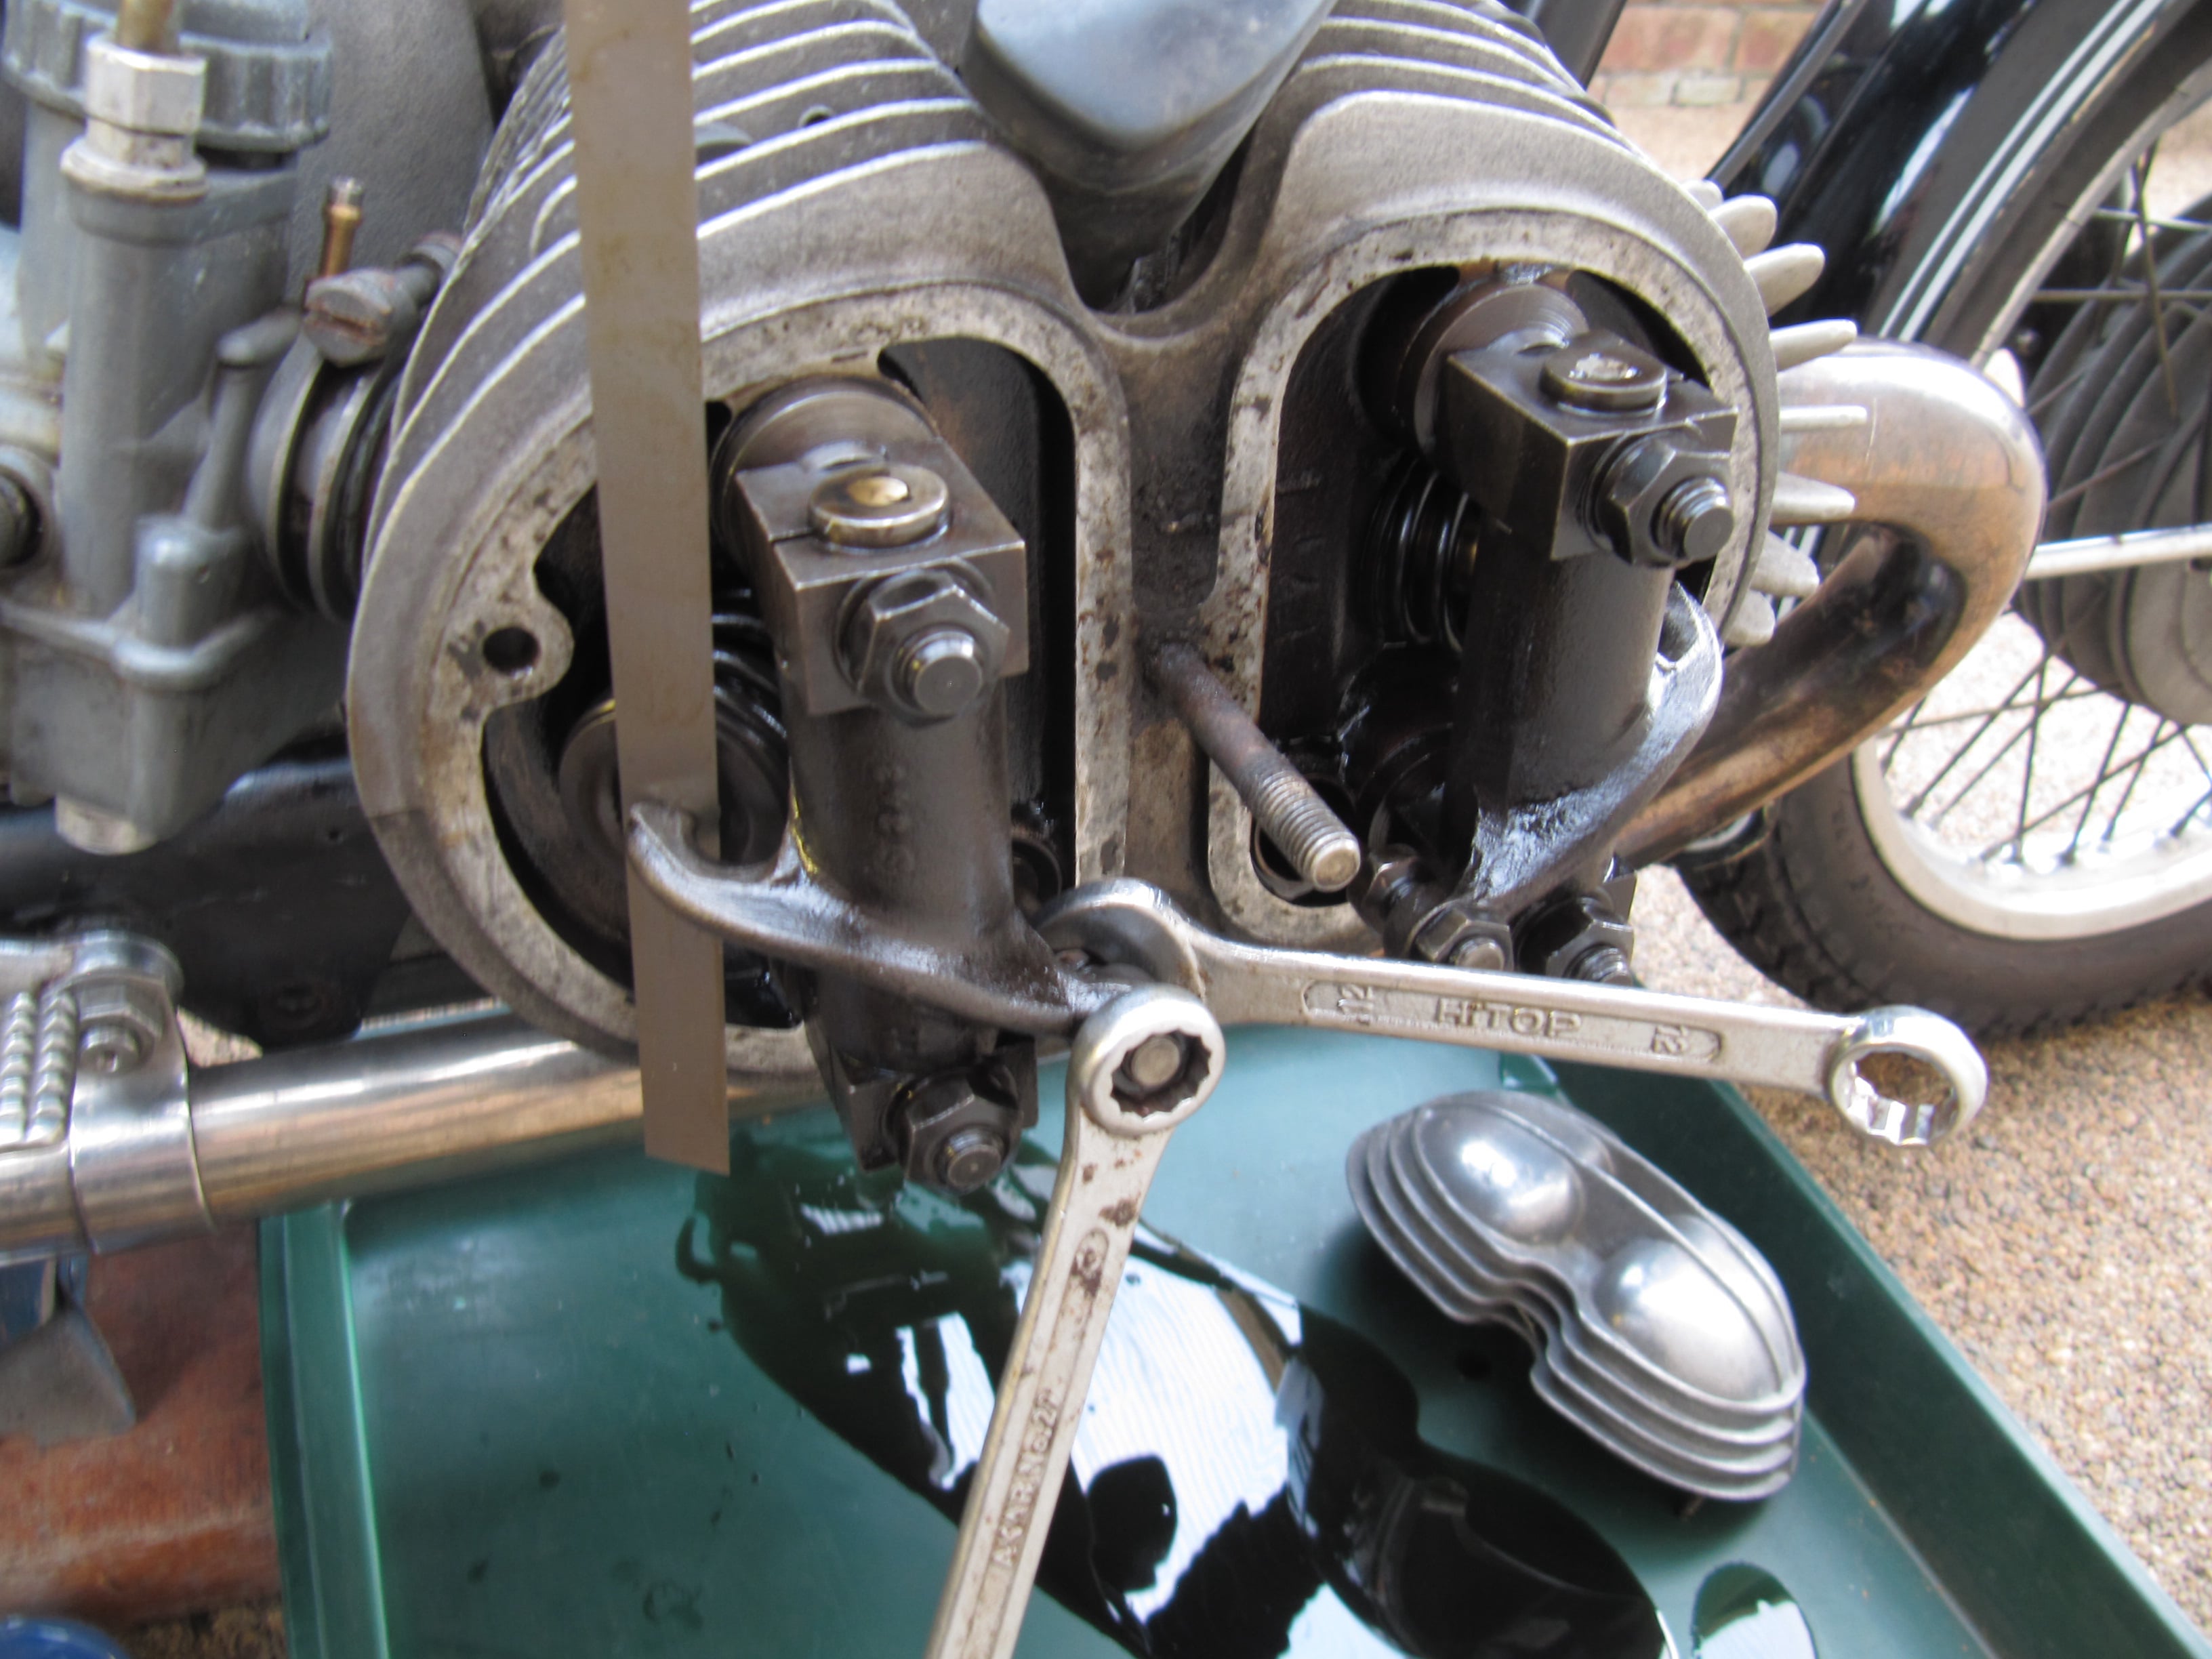
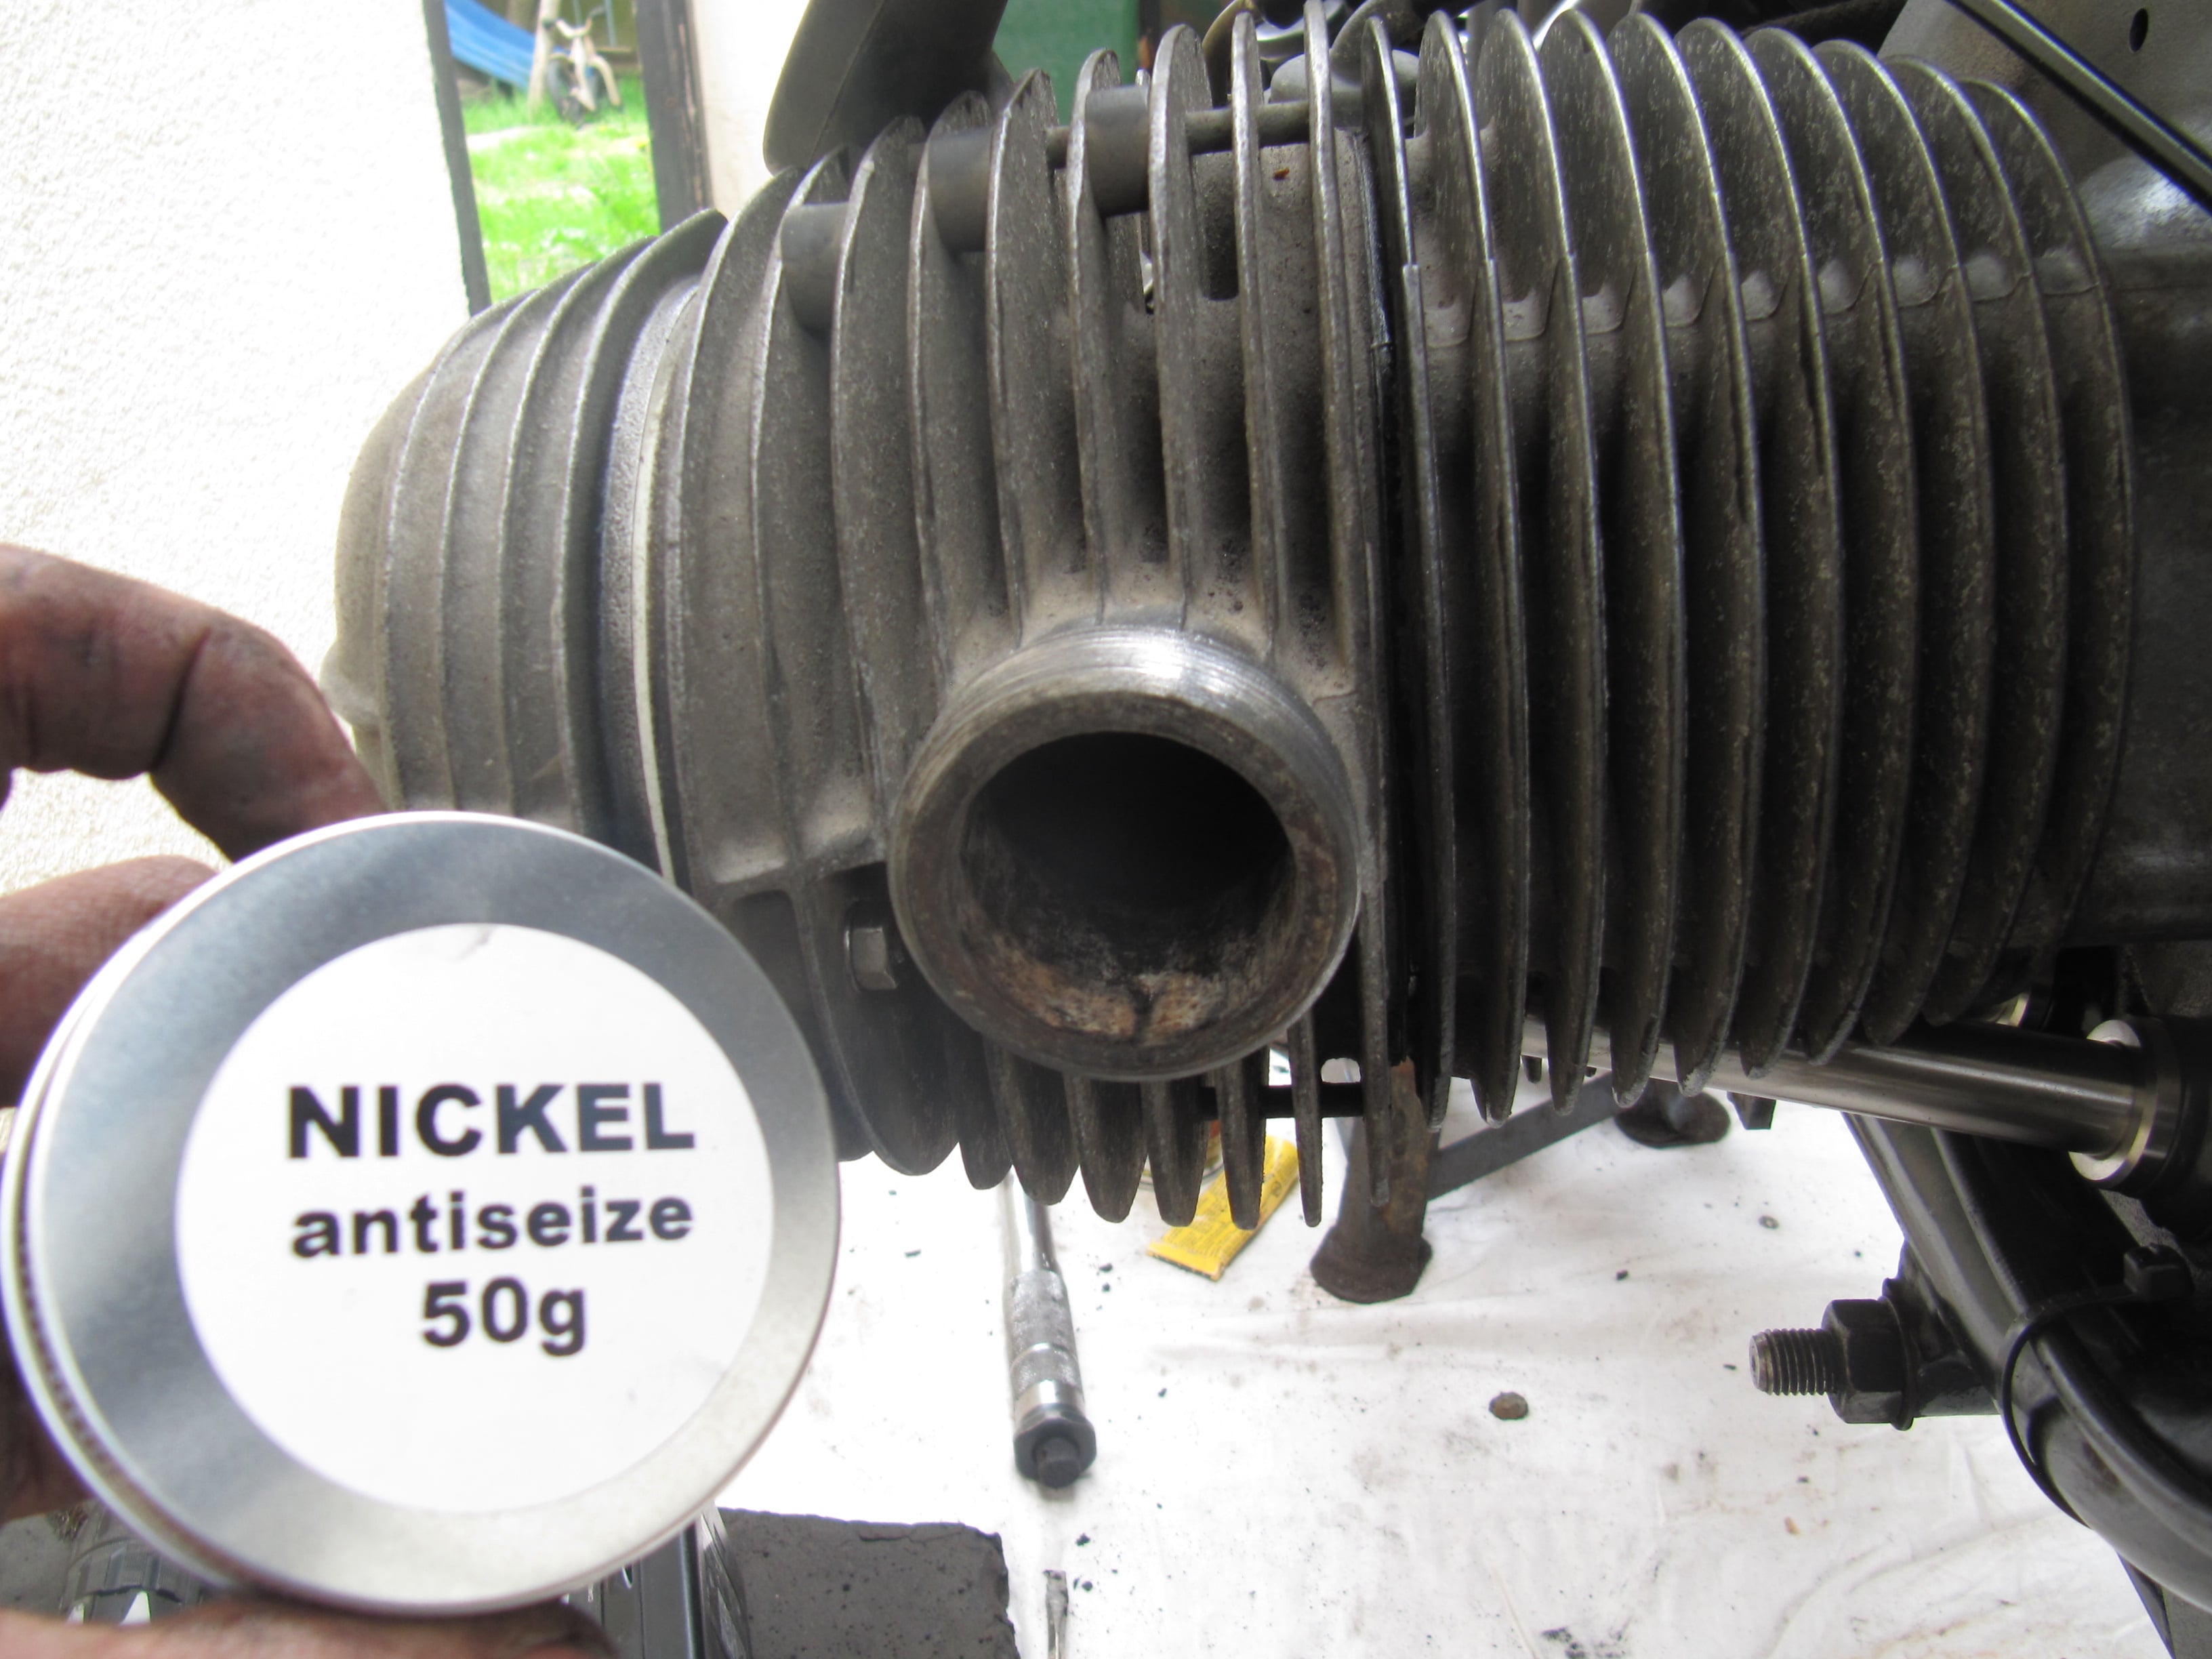
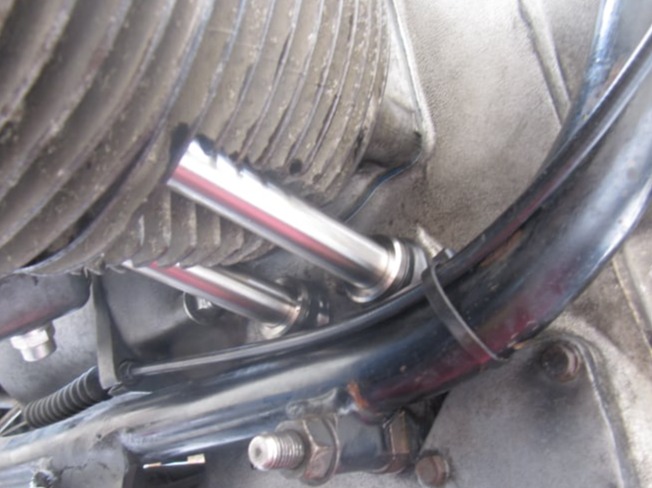
Replacing push-rod Tubes on the BMW R60/6

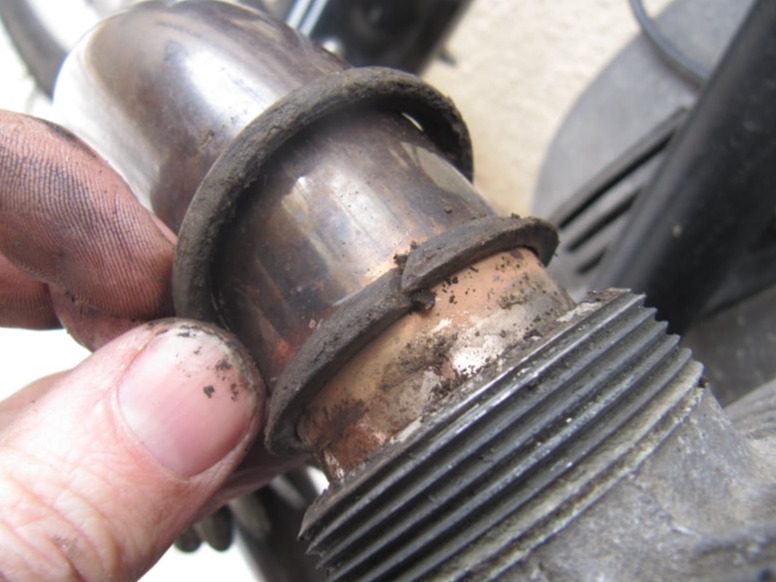
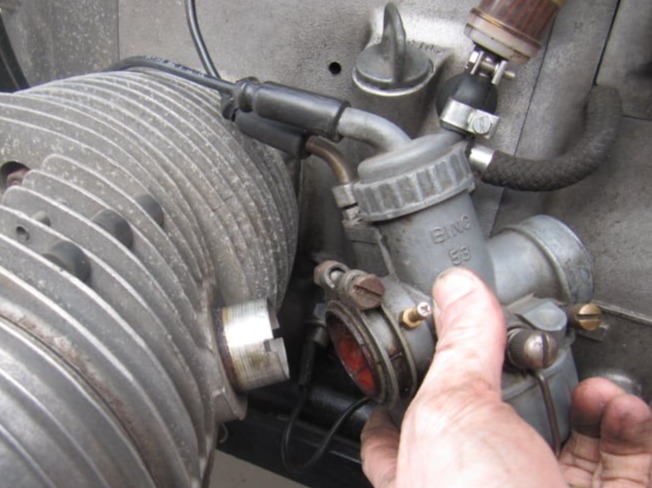
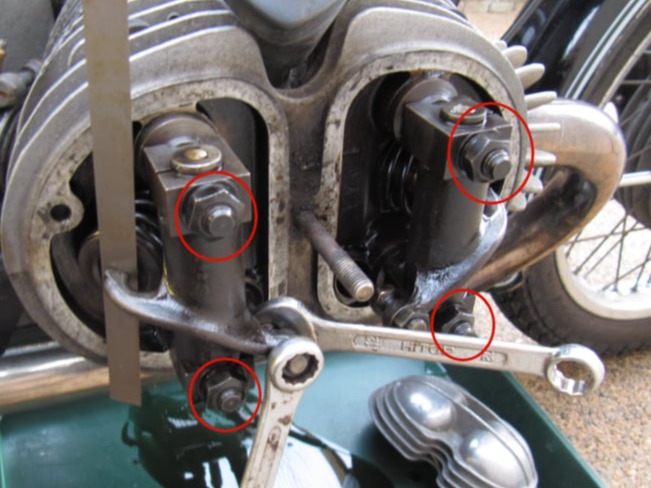
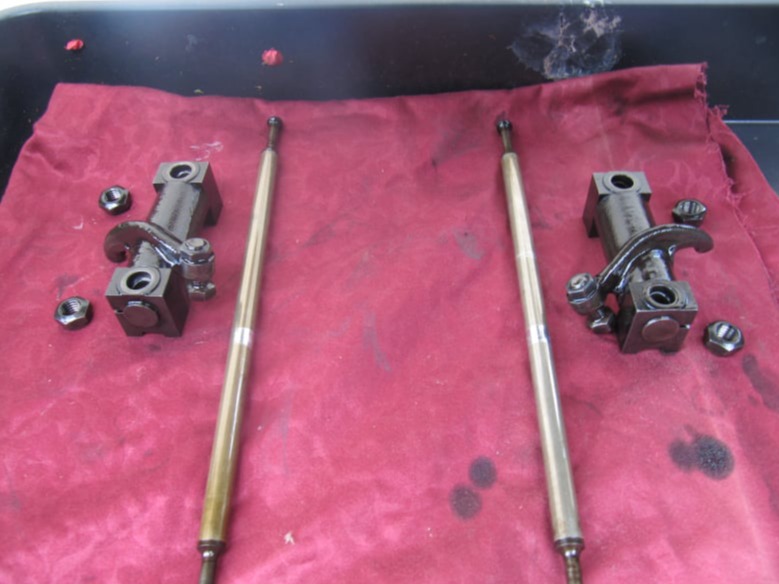
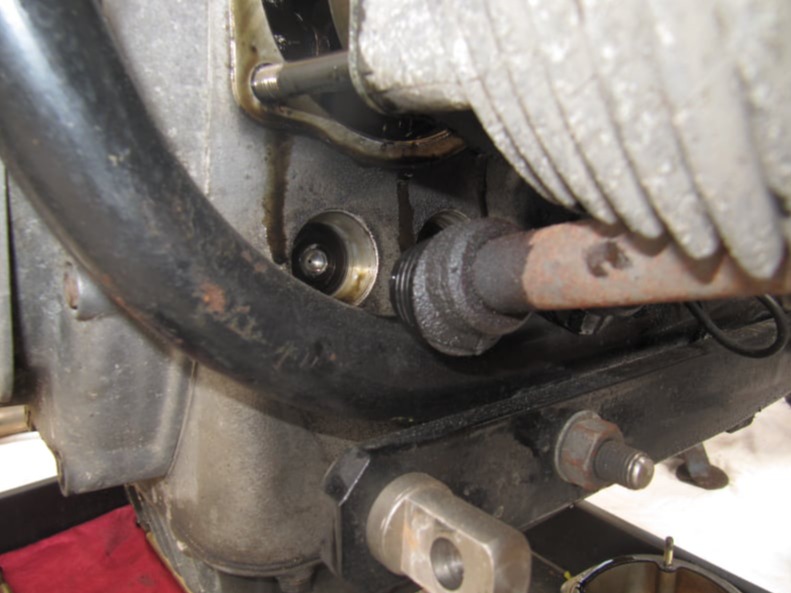
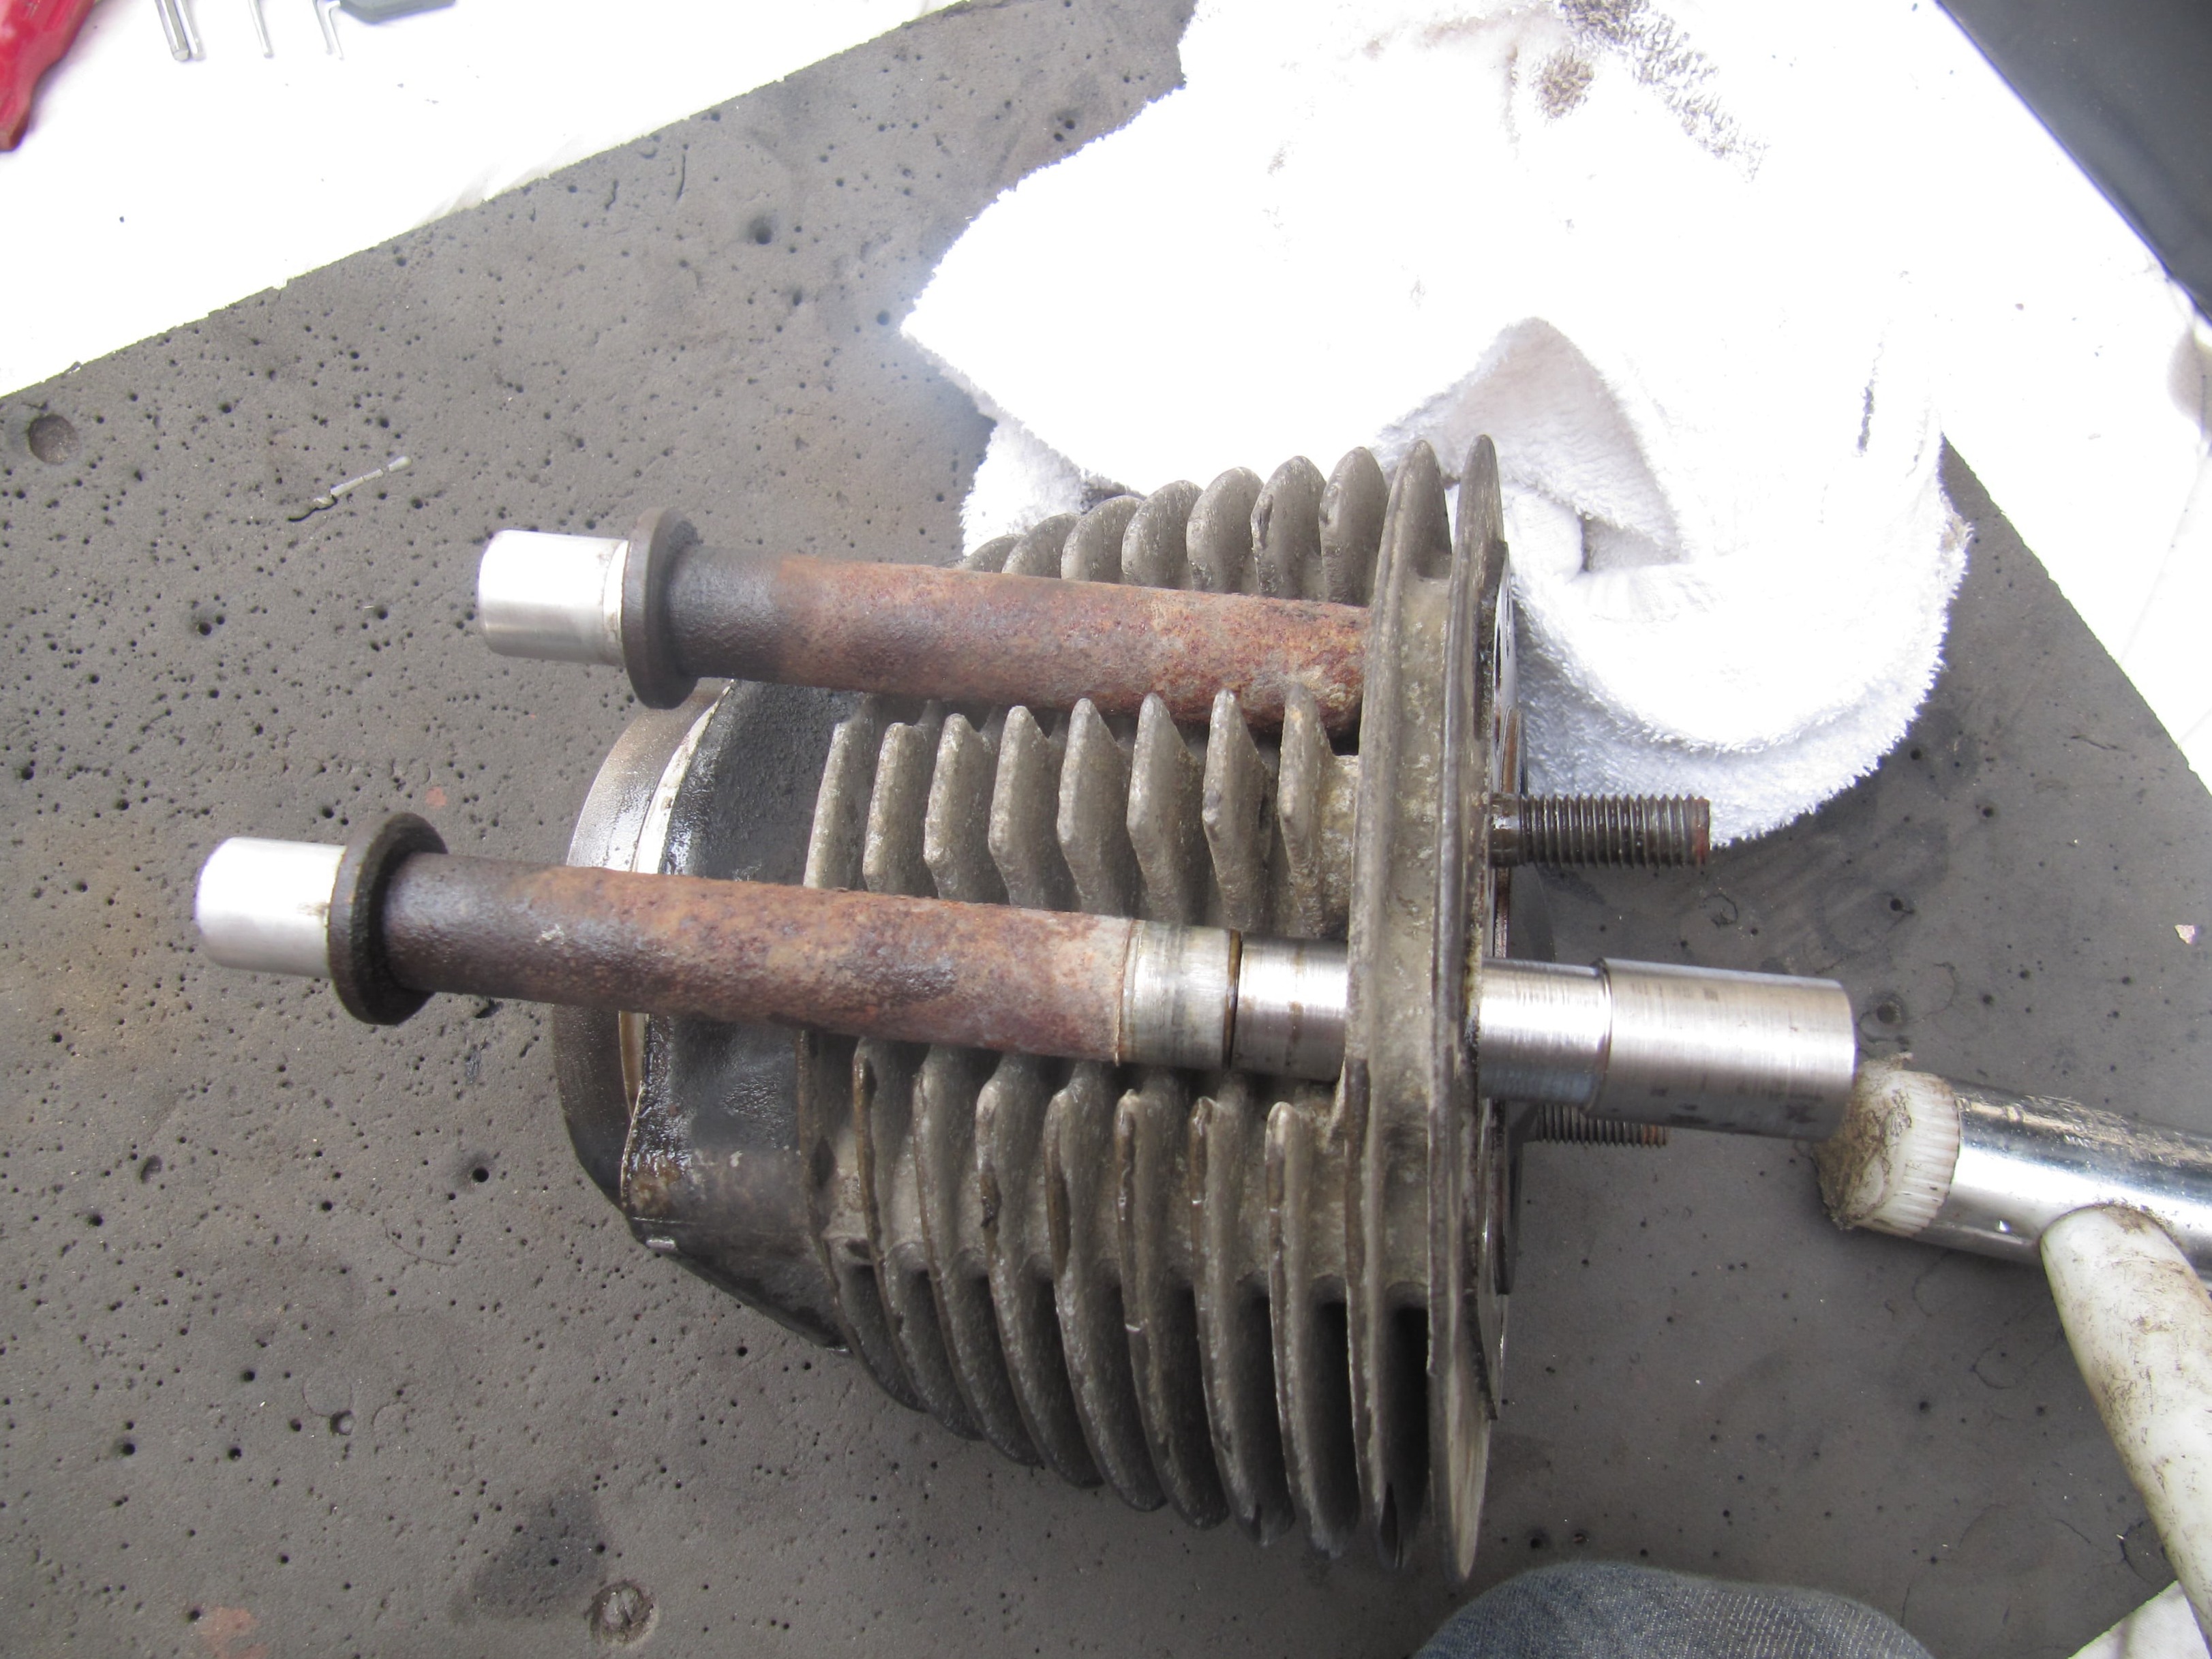
The push-rod tubes on the classic BMWs have a hard life, running at elevated temperatures in the water and salt spray from the front wheel.
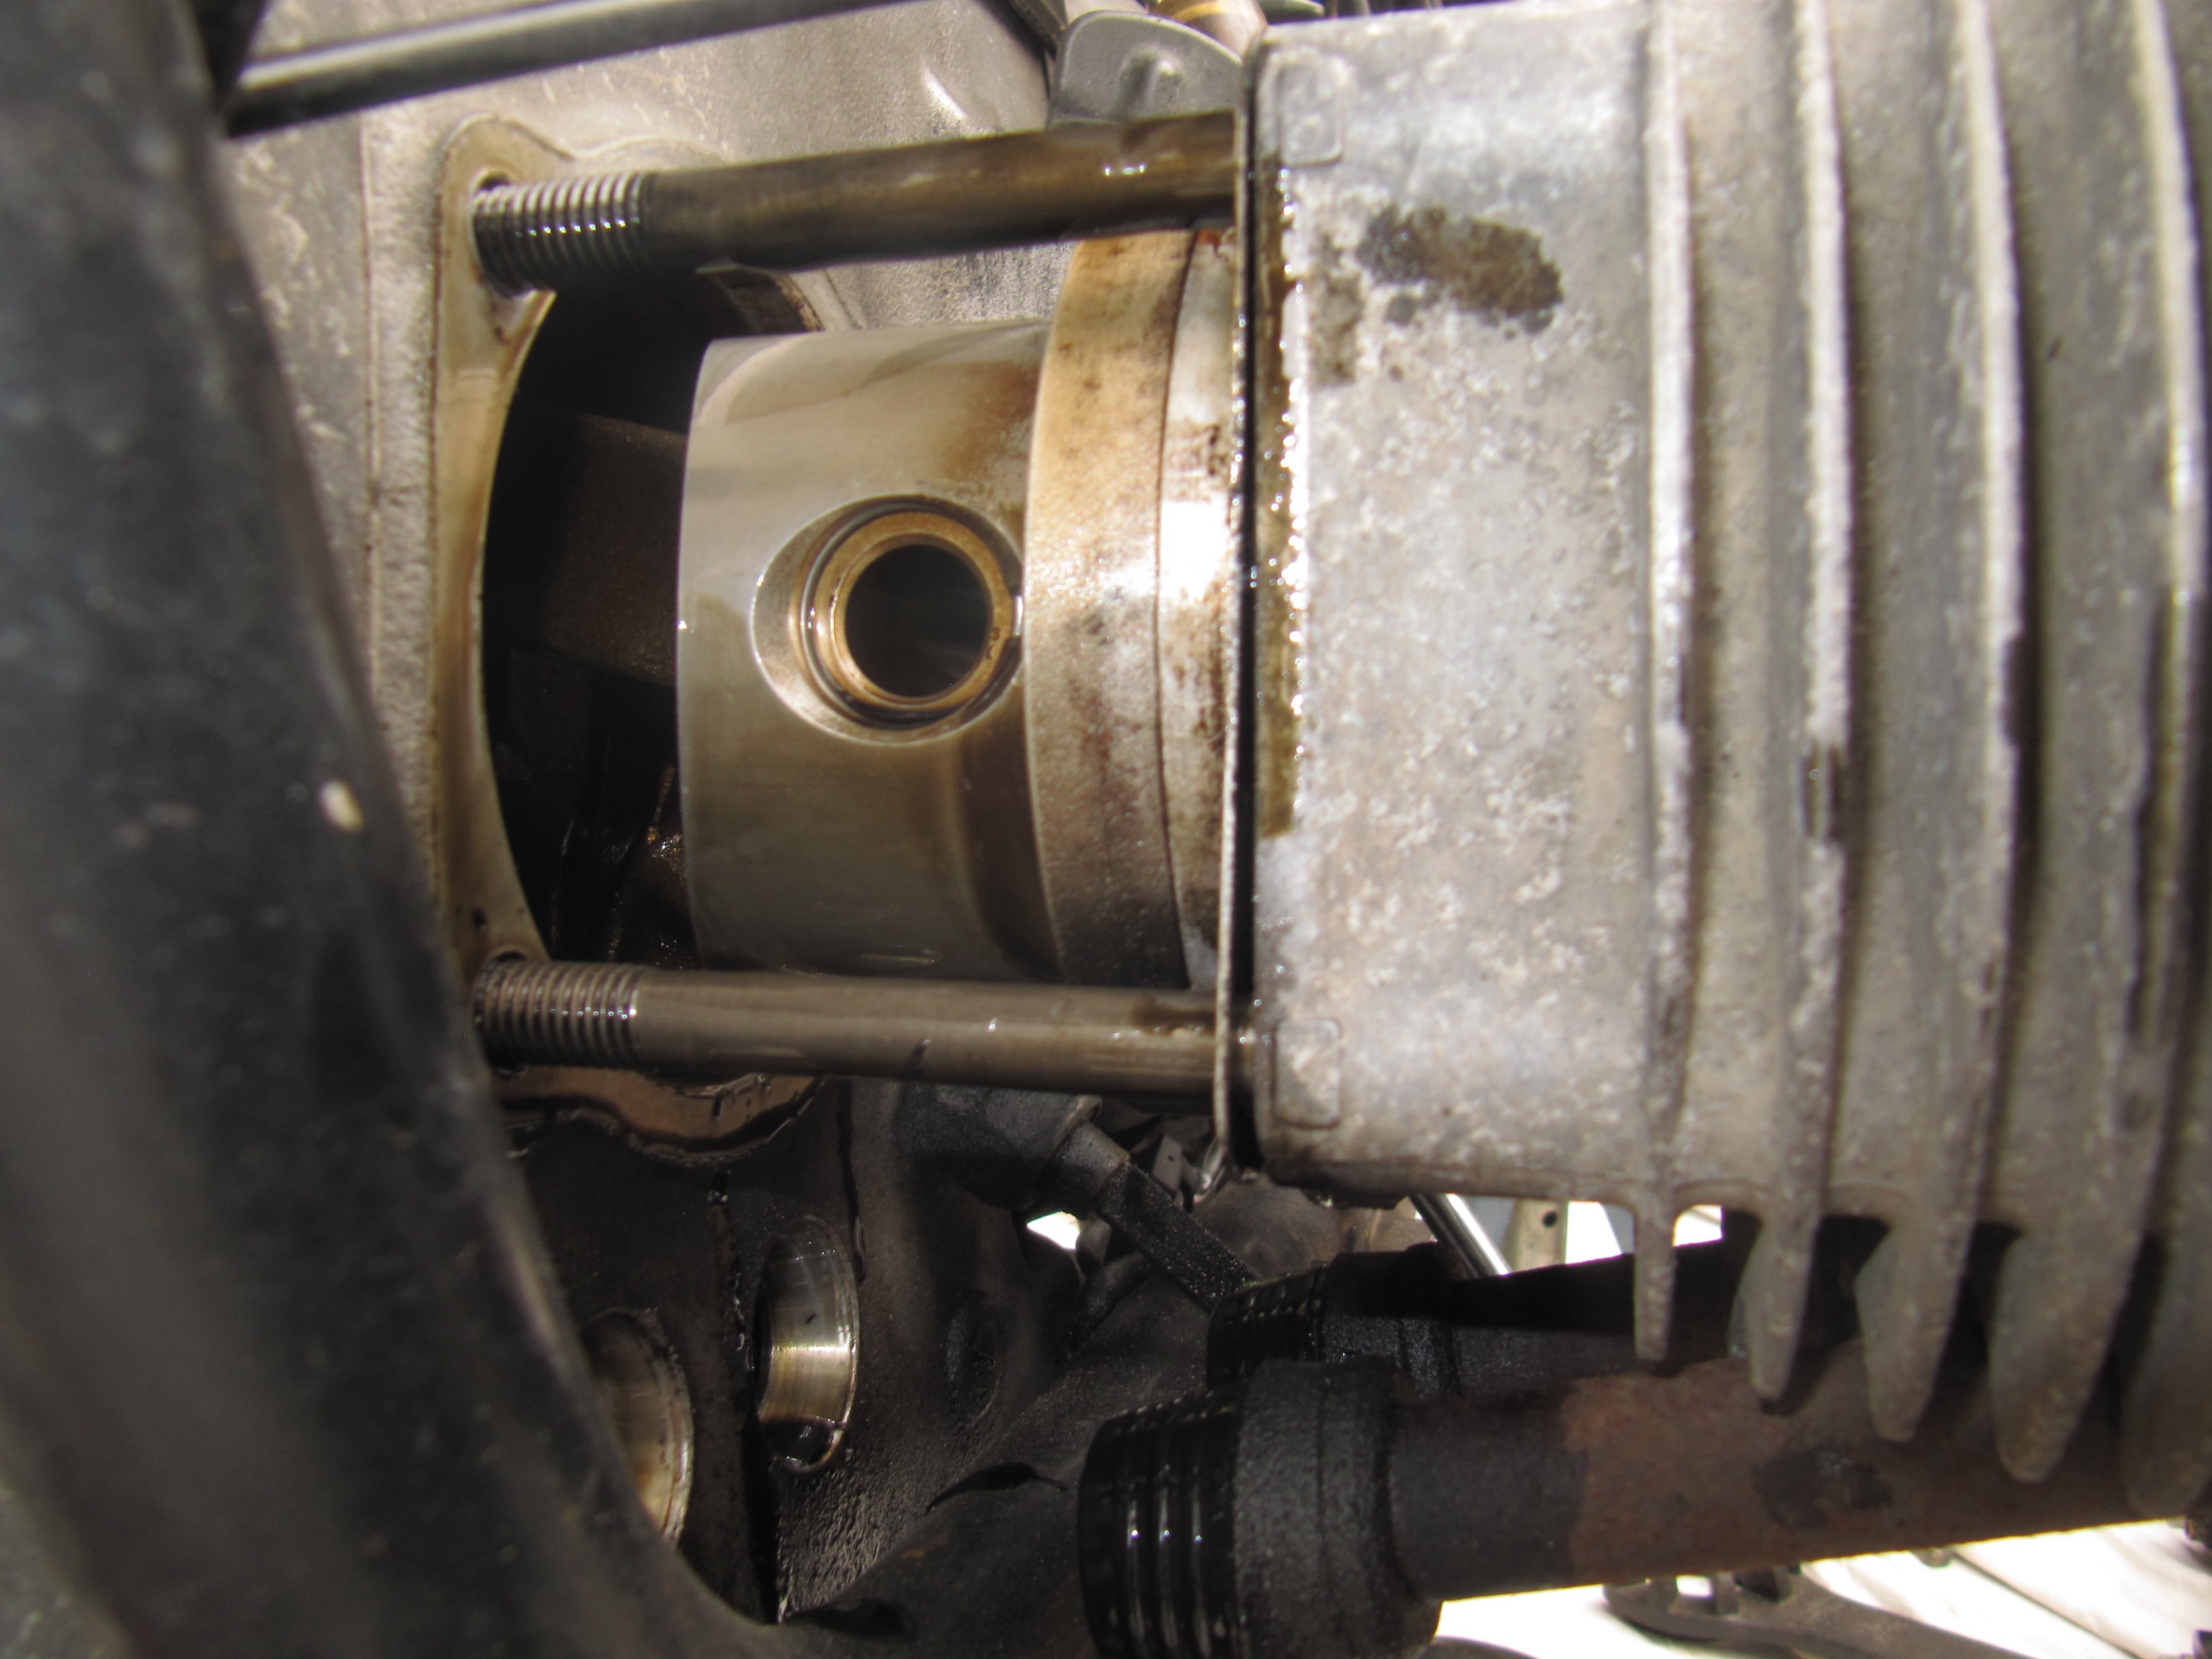
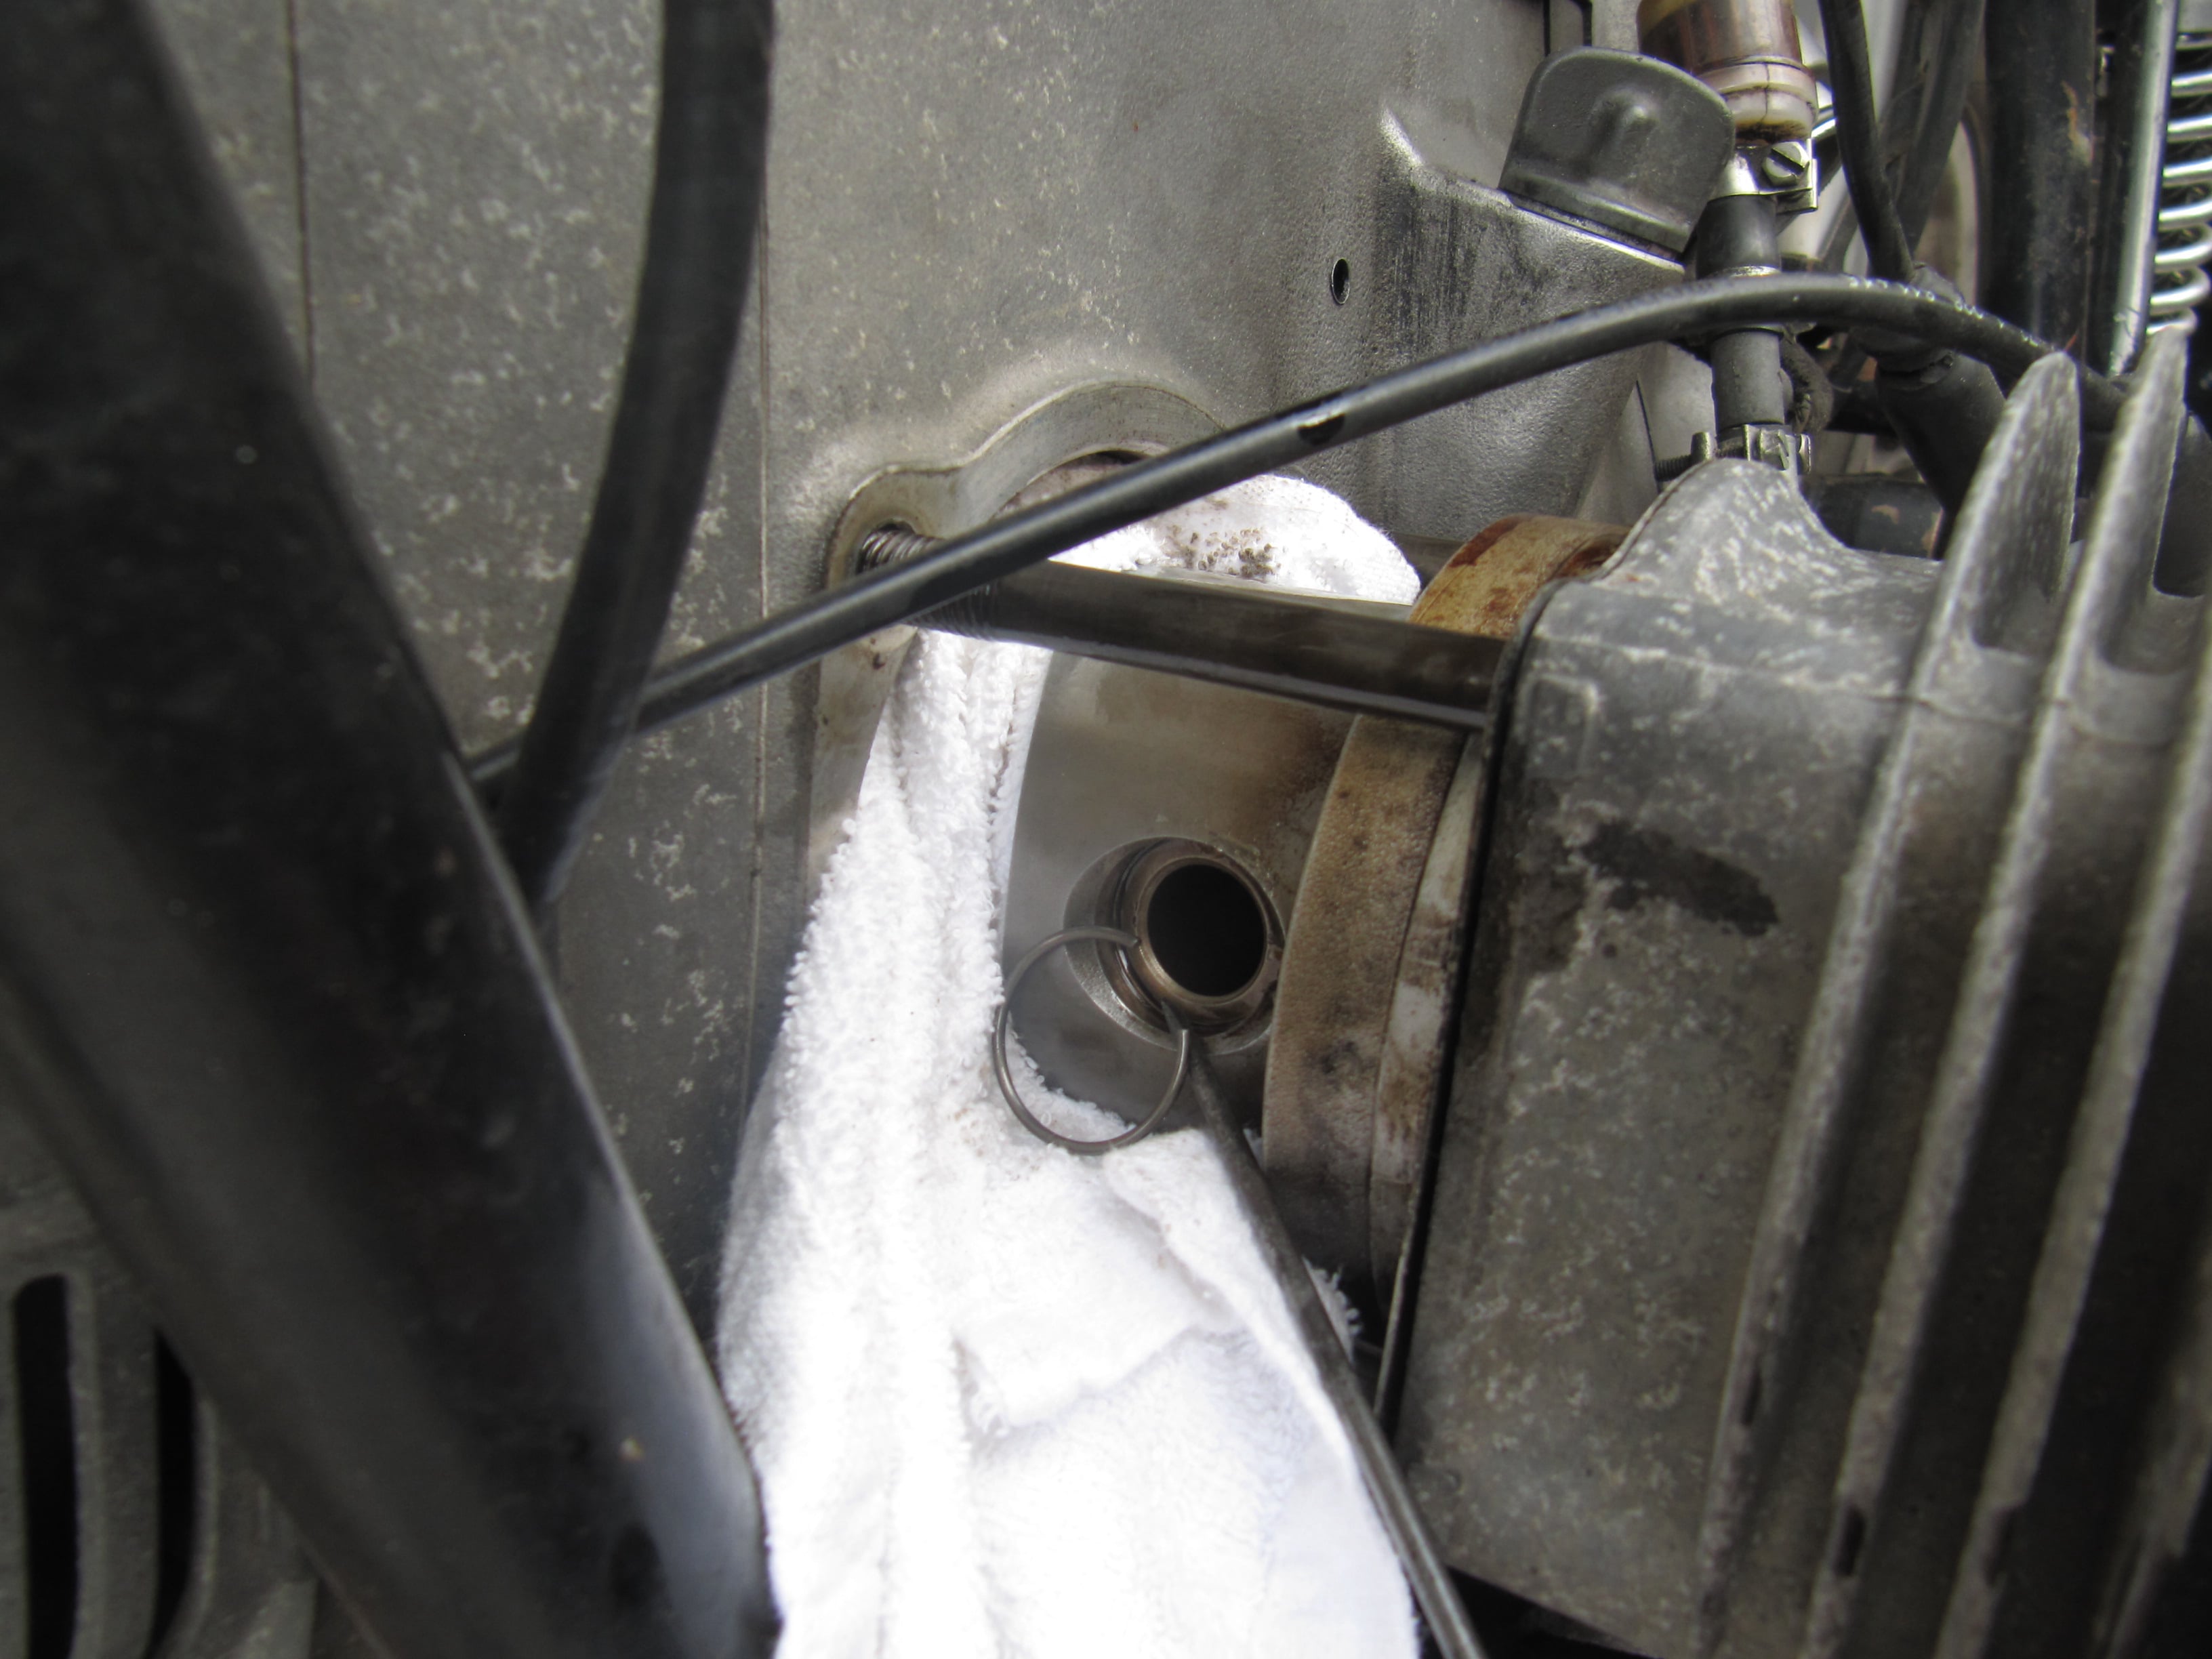
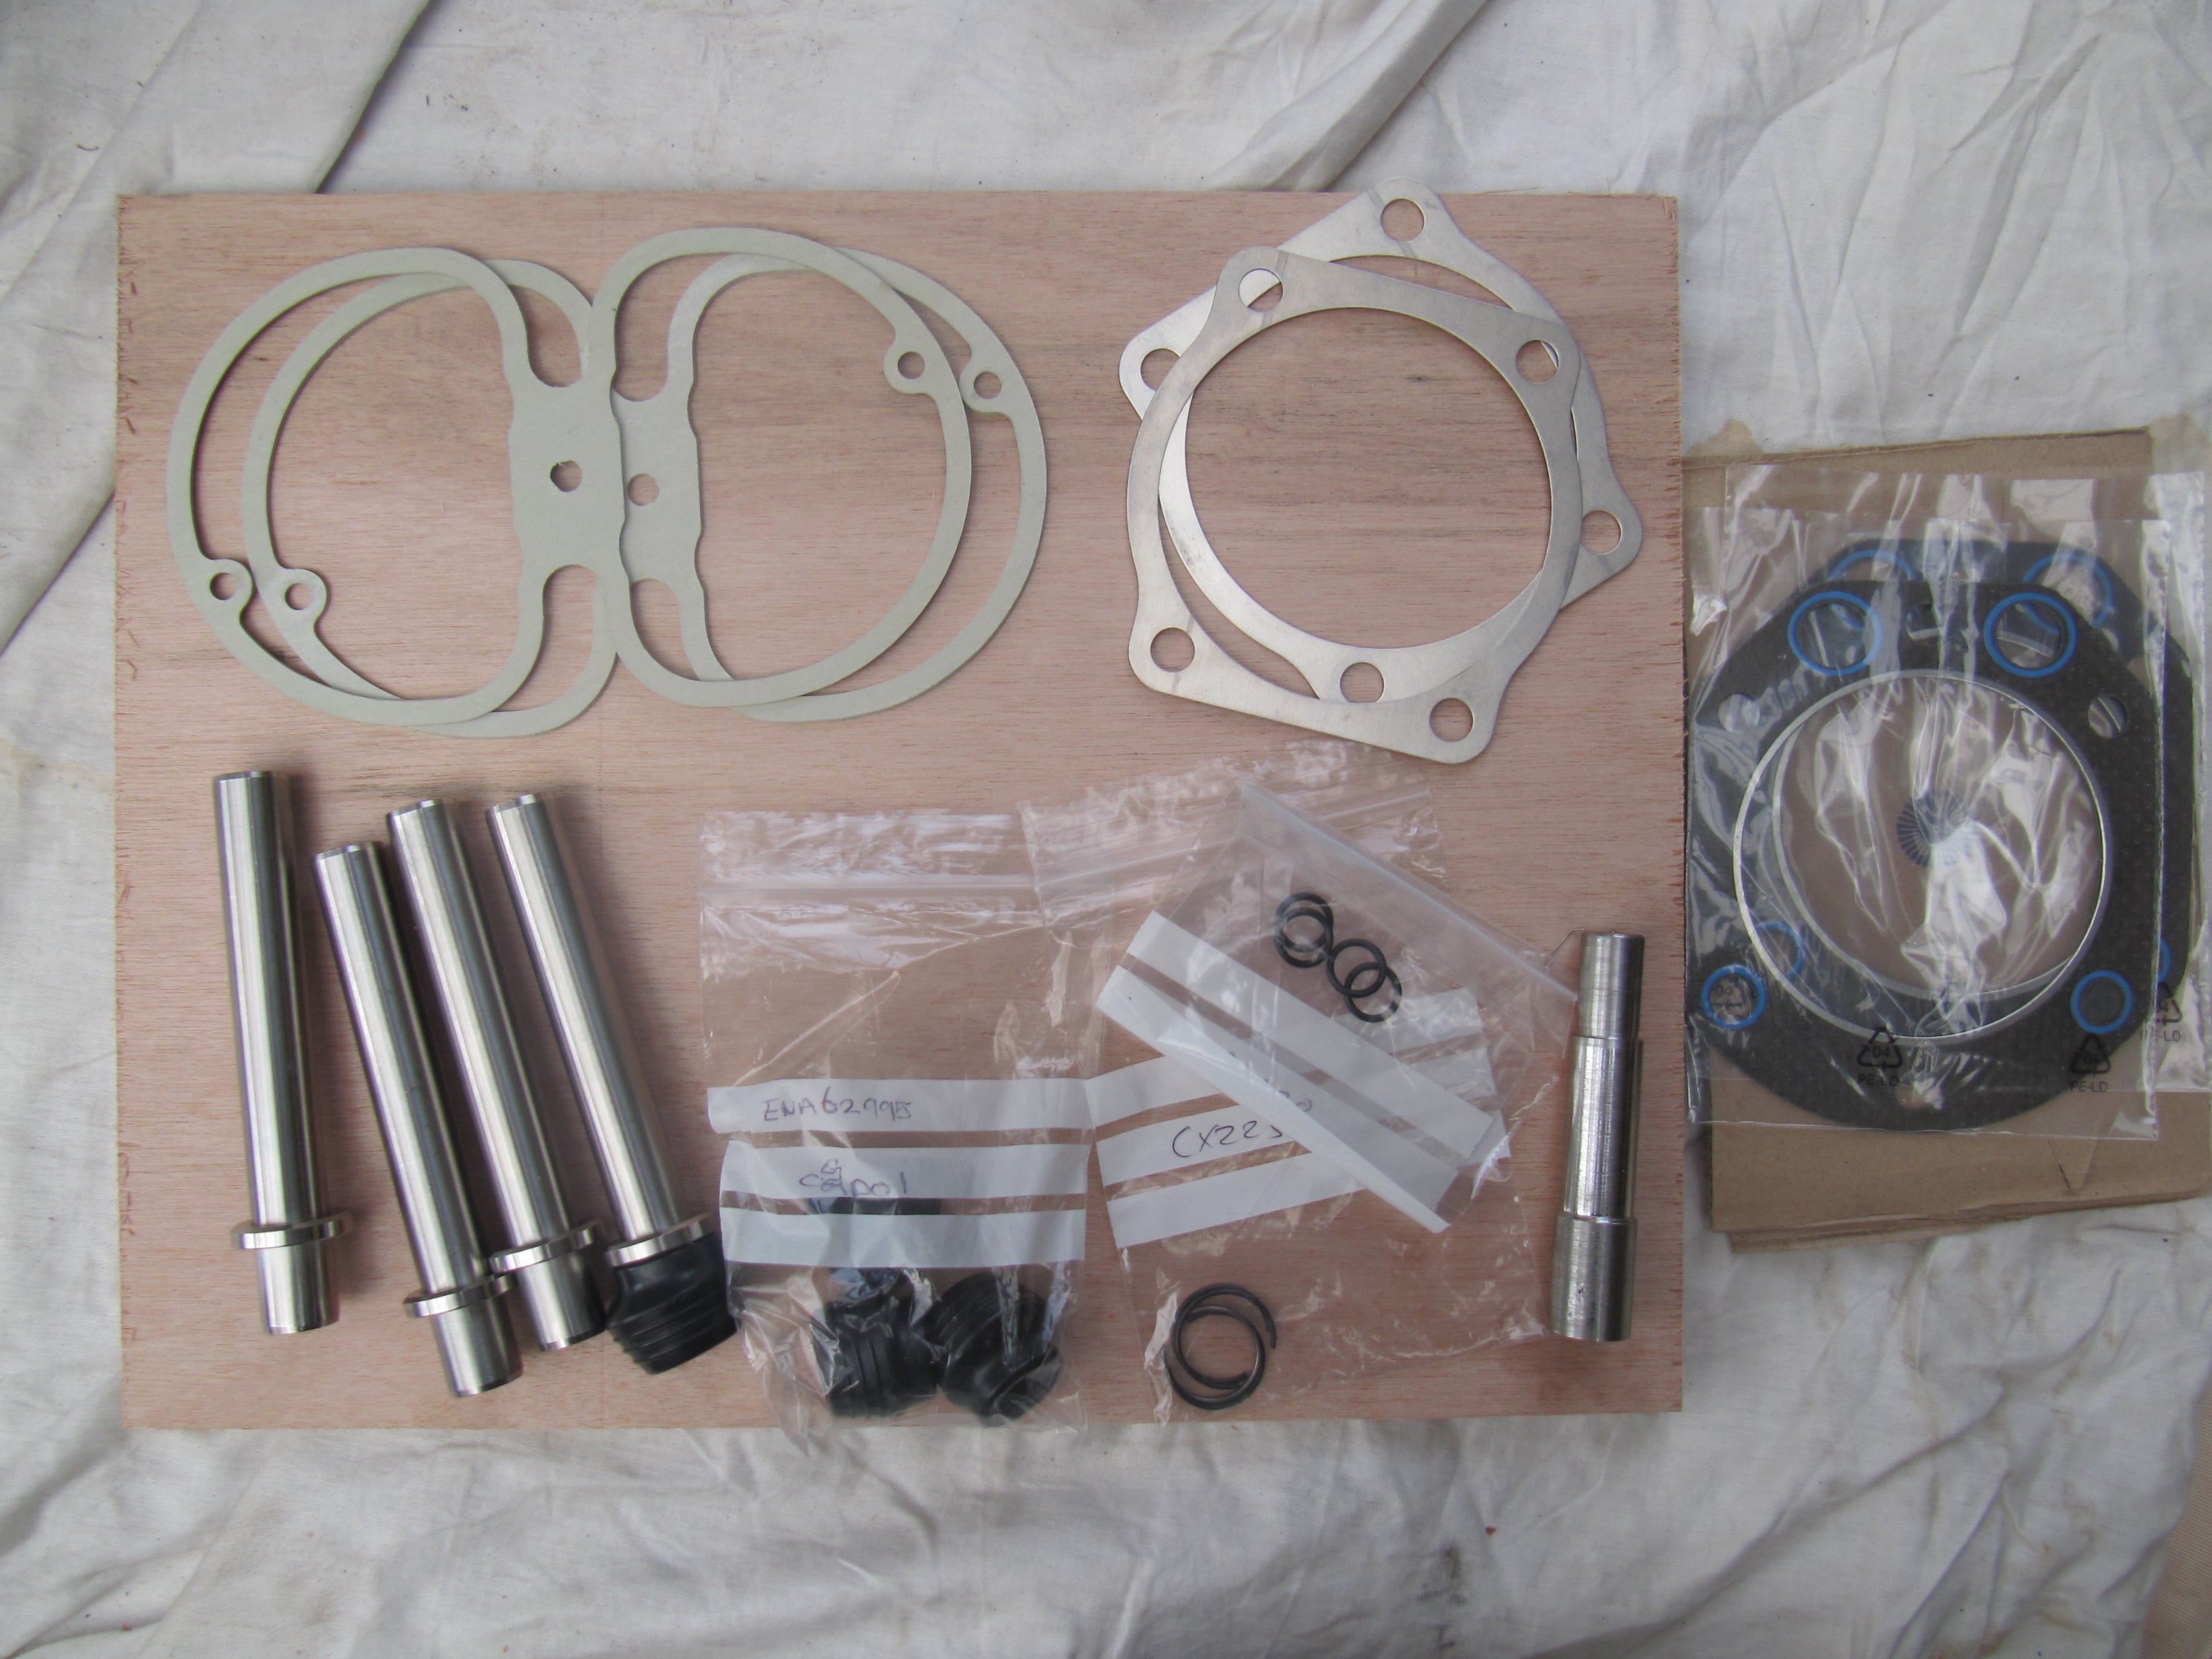
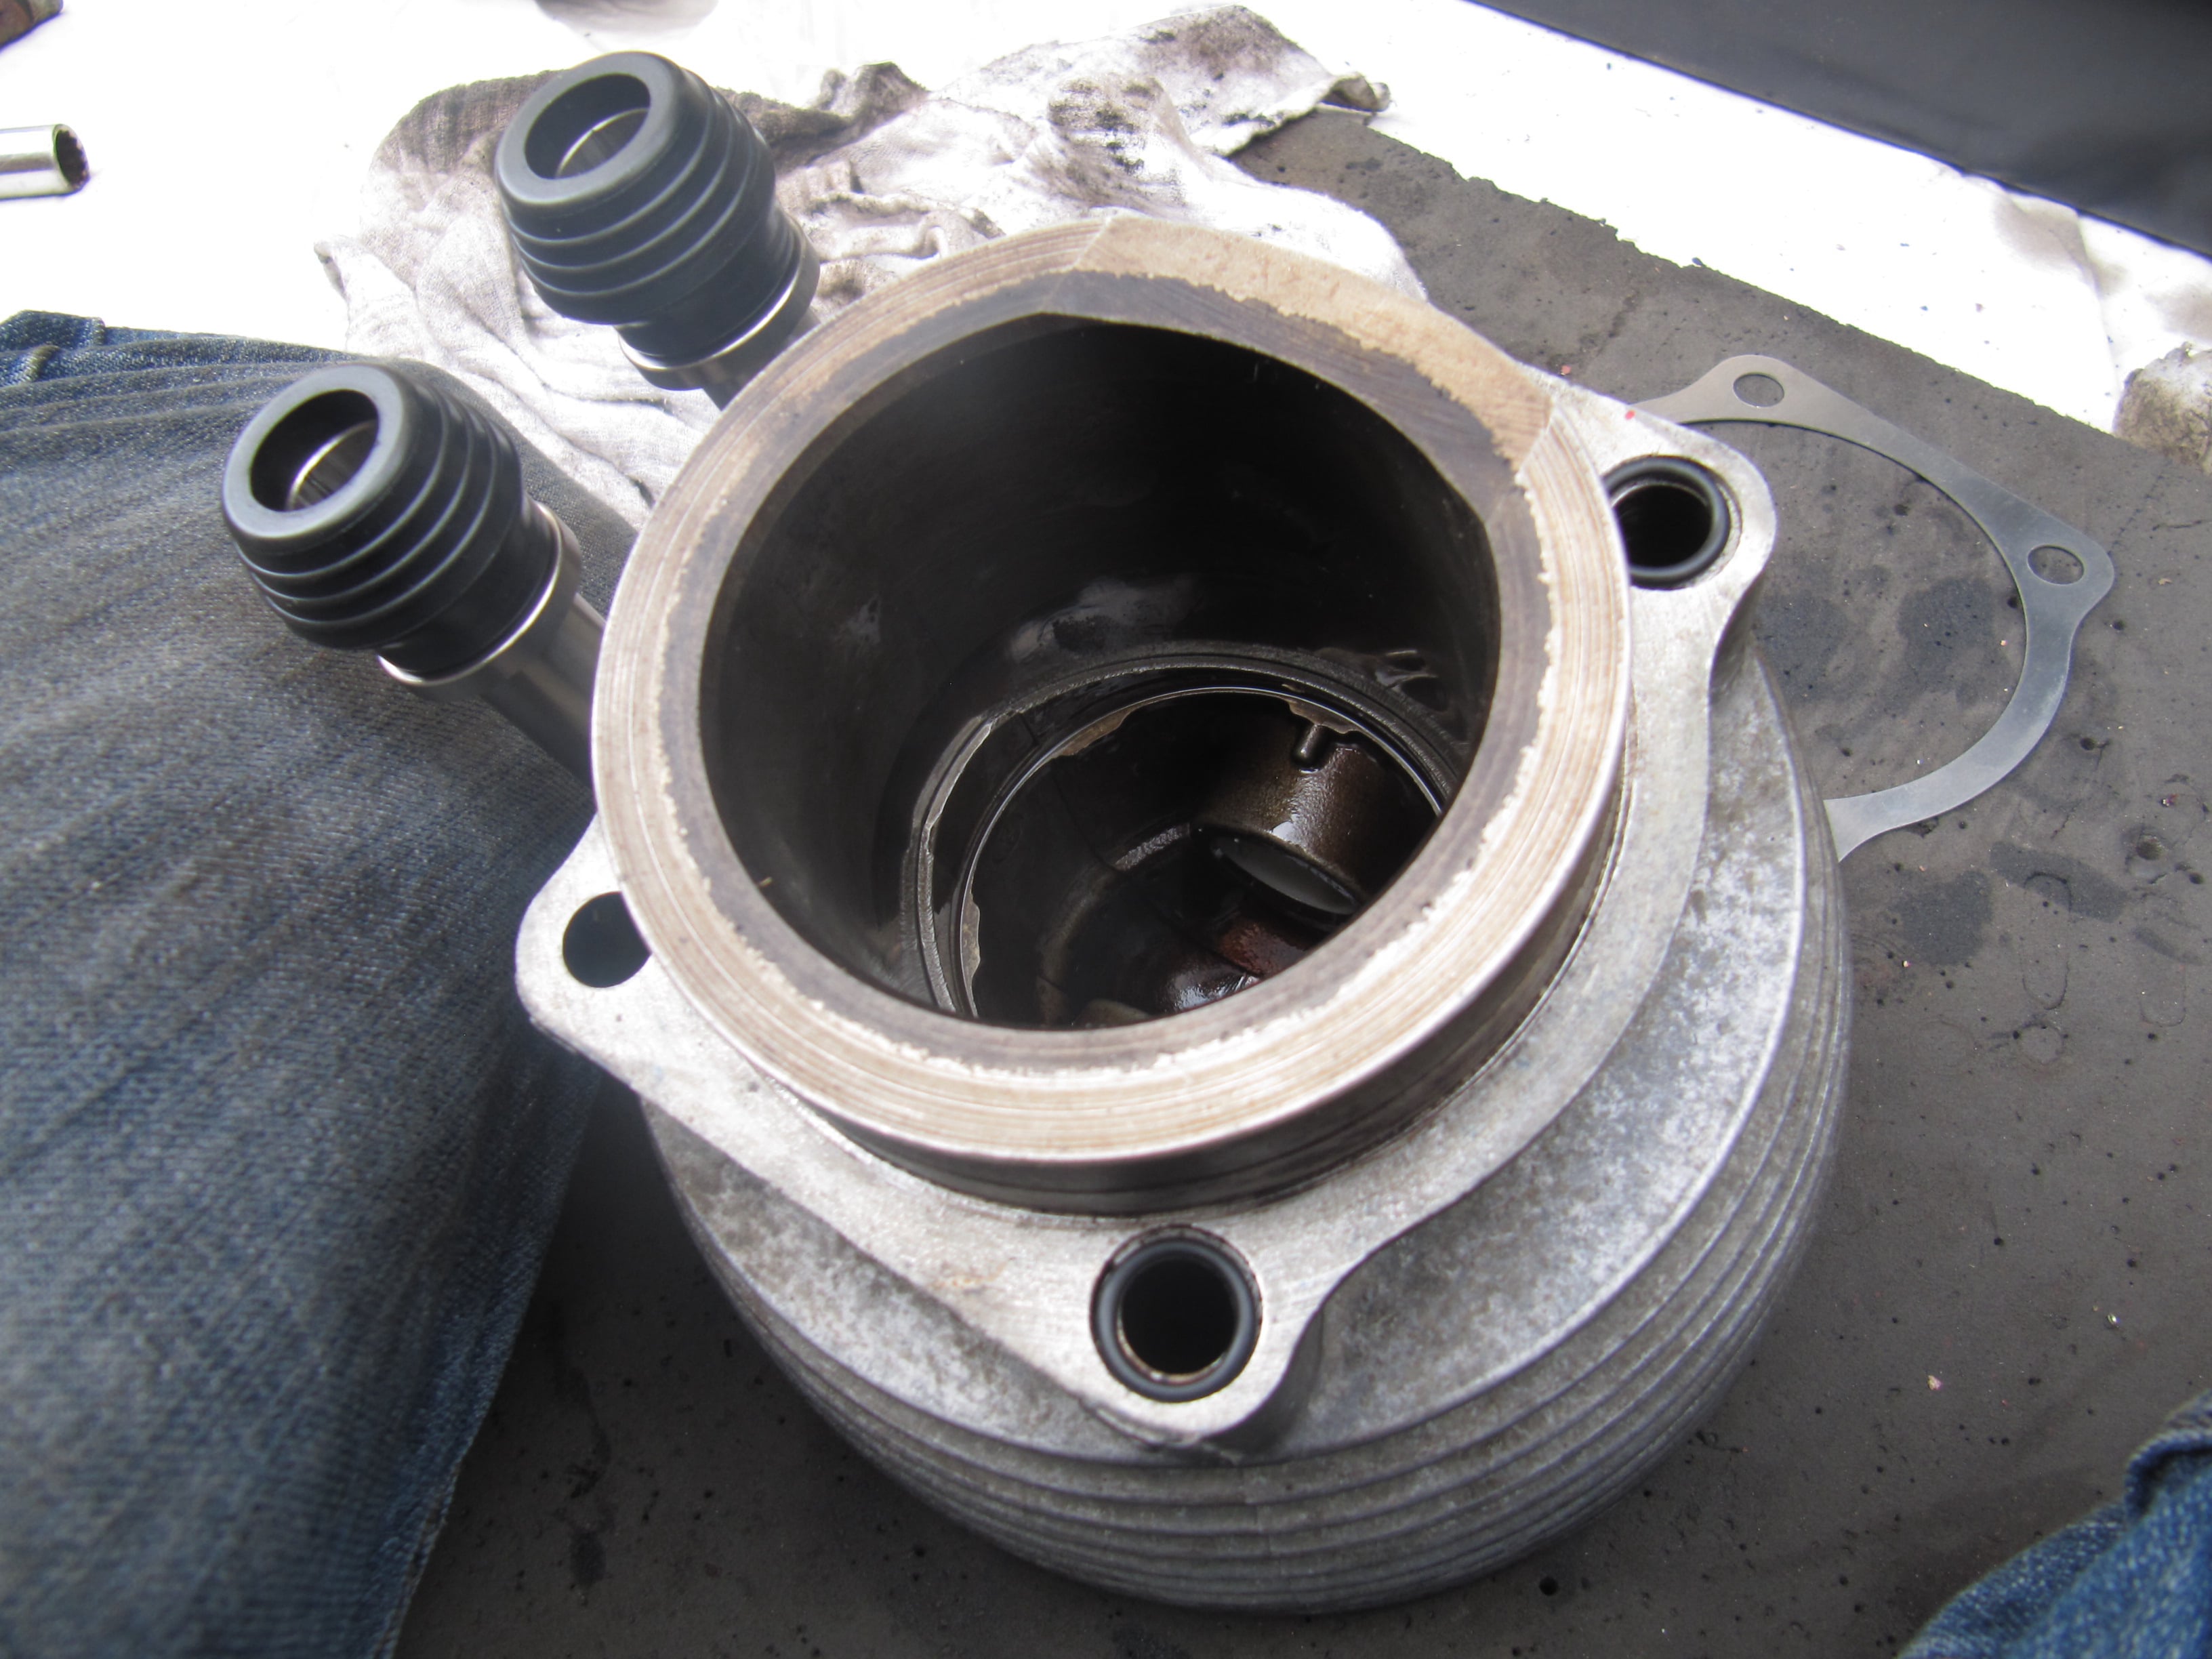
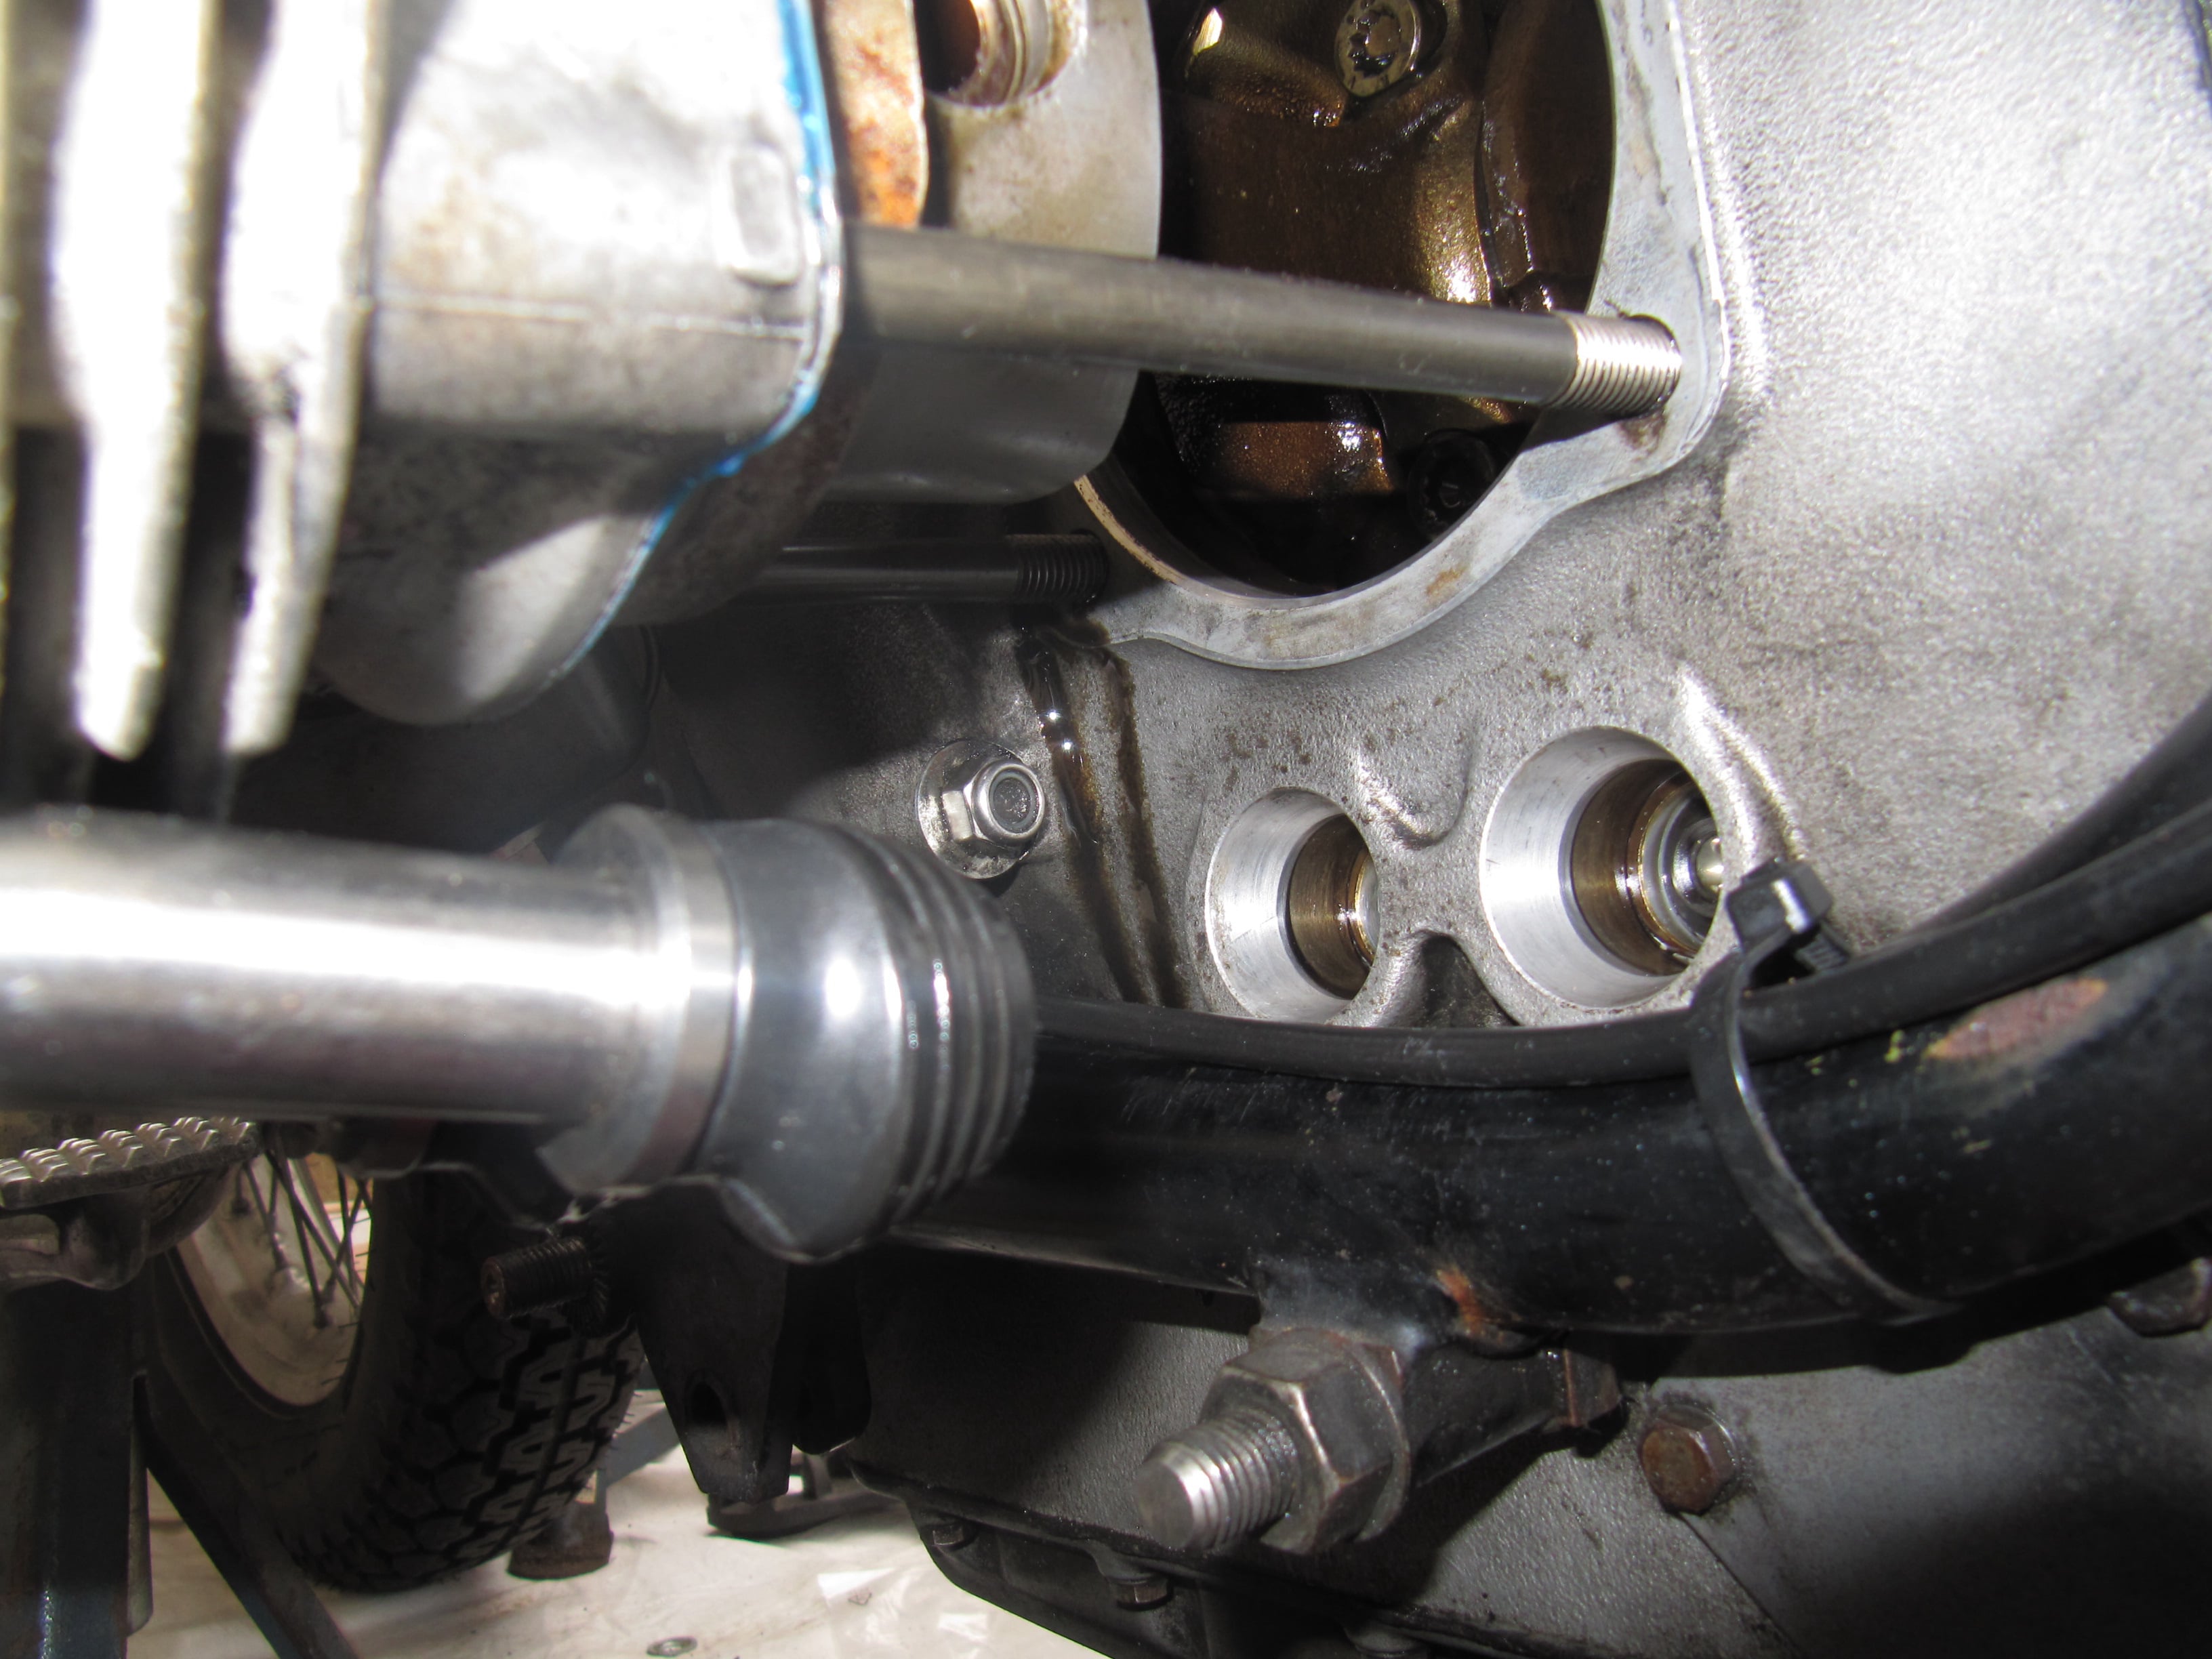
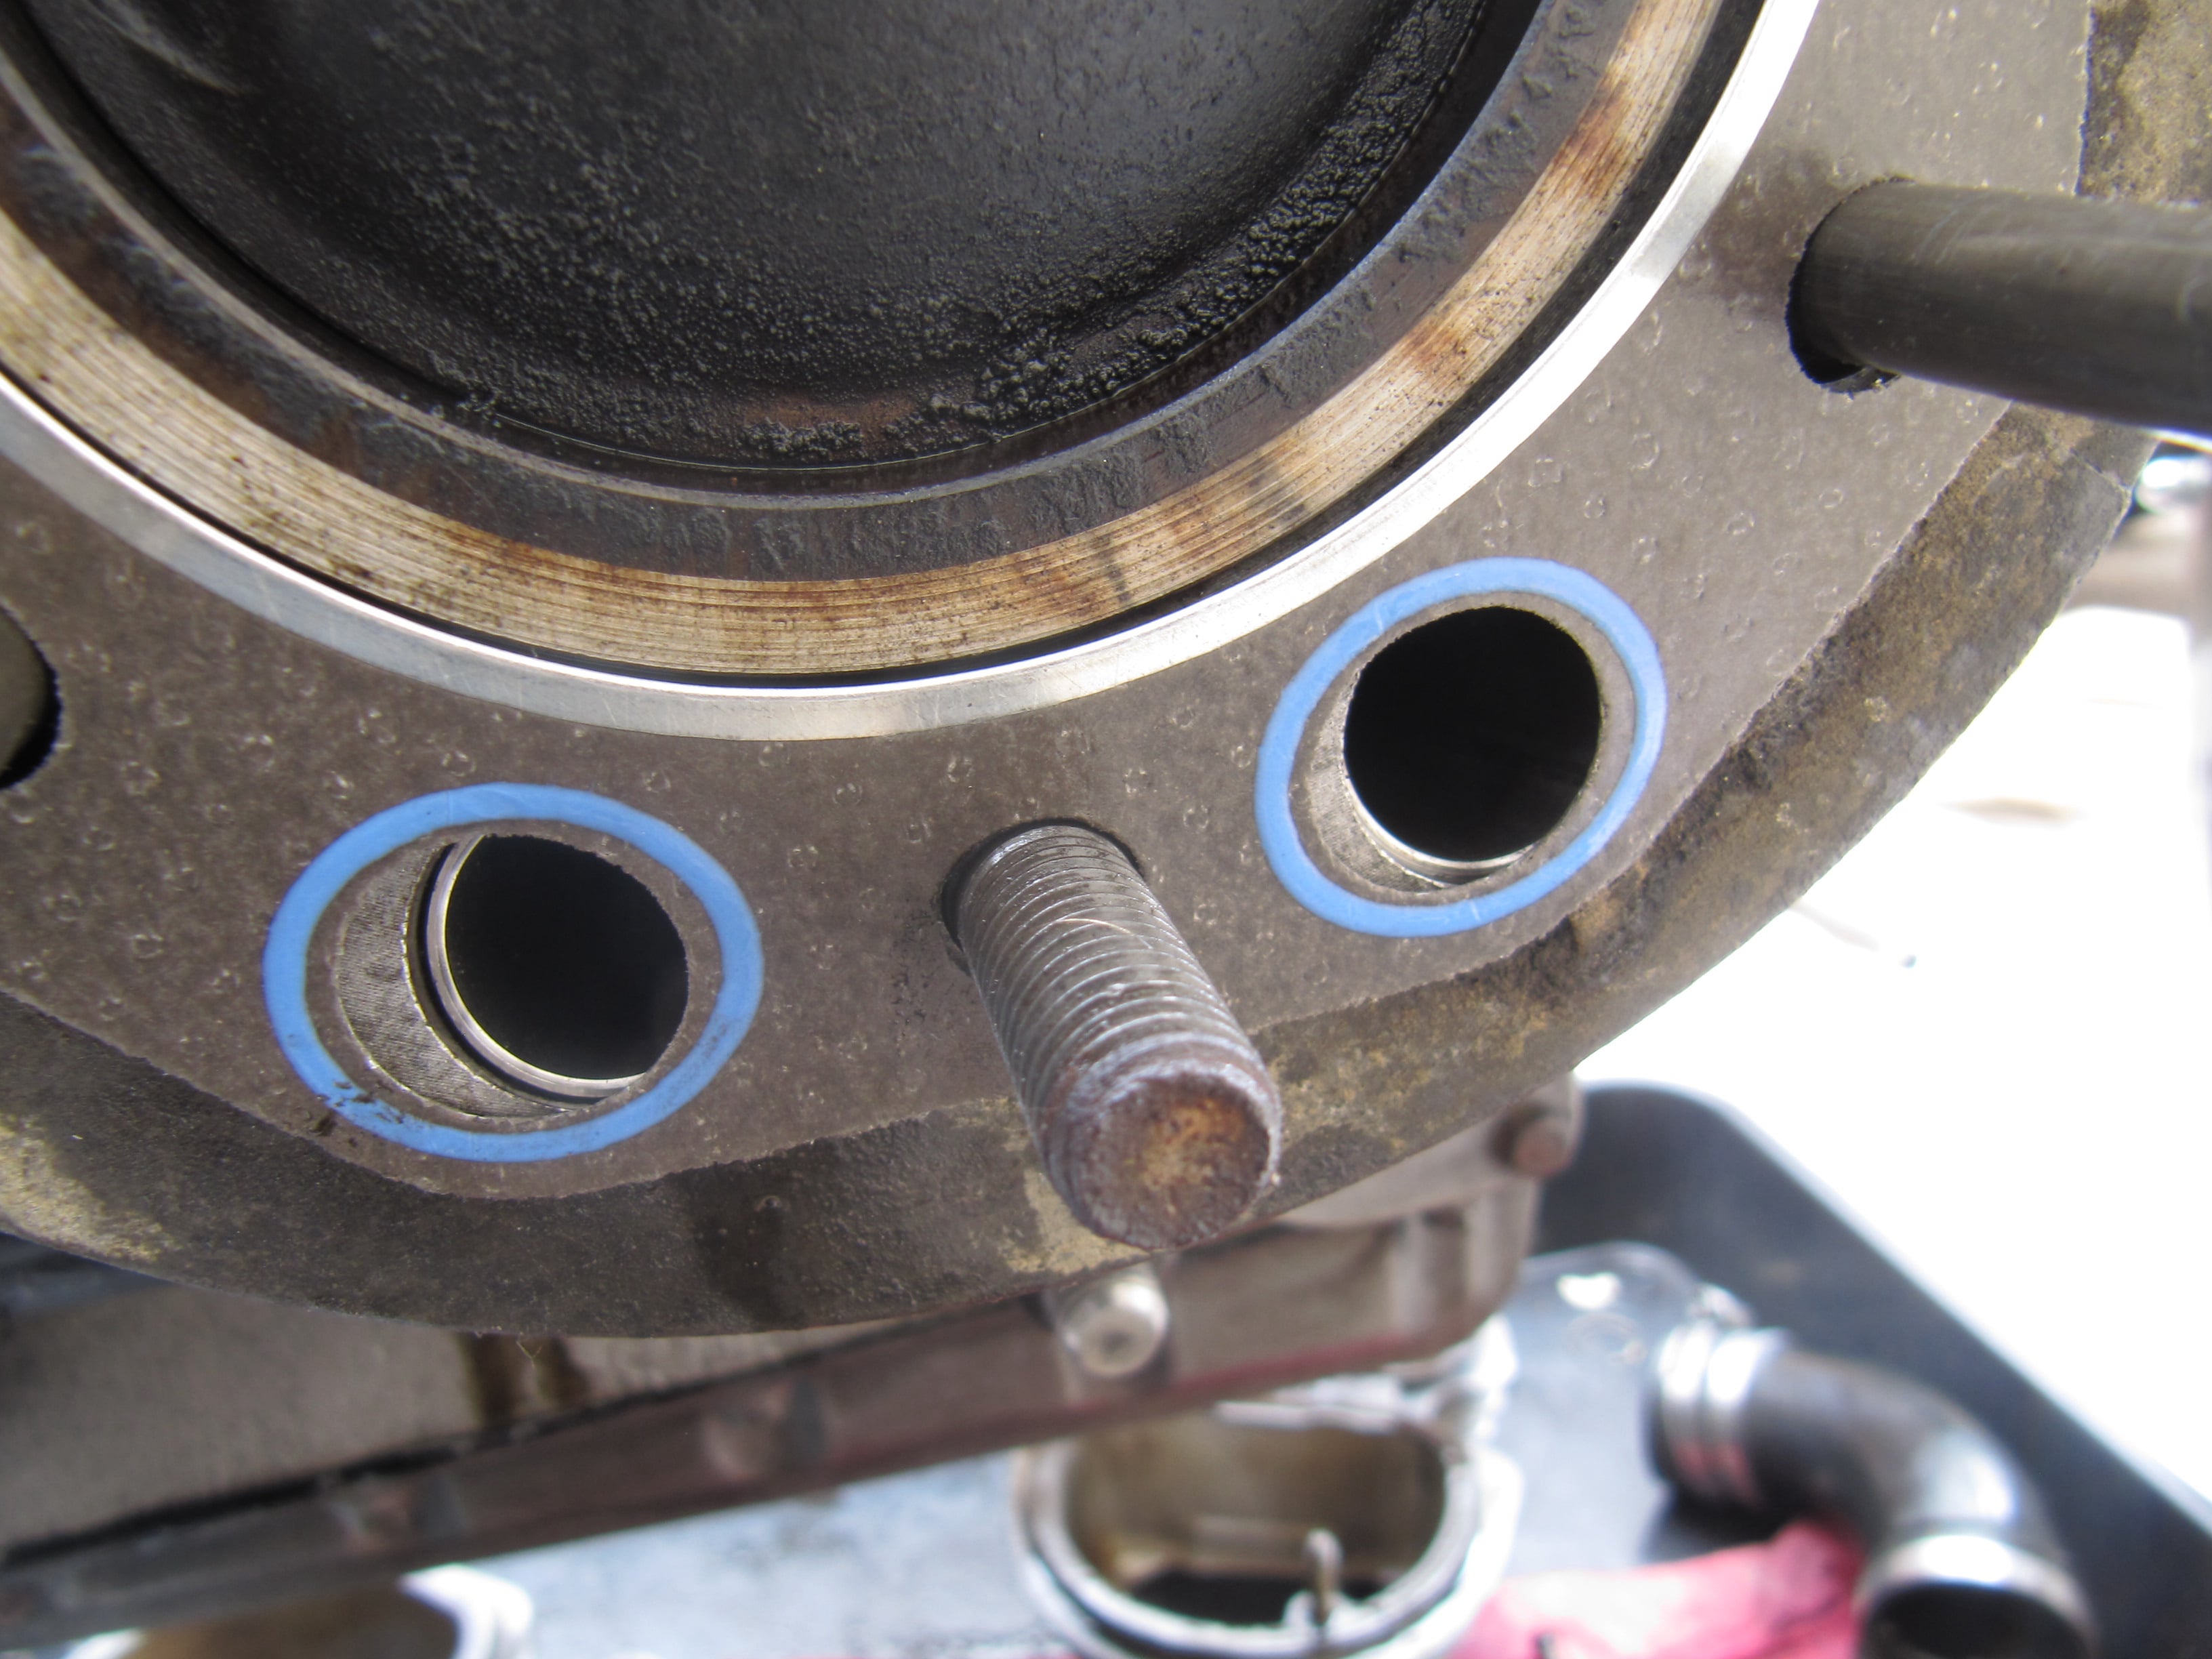
Stainless steel after market items are available and this page shows how they were fitted.
If just the rubber seals are the be replaced then this can be done using a similar process with the difference noted in the text. 

Mobirise Website Builder

The exhaust needs to be removed first. This is most easily done by removing the silencers on their own, followed by the downpipes.
The spider nuts require care. If they become tight during removal they should be cut-off and replaced, else the thread on the cylinder can get damaged.
Take a note of the orientation of the exhaust collar parts.

Mobirise Website Builder

Both carburetors should be removed next and secured out of the way without straining the cables.

Mobirise Website Builder

The rocker cover should be removed next followed by the four cylinder head nuts shown.

Mobirise Website Builder

Now the rockers and push-rods can be removed and the parts should be layed out or labelled so that they go back in the same place.

Mobirise Website Builder

Now the cylinder head can be eased away from the cylinder.

Mobirise Website Builder

The cylinder can be pulled away from the crankcase and if just the push-rod seals are to be replaced, then they can now be accessed and renewed.

Mobirise Website Builder

If the tubes are to be replaced, then the cylinder can be removed with the piston, to save having to compress the piston rings again. To do this, pull the cylinder until the piston gudgeon pin is exposed.

Mobirise Website Builder

With a rag stuffed into the crankcase hole, the circlips can be removed from the gudgeon pin....

Mobirise Website Builder

.. and the pin driven out with a suitably sized socket. The rag should be kept in place incase the con-rod drops down, to prevent damage to the crankcase.

Mobirise Website Builder

As the cylinder and piston are drawn away, the small end of the connecting rod should be supported as shown.

Mobirise Website Builder

Left side of the bike dismantled.

Mobirise Website Builder

Before removing the tubes, the distance between the flange and the cylinder should be noted (as shown) so the new tubes can be set to the same depth.

Mobirise Website Builder

The angle of the tubes should be noted. either measured or a template can be made from card/folded paper.

Mobirise Website Builder

The tubes can be removed as shown with a stepped drift. Tapping the ring on the tube may not work, as they often move seperately.

Mobirise Website Builder

Replacement parts are shown here. Whether the low compression shims and O-rings are needed will depend on the model of bike.

Mobirise Website Builder

This image shows a new tube being pulled into place with a piece of m12 threaded rod. A drilled wooden block was used to protect the top face of the cylinder, cut to the angle measured.

Mobirise Website Builder

The threaded rod should allow the depth of the tube to be set. Check against the measurements taken earlier.

Mobirise Website Builder

The new rubber seals should be assembled and orientated like shown.

Mobirise Website Builder

If the bike has O-rings at the cylinder base, they can be held in with grease for the reassembly.

Mobirise Website Builder

Reassembly is the the reverse process. Re-insert the gudgeon pin and fit new circlips. Then push the cylinder home, if necessary rotating the seals to get them past the frame.

Mobirise Website Builder

If the head gasket holes don't line up with the push-rod tubes, the flip the gasket over.....

Mobirise Website Builder

....like this.

Mobirise Website Builder

Refit the valve gear and torque up the head bolts to 25 ftlb, with oiled threads and using a cross pattern.

Mobirise Website Builder

Check and adjust the tappets with the process described here, before refitting the rocker cover. 

Mobirise Website Builder

Nickel anti-seize grease or similar should be used on the exhaust nut threads. 

HTML Generator