Mobirise Website Builder

BMW Airhead Head Bearing Replacement

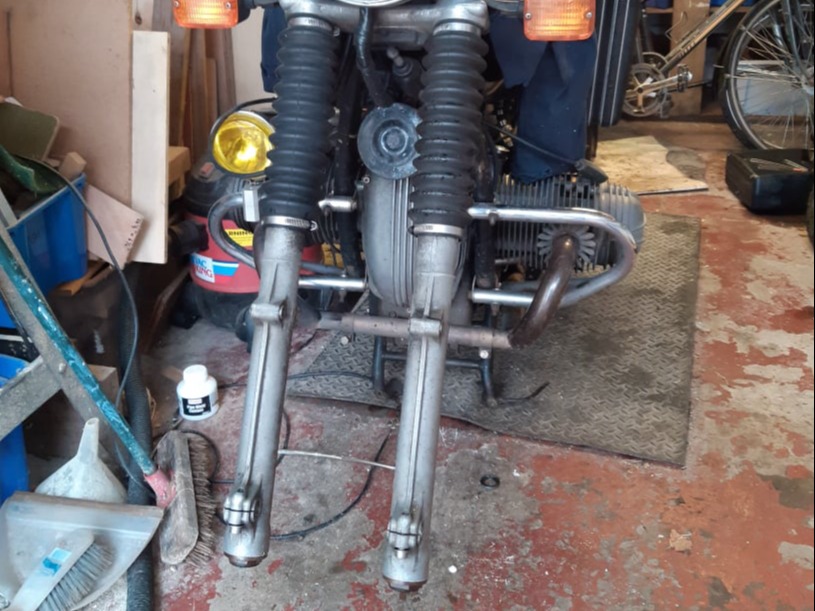
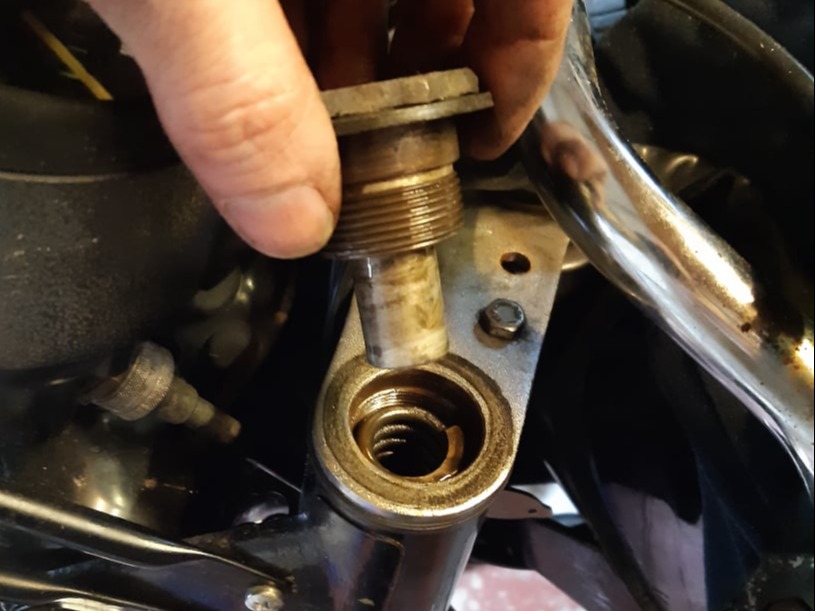
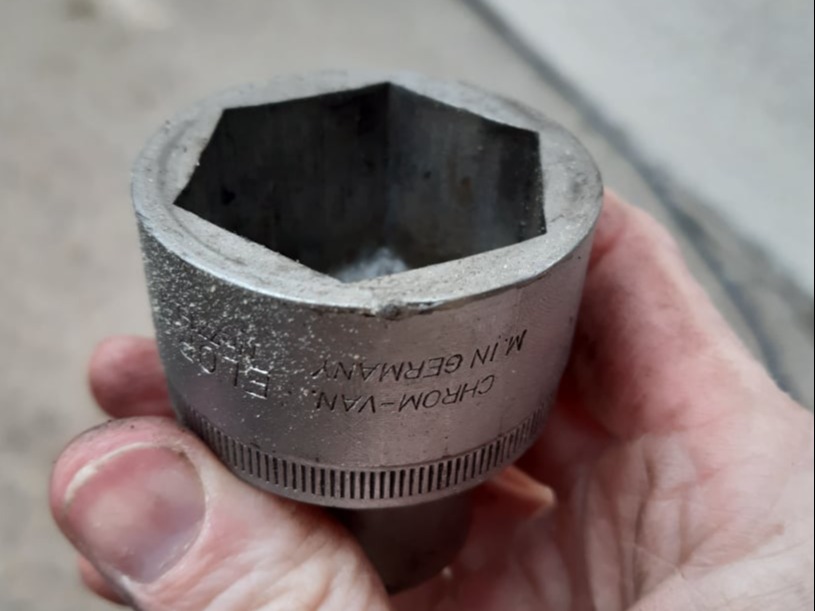
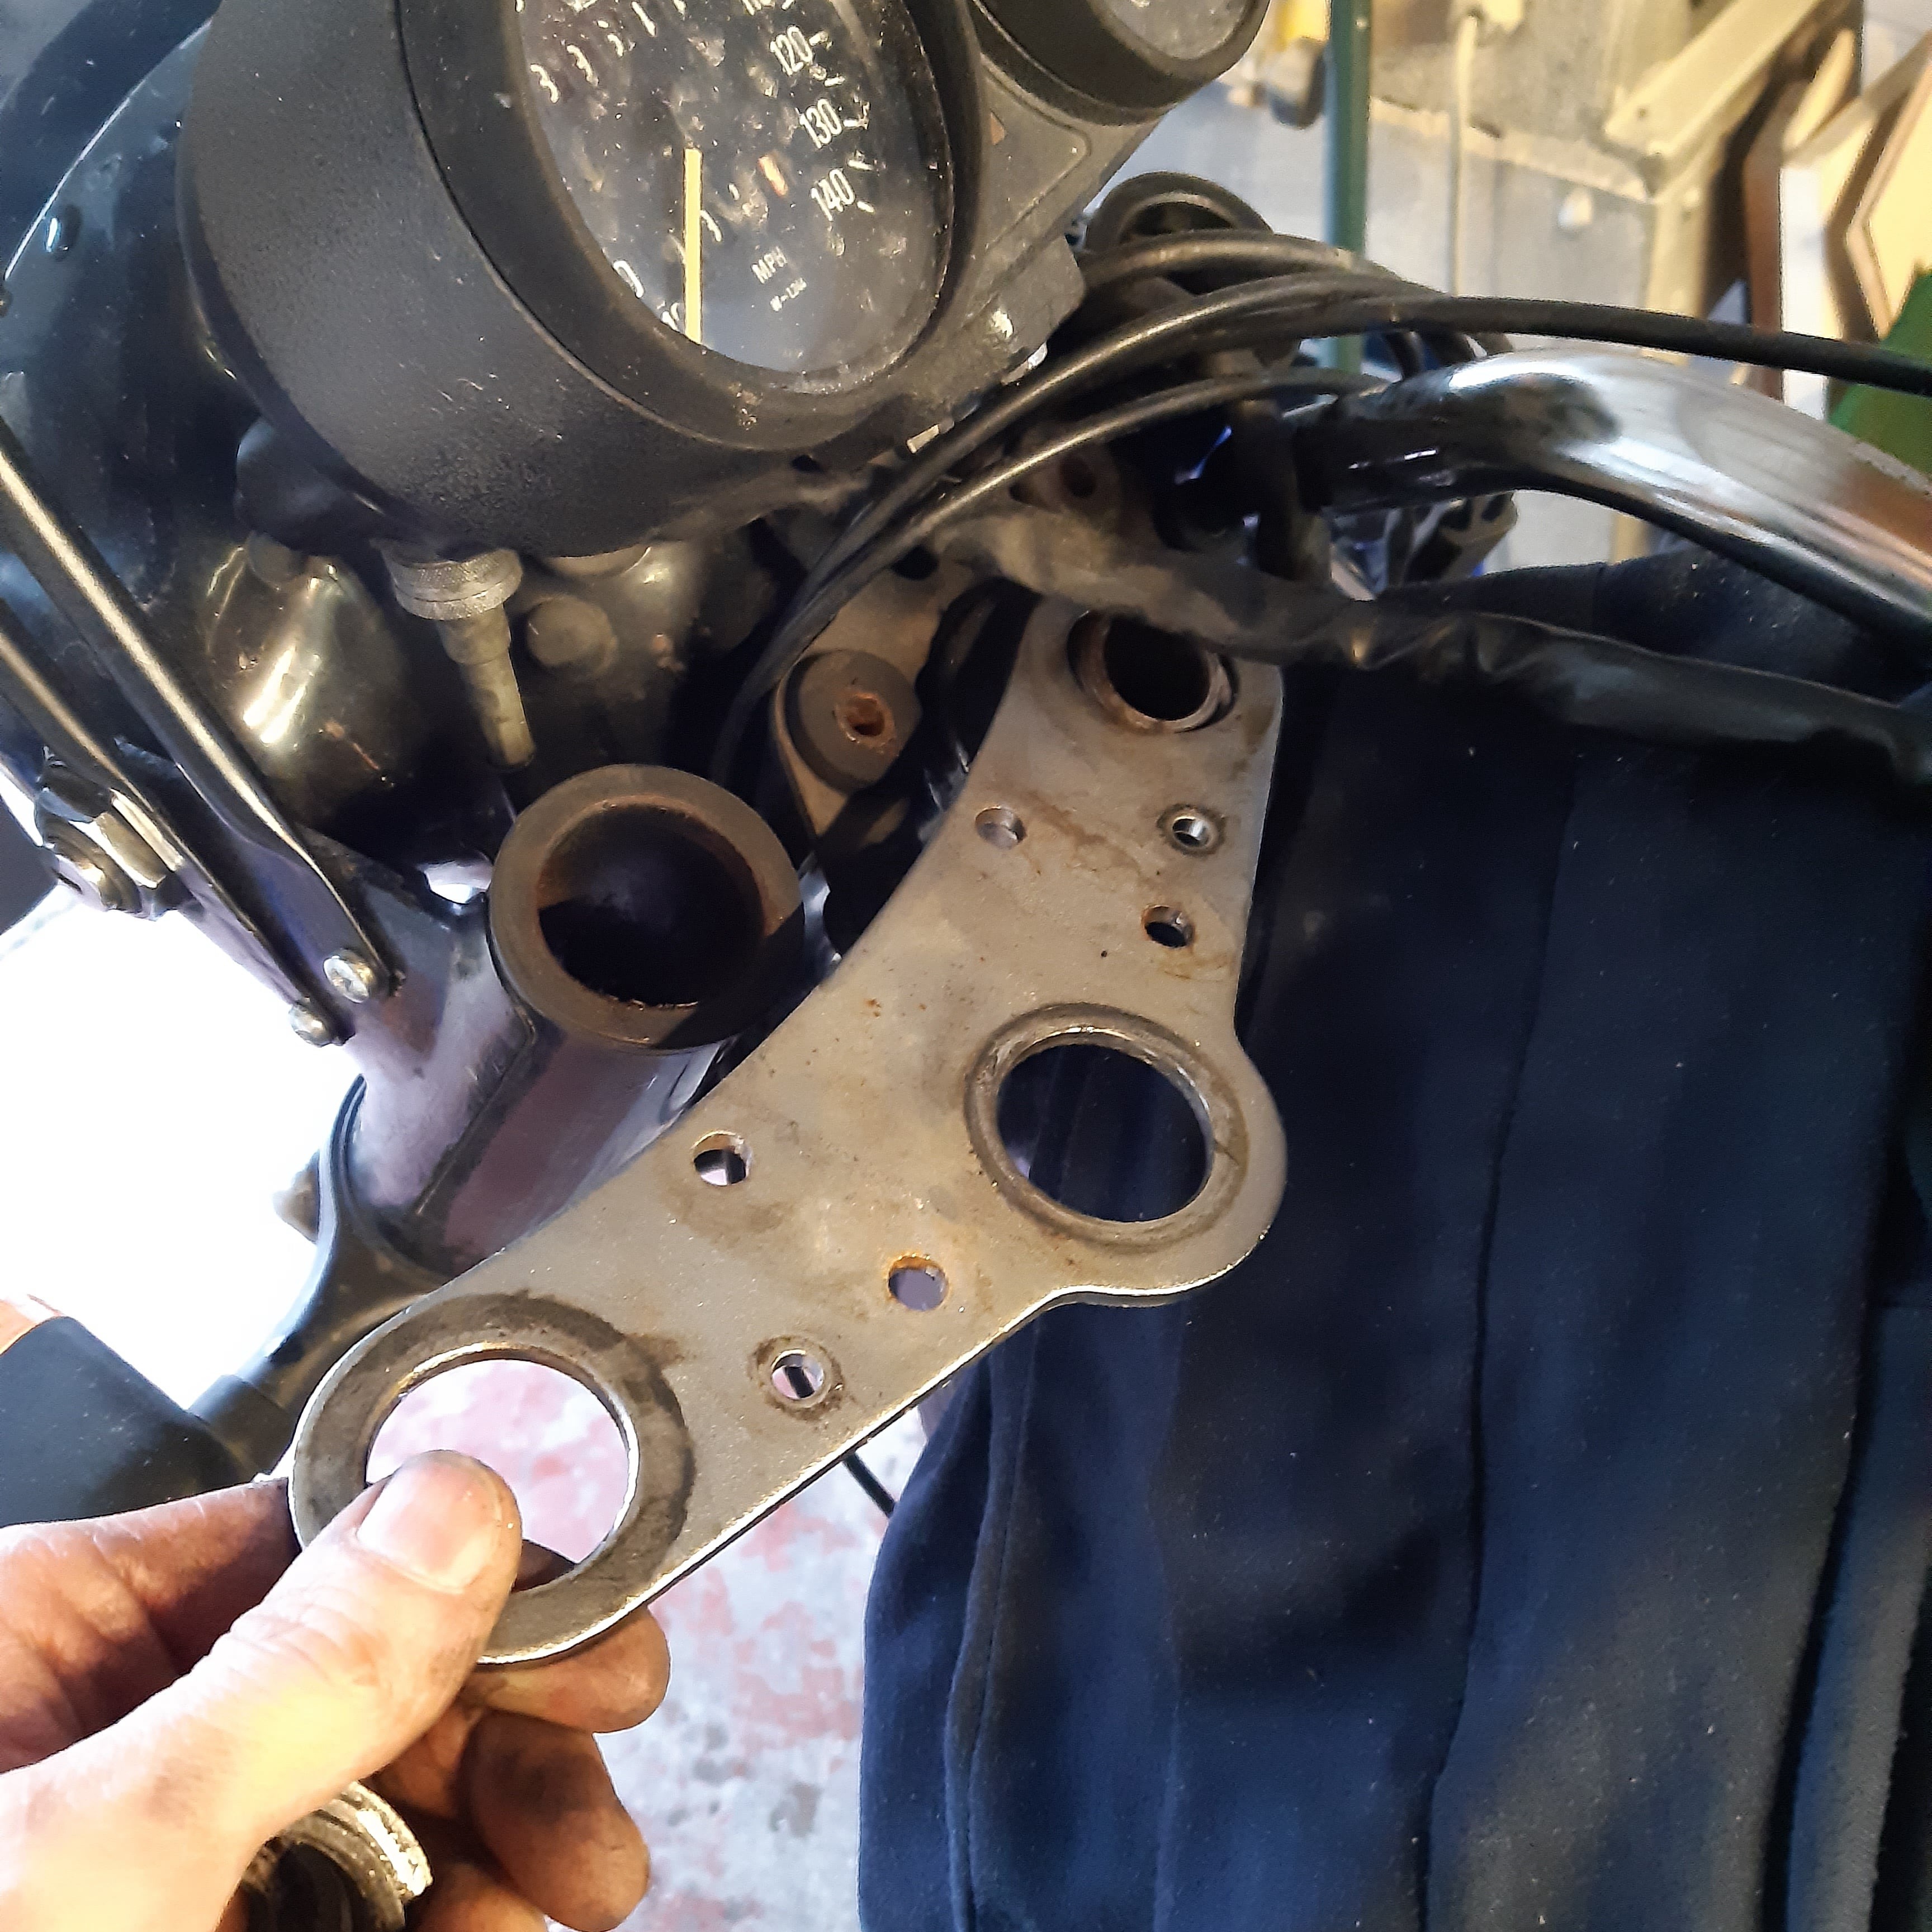
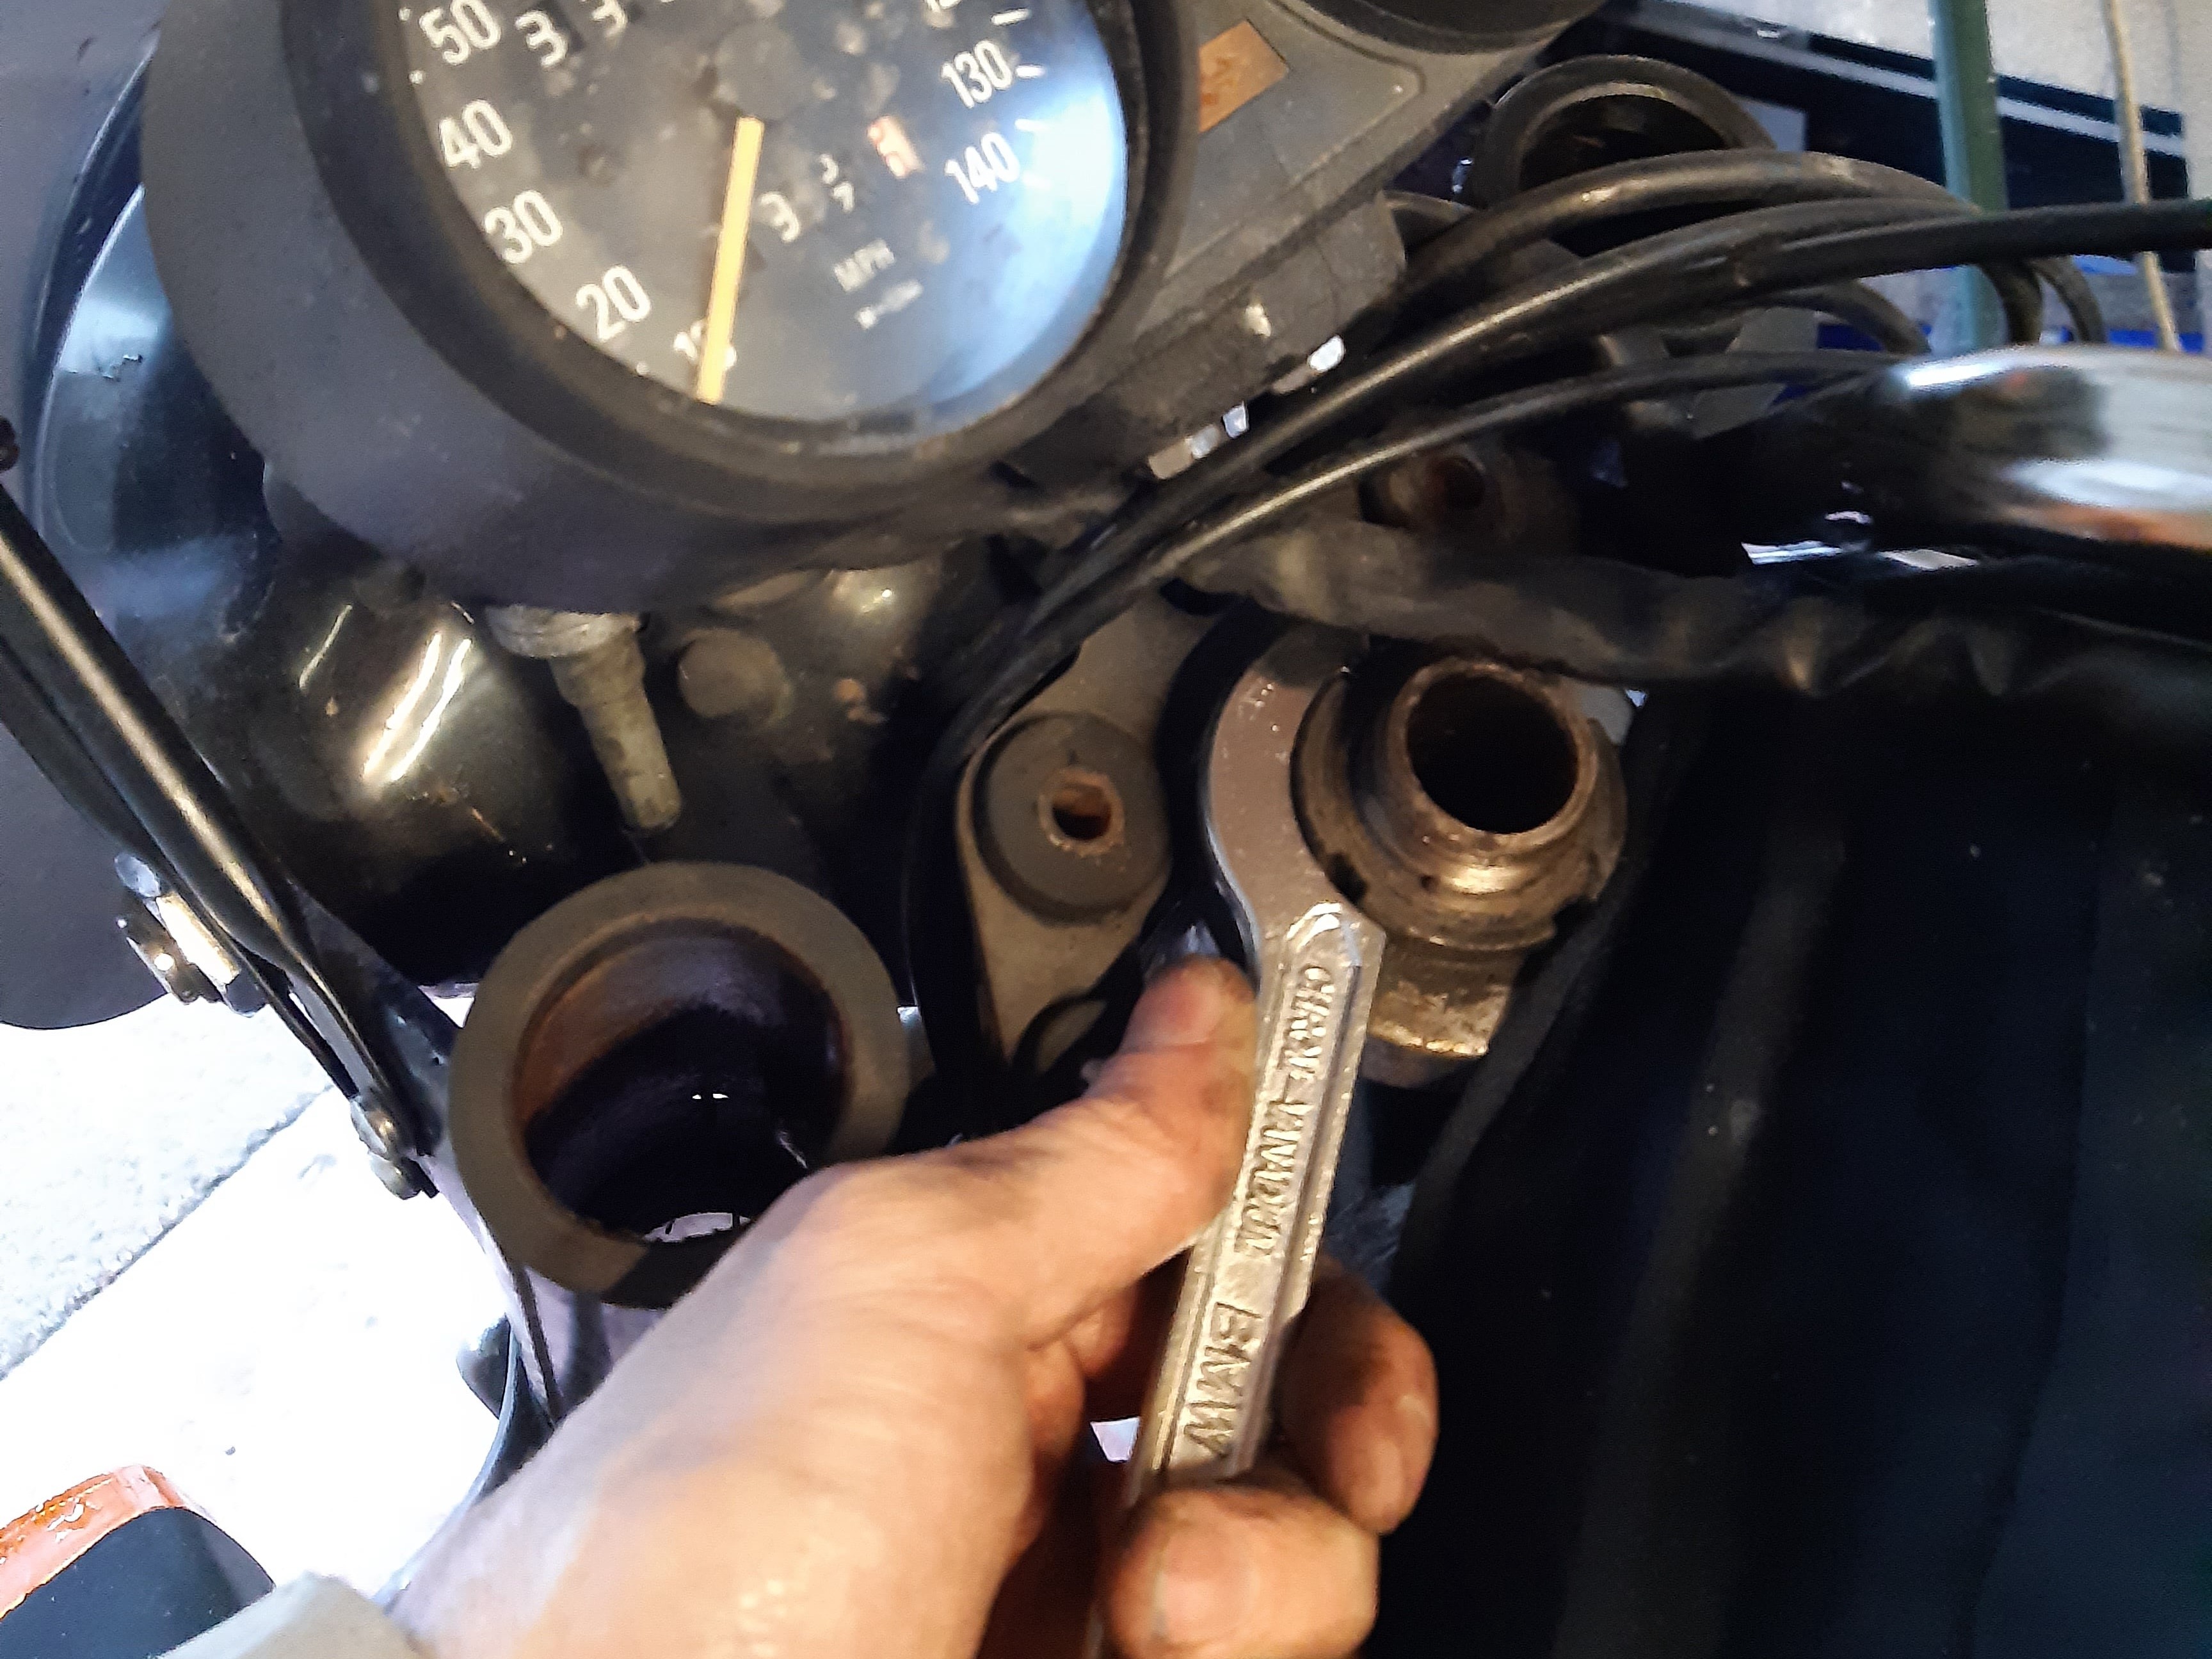
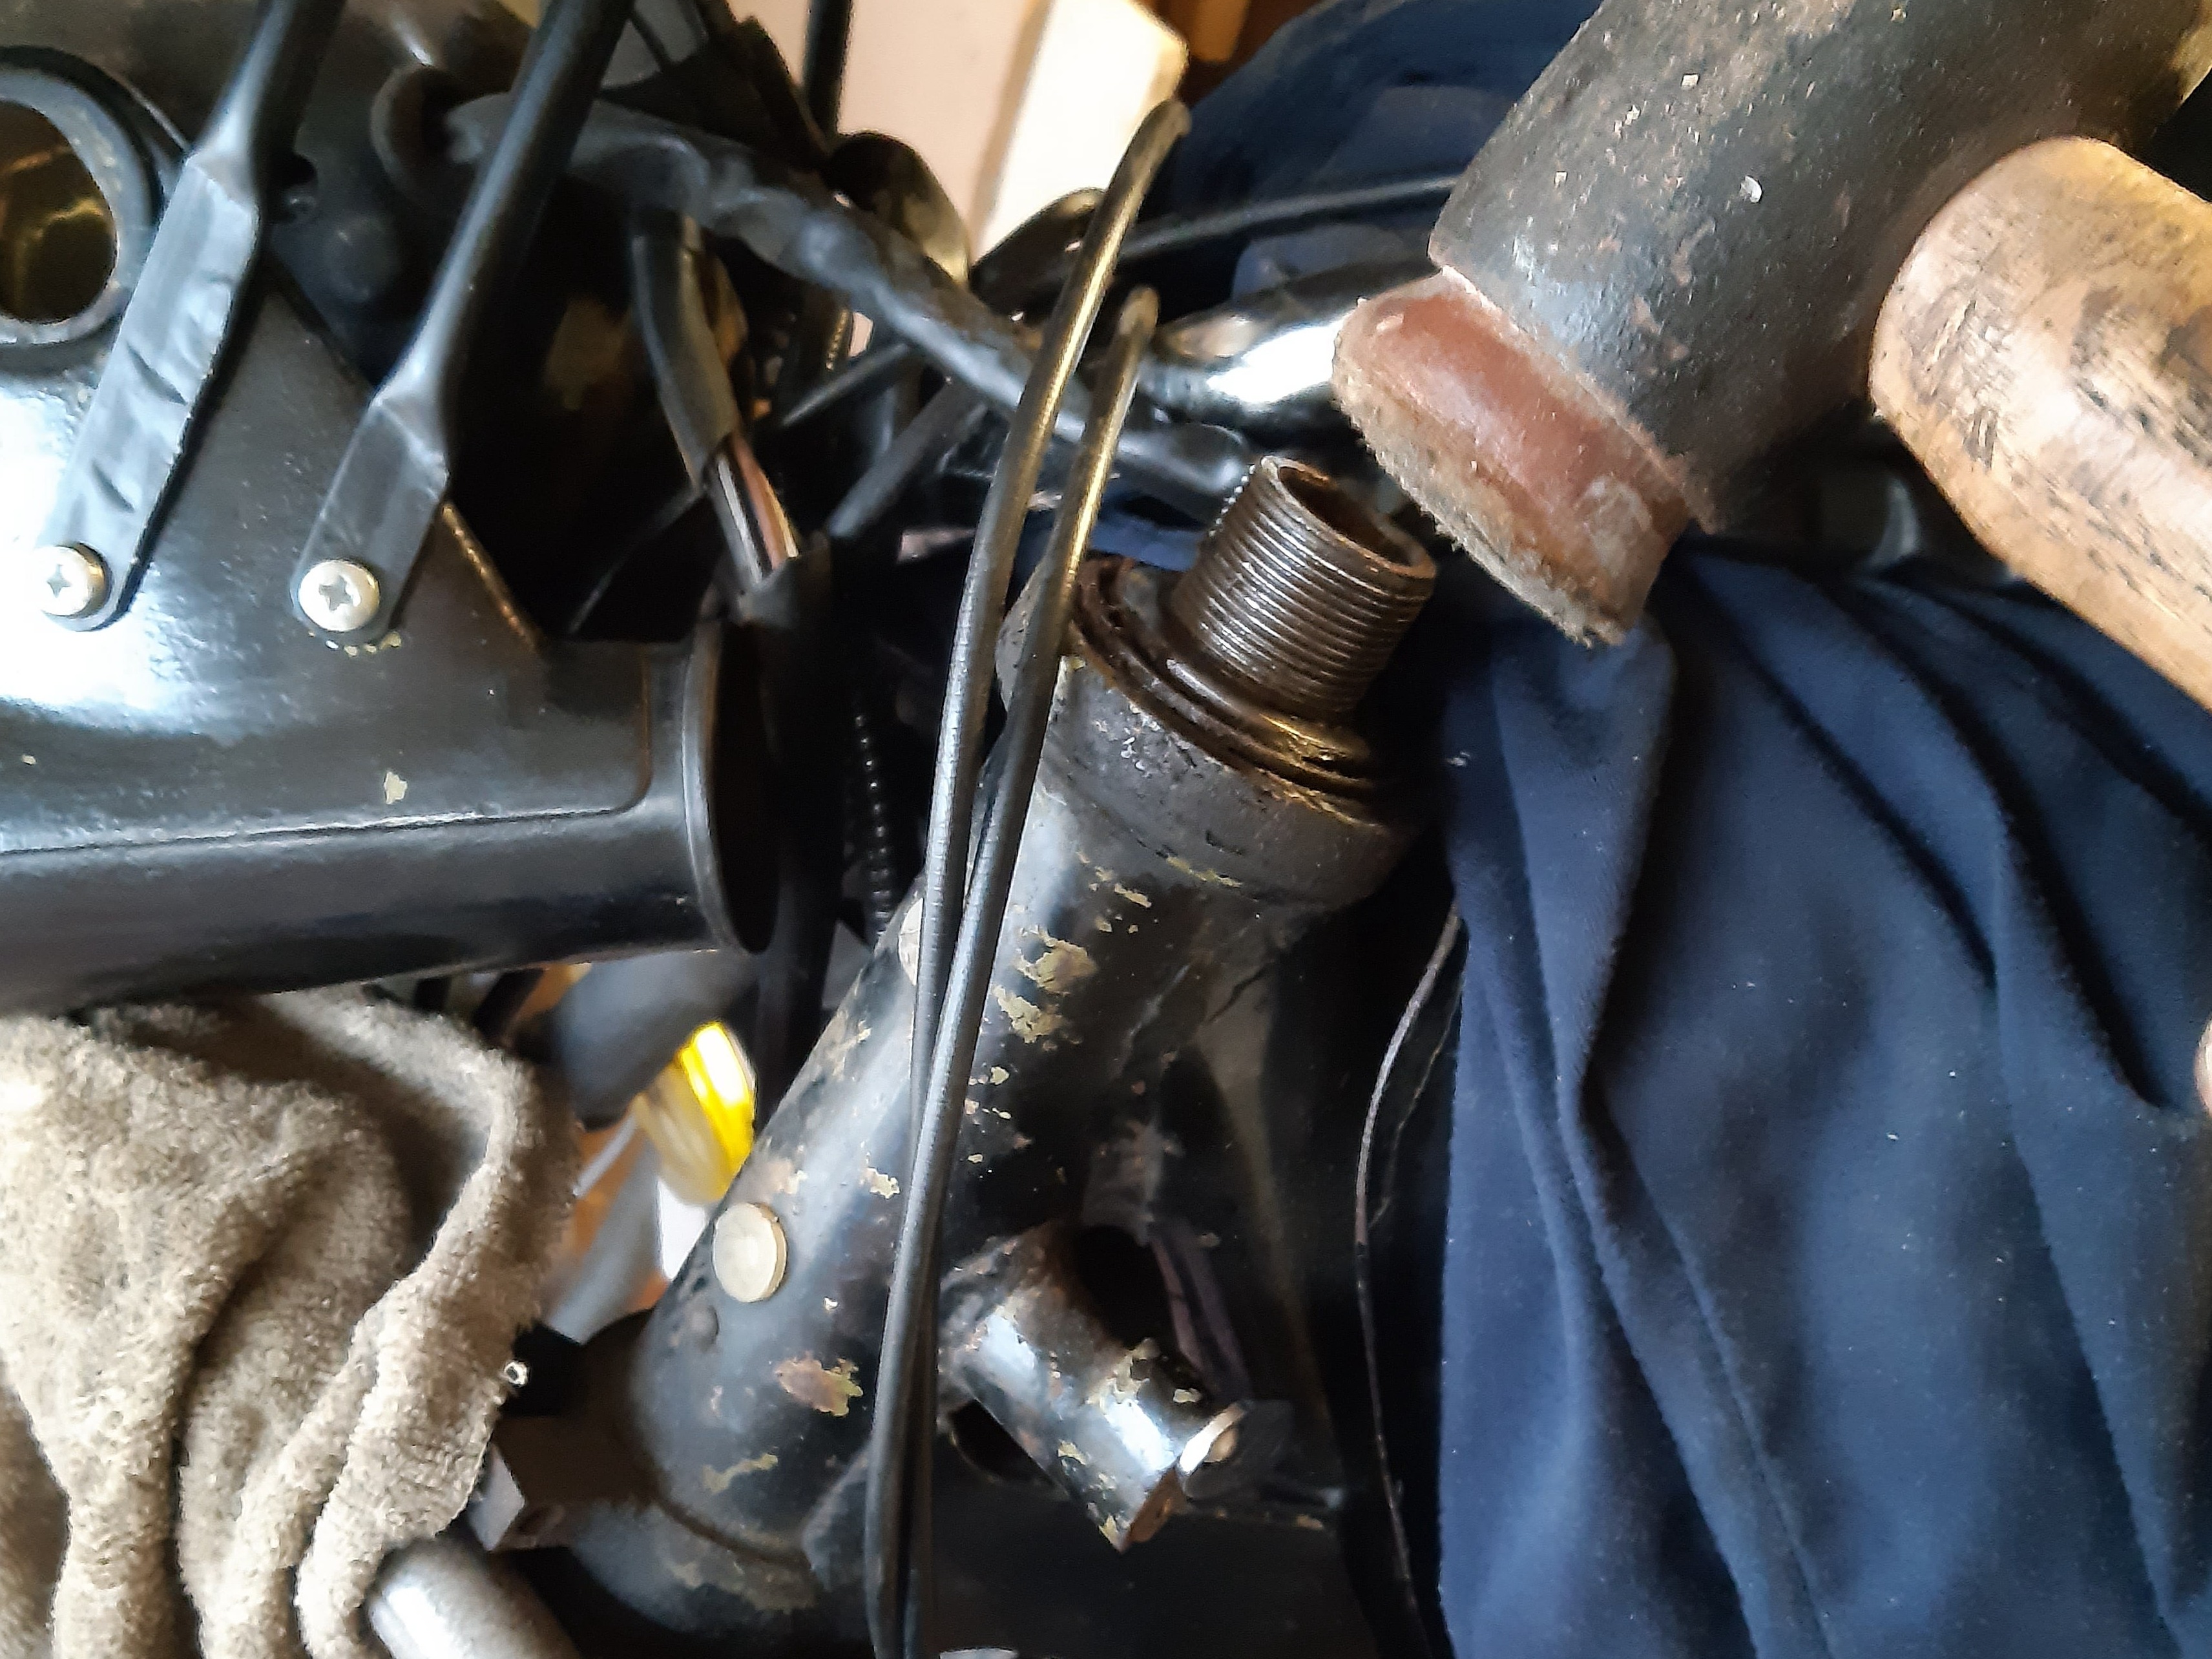
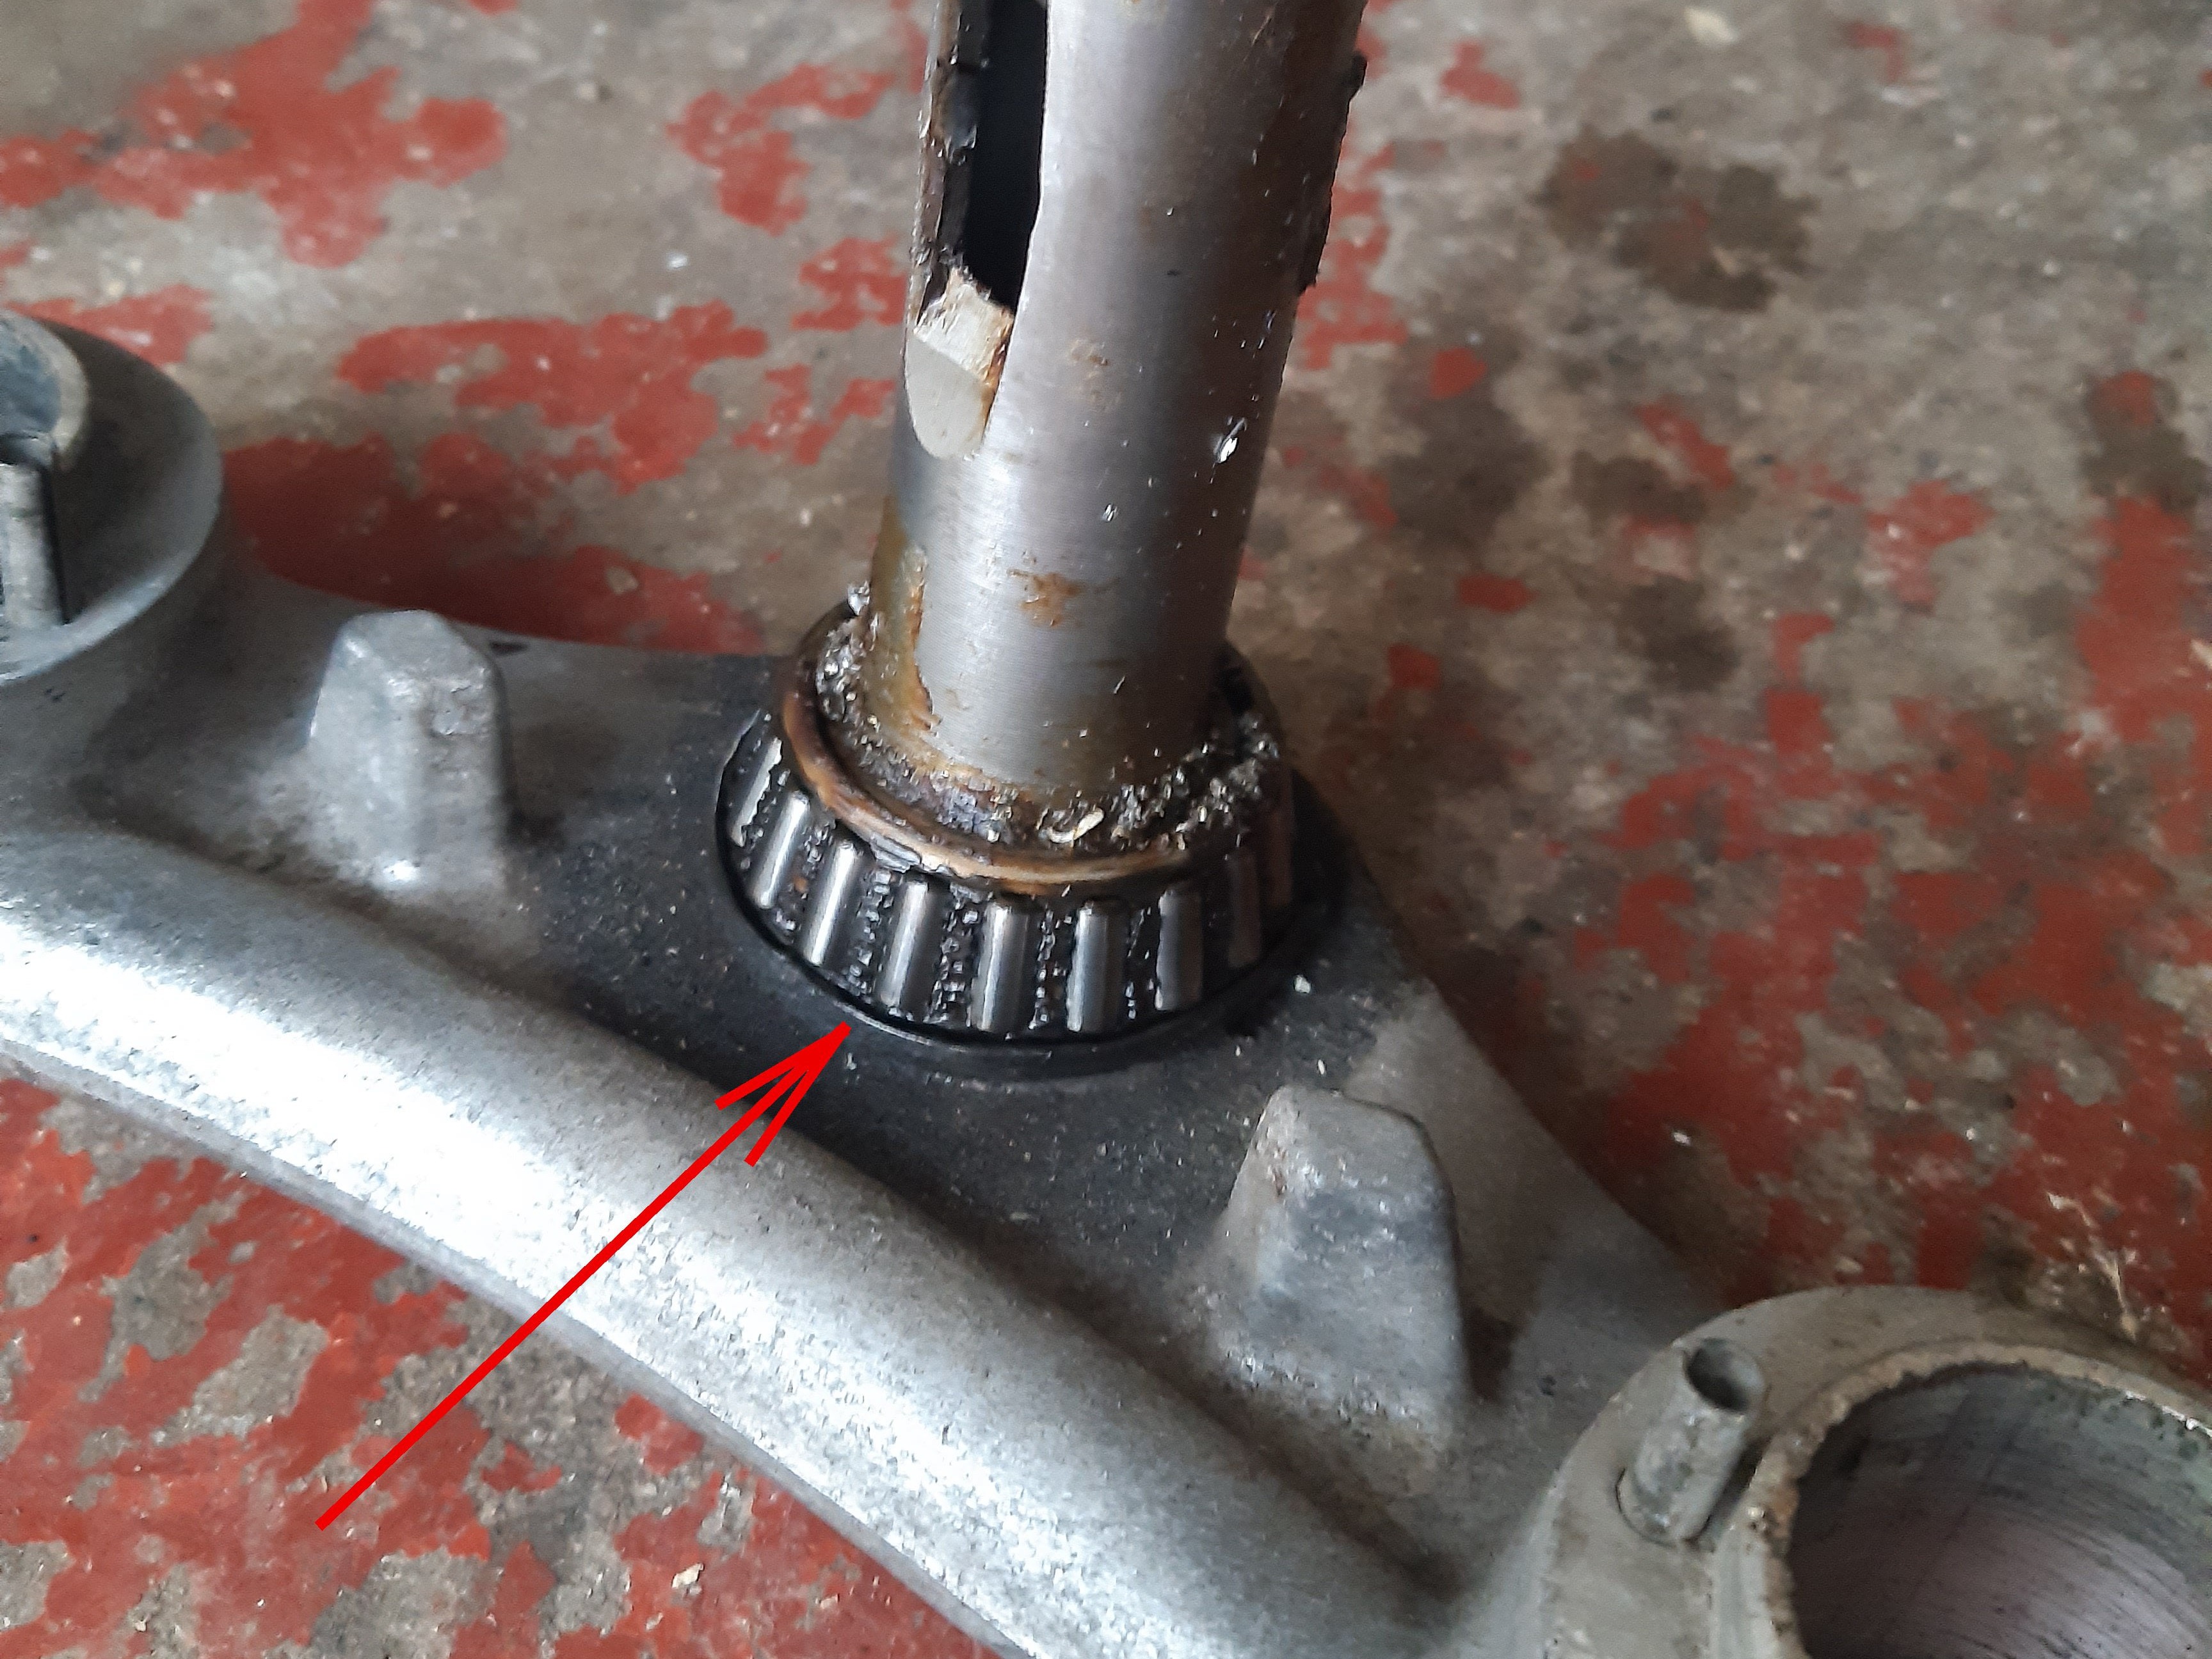
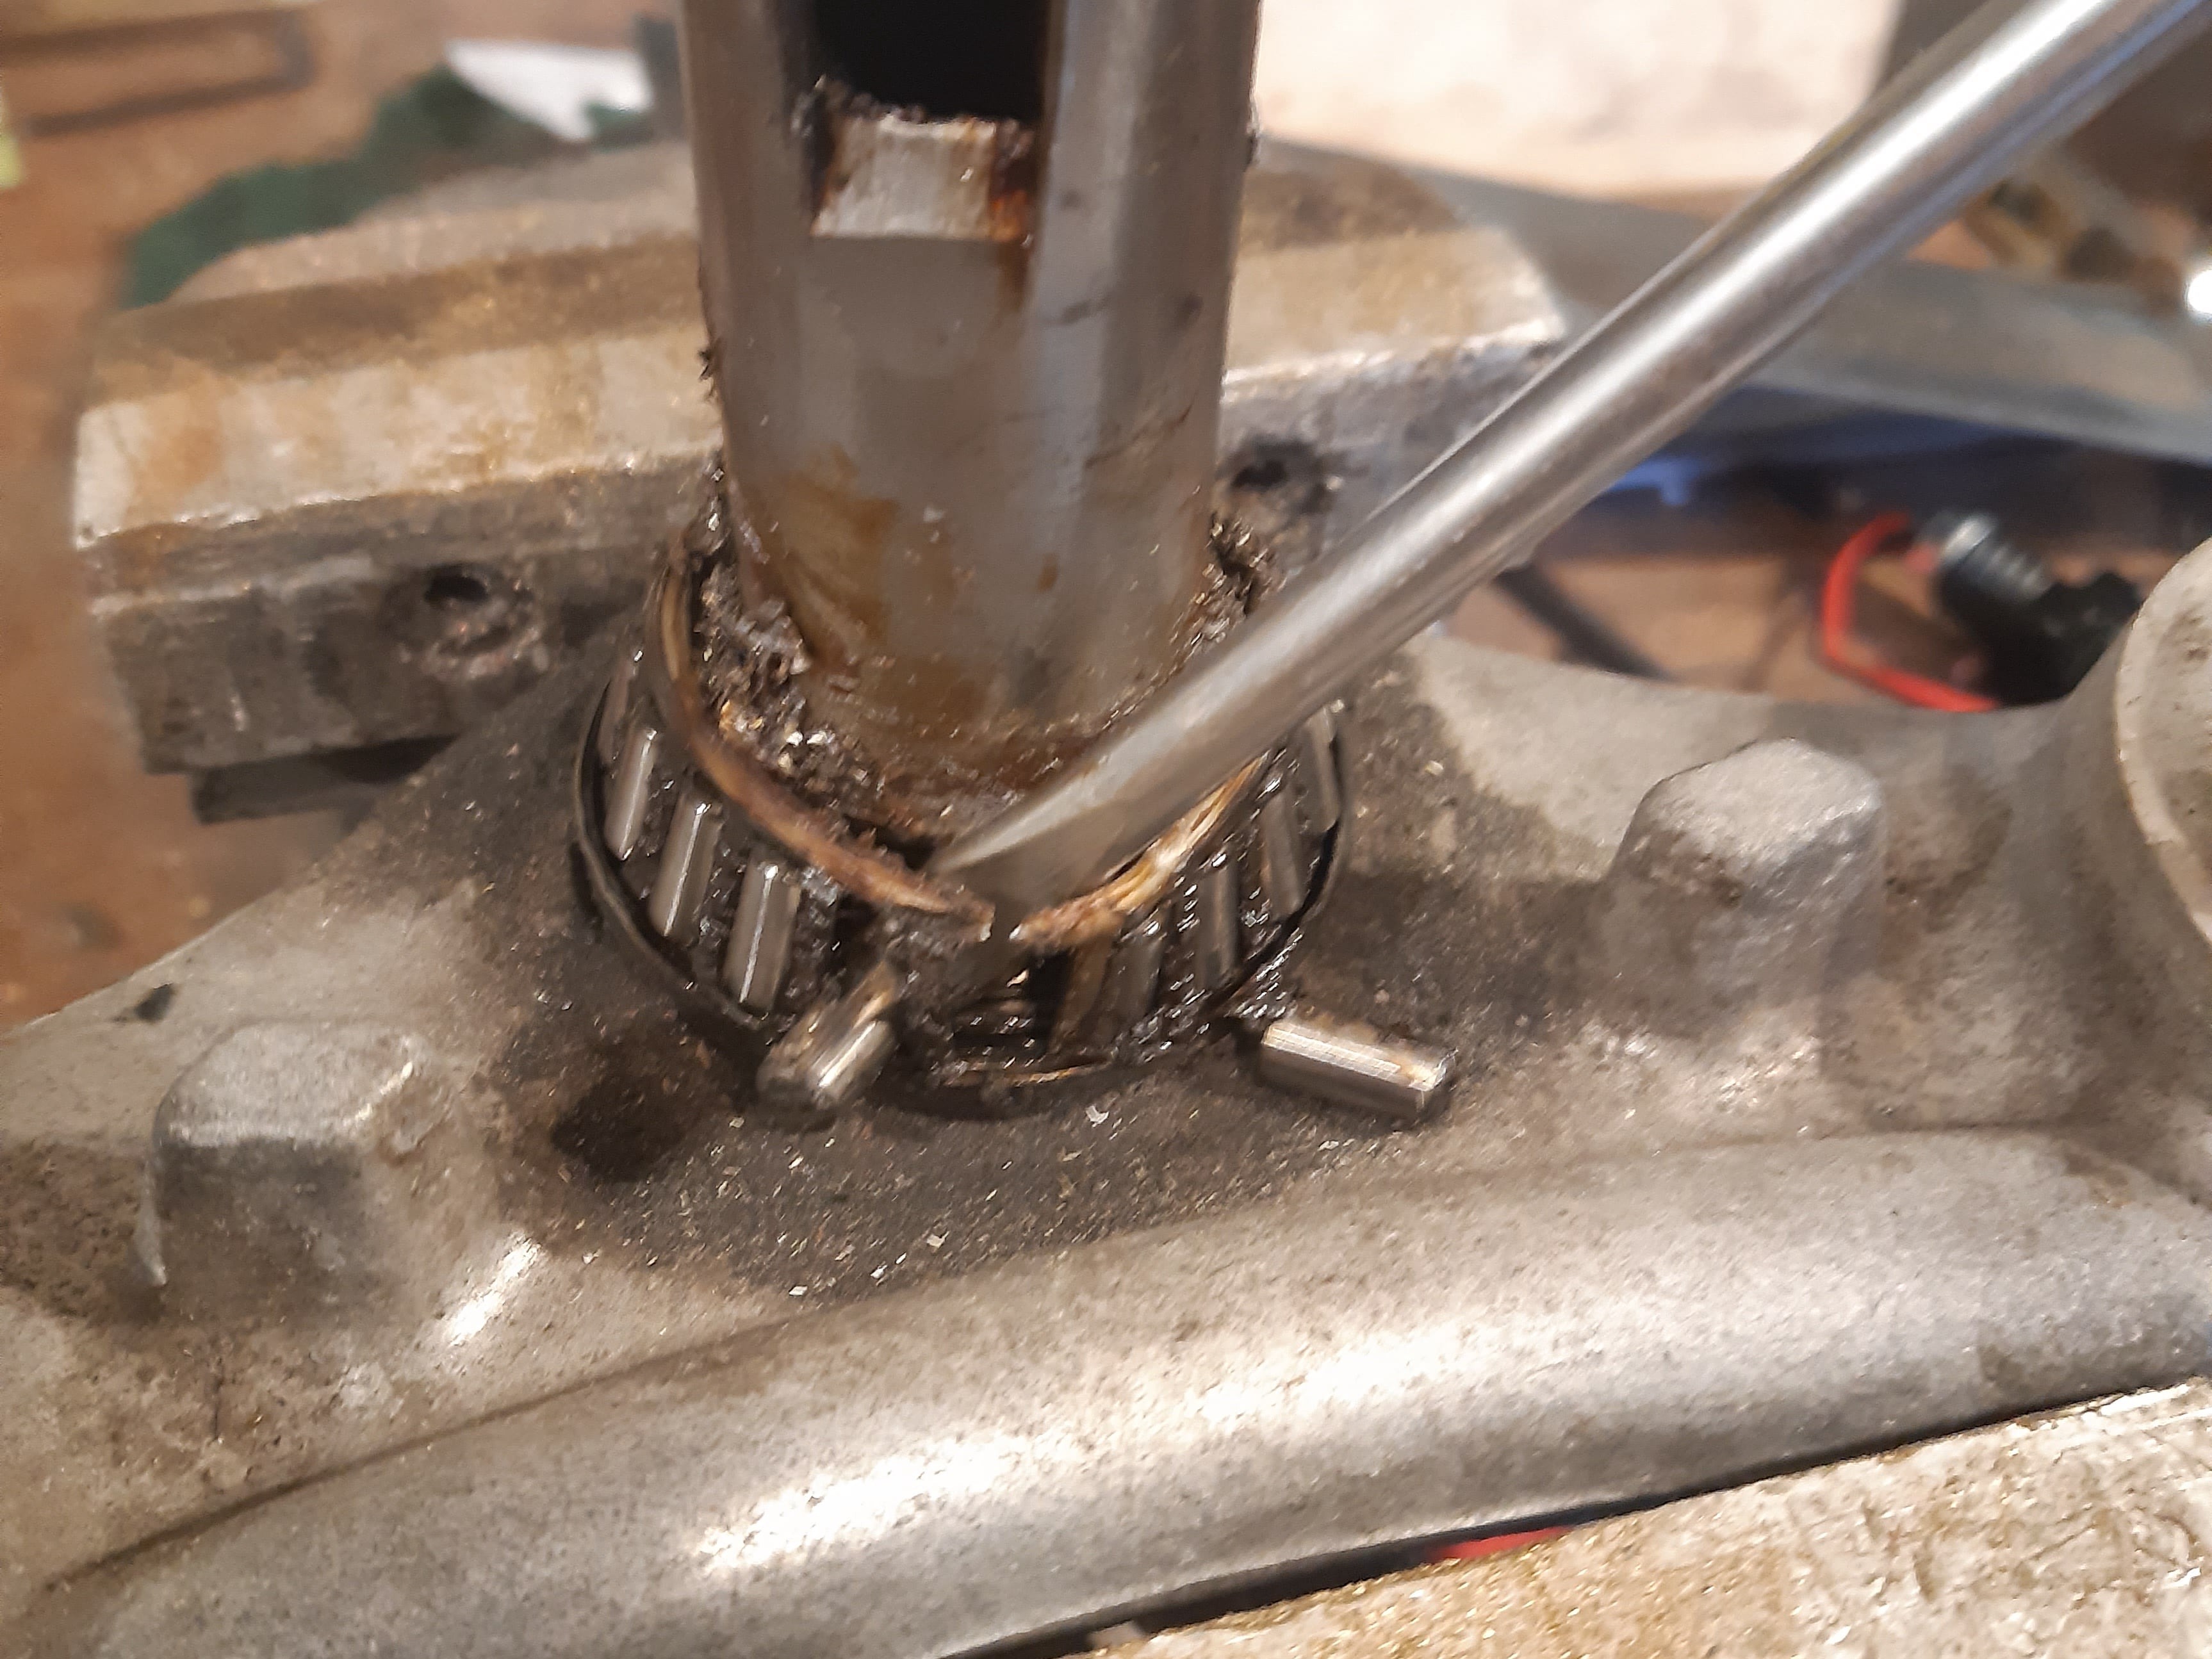
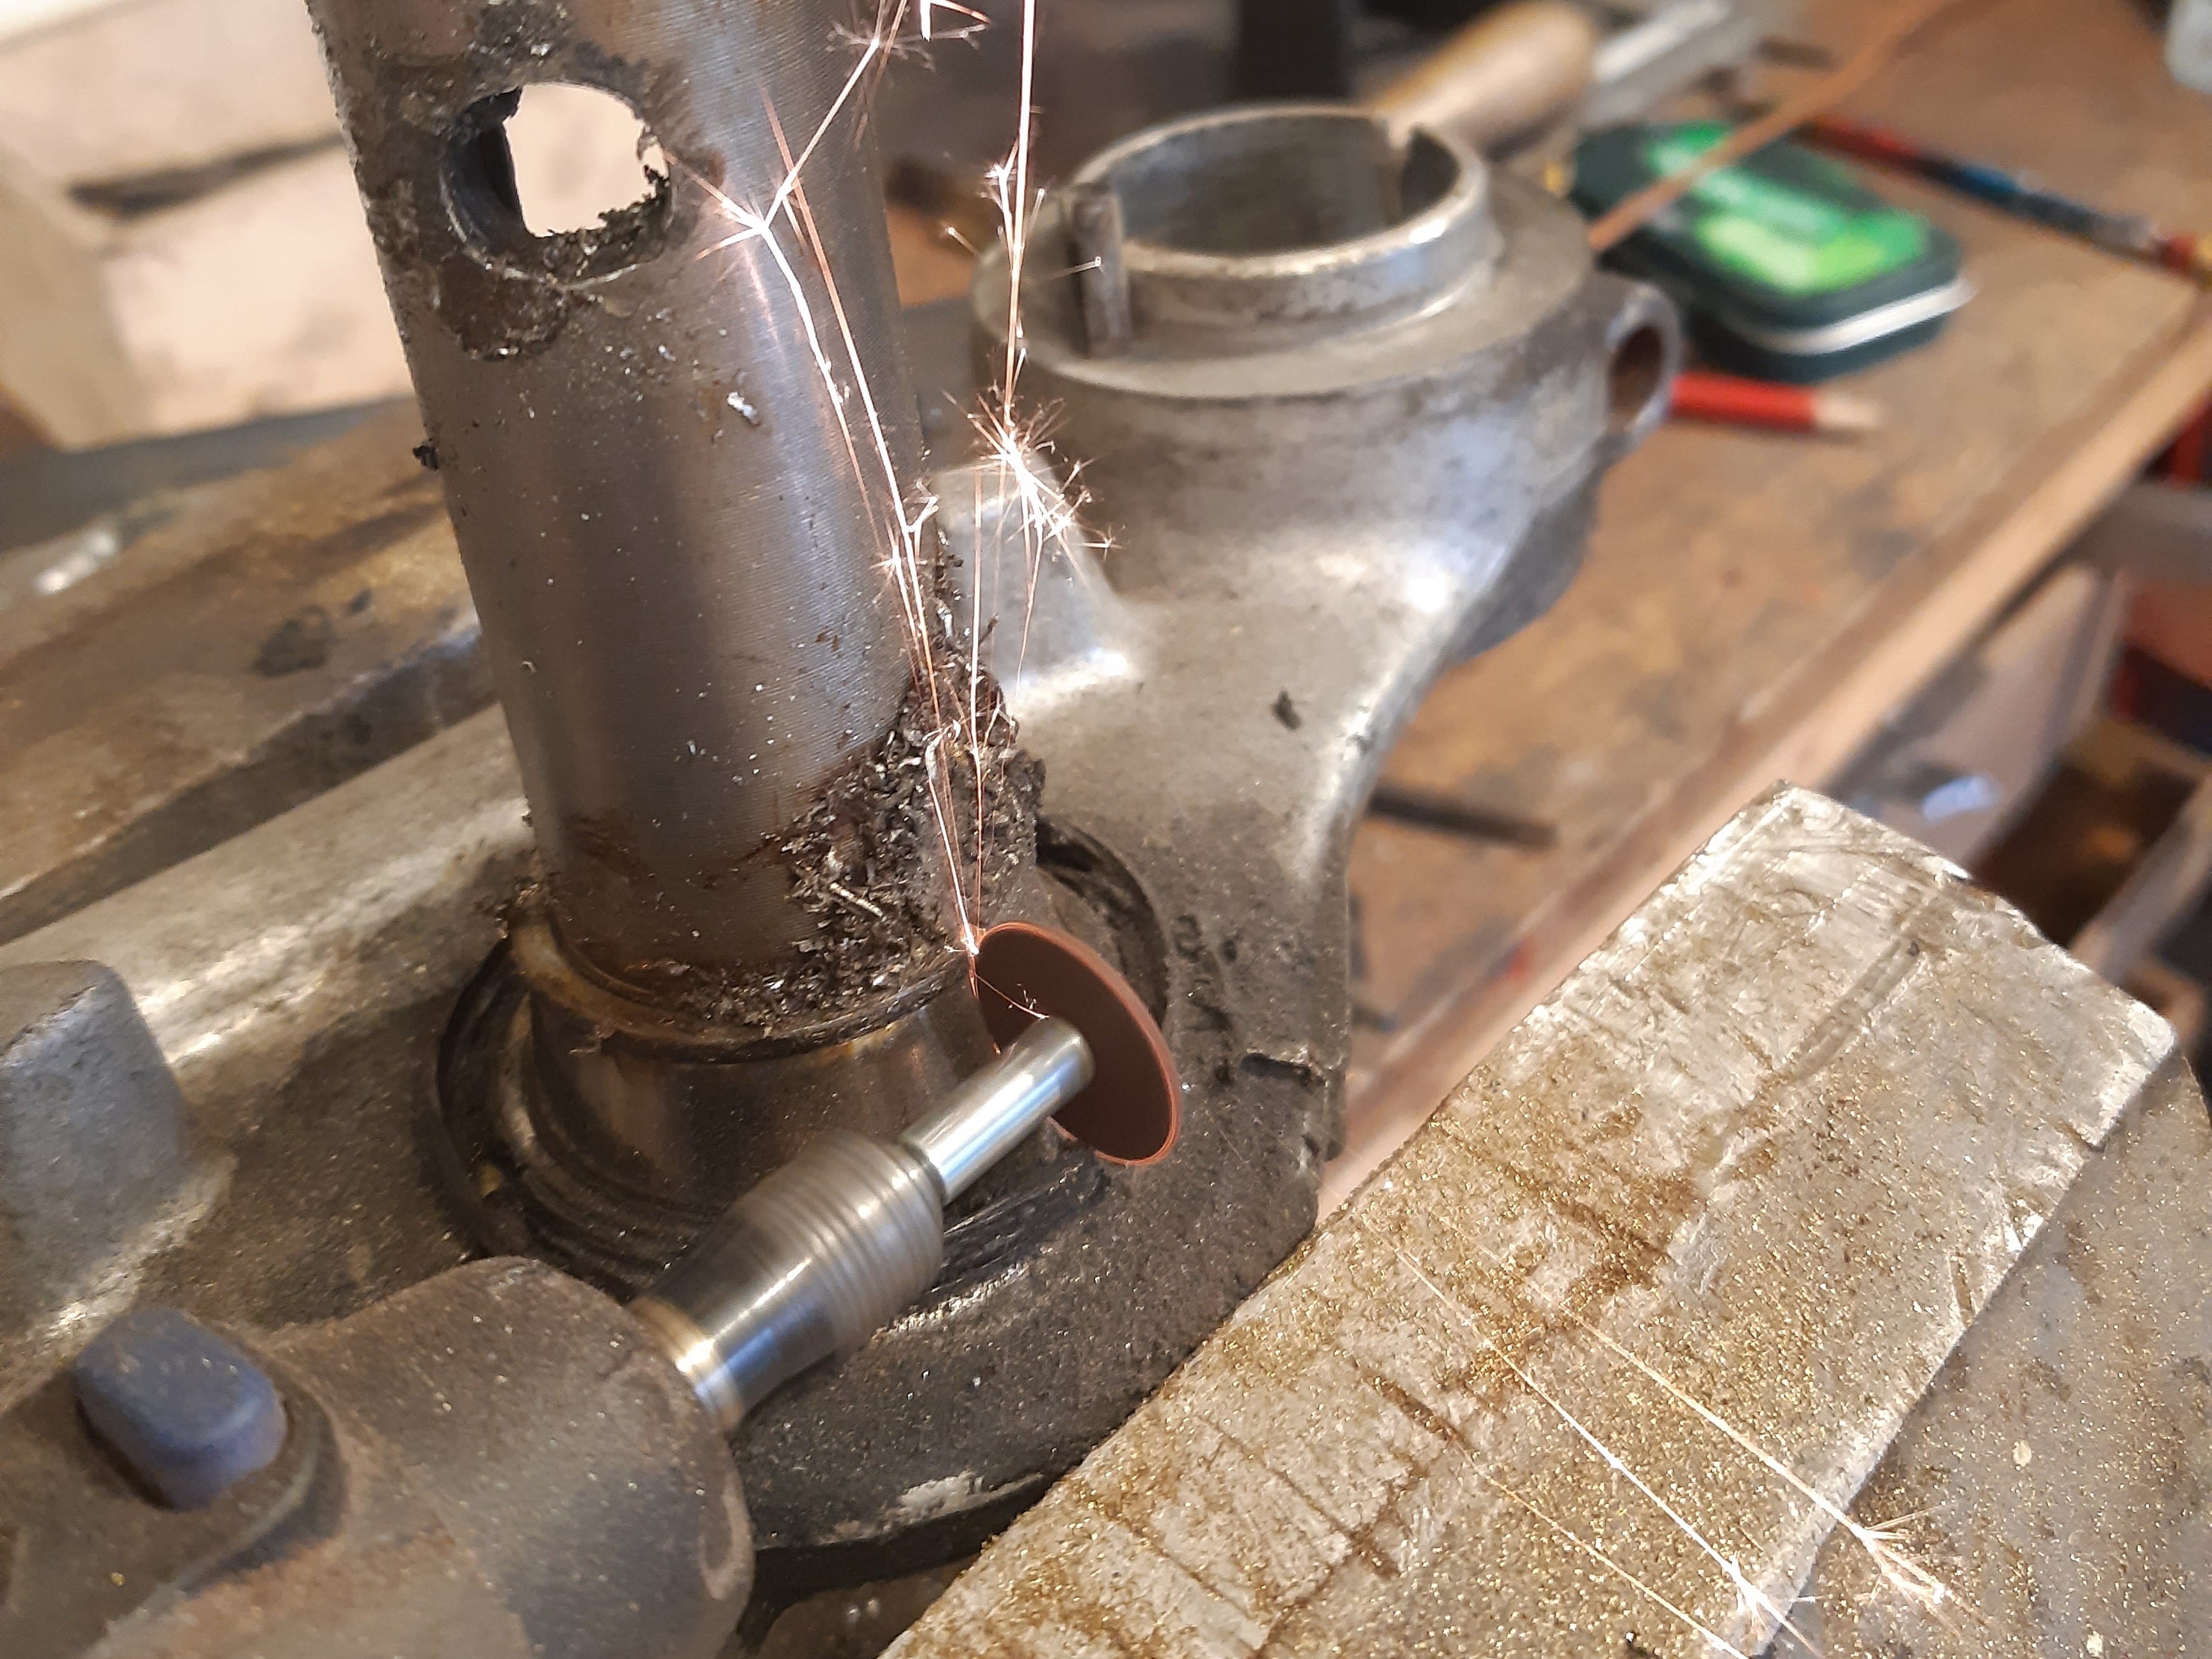
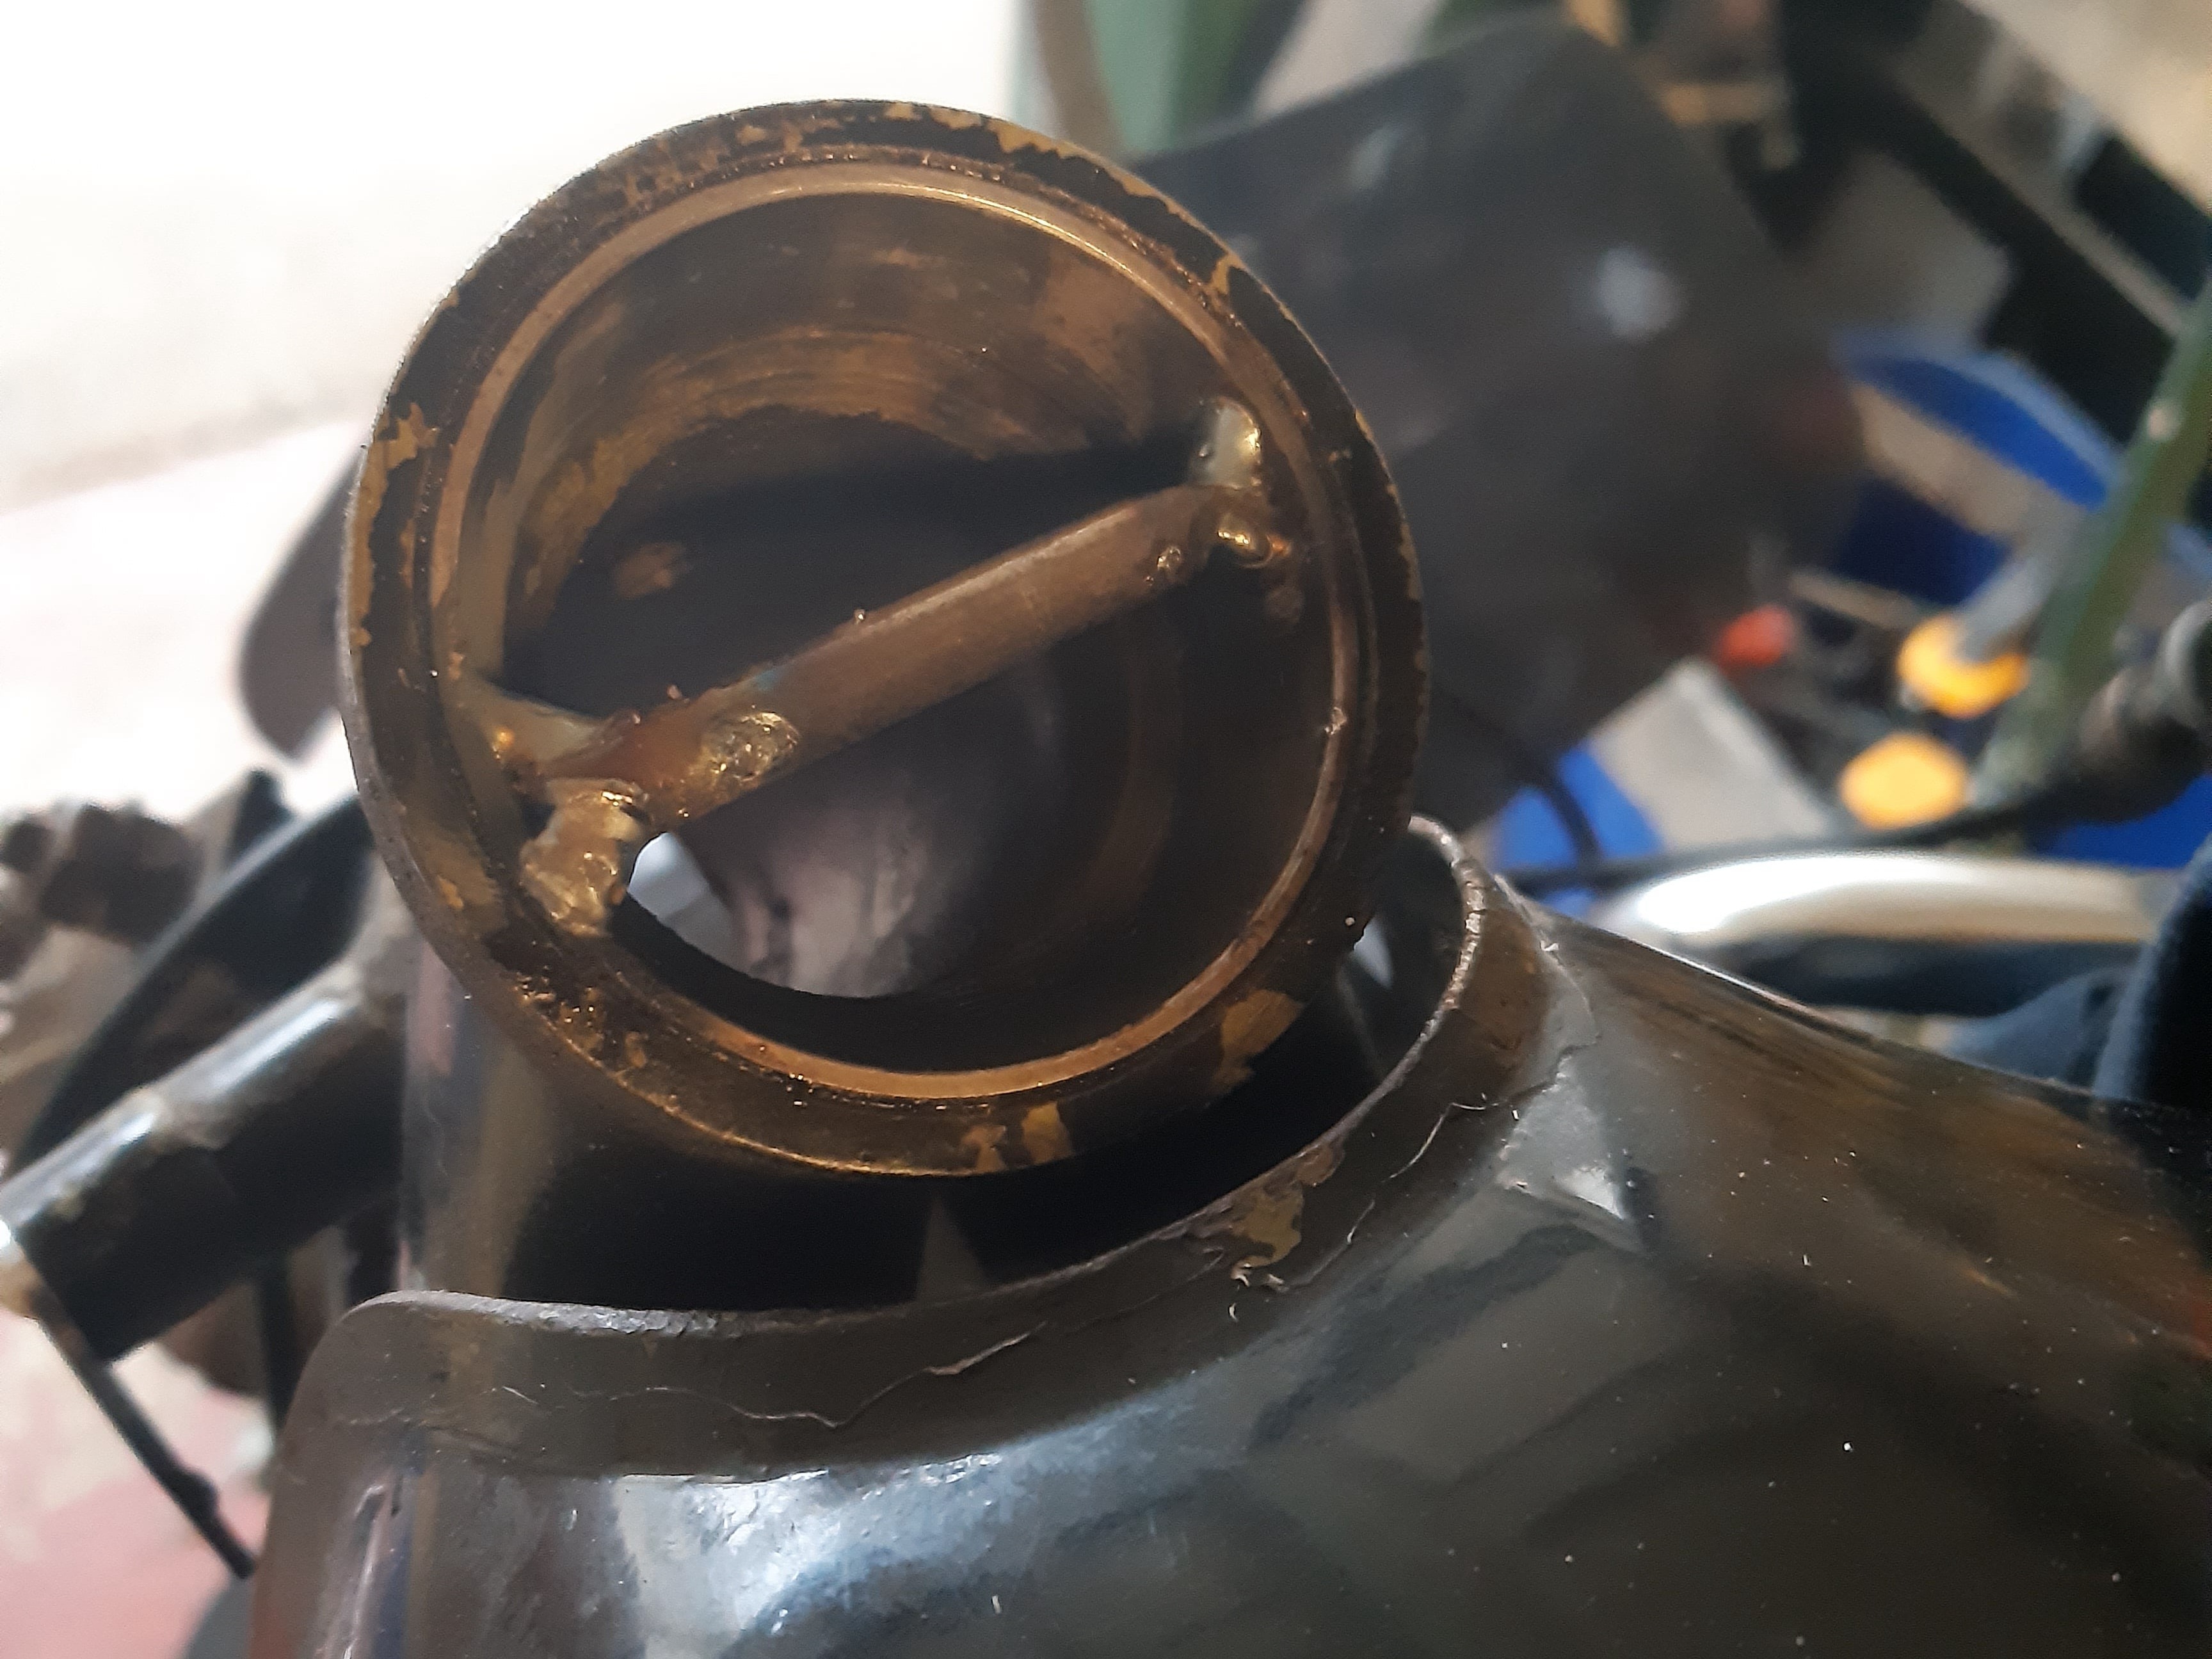
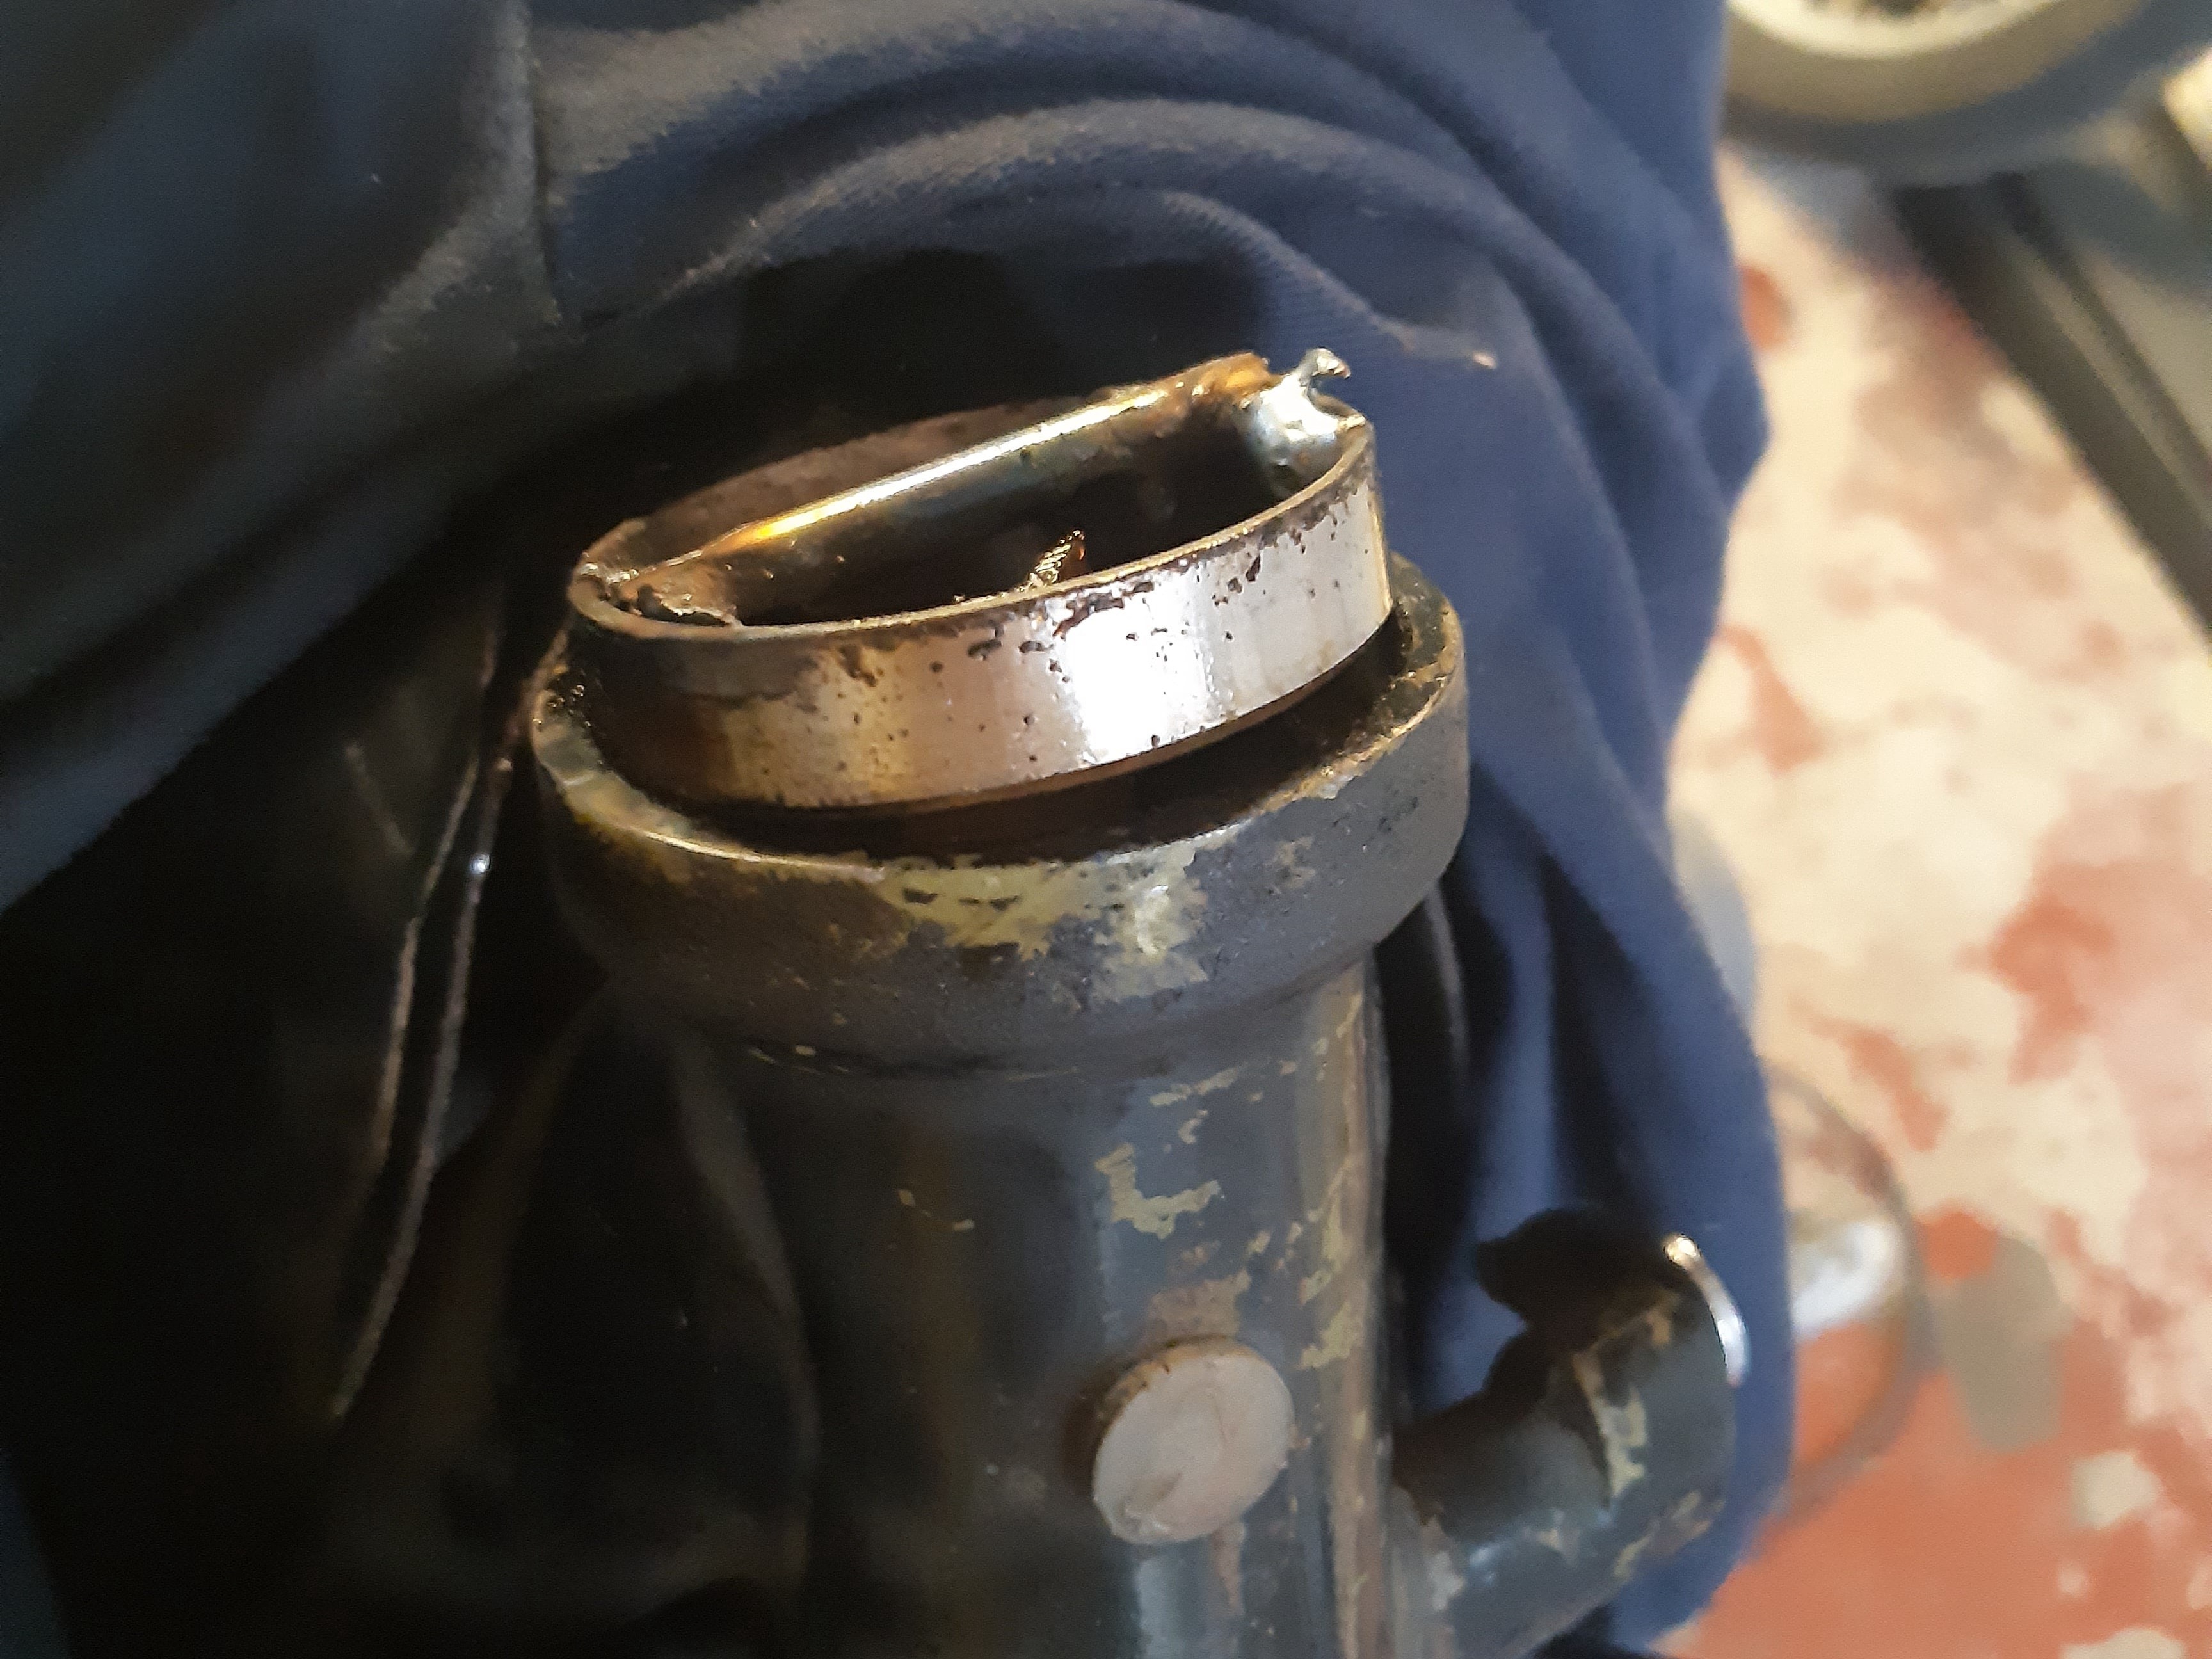
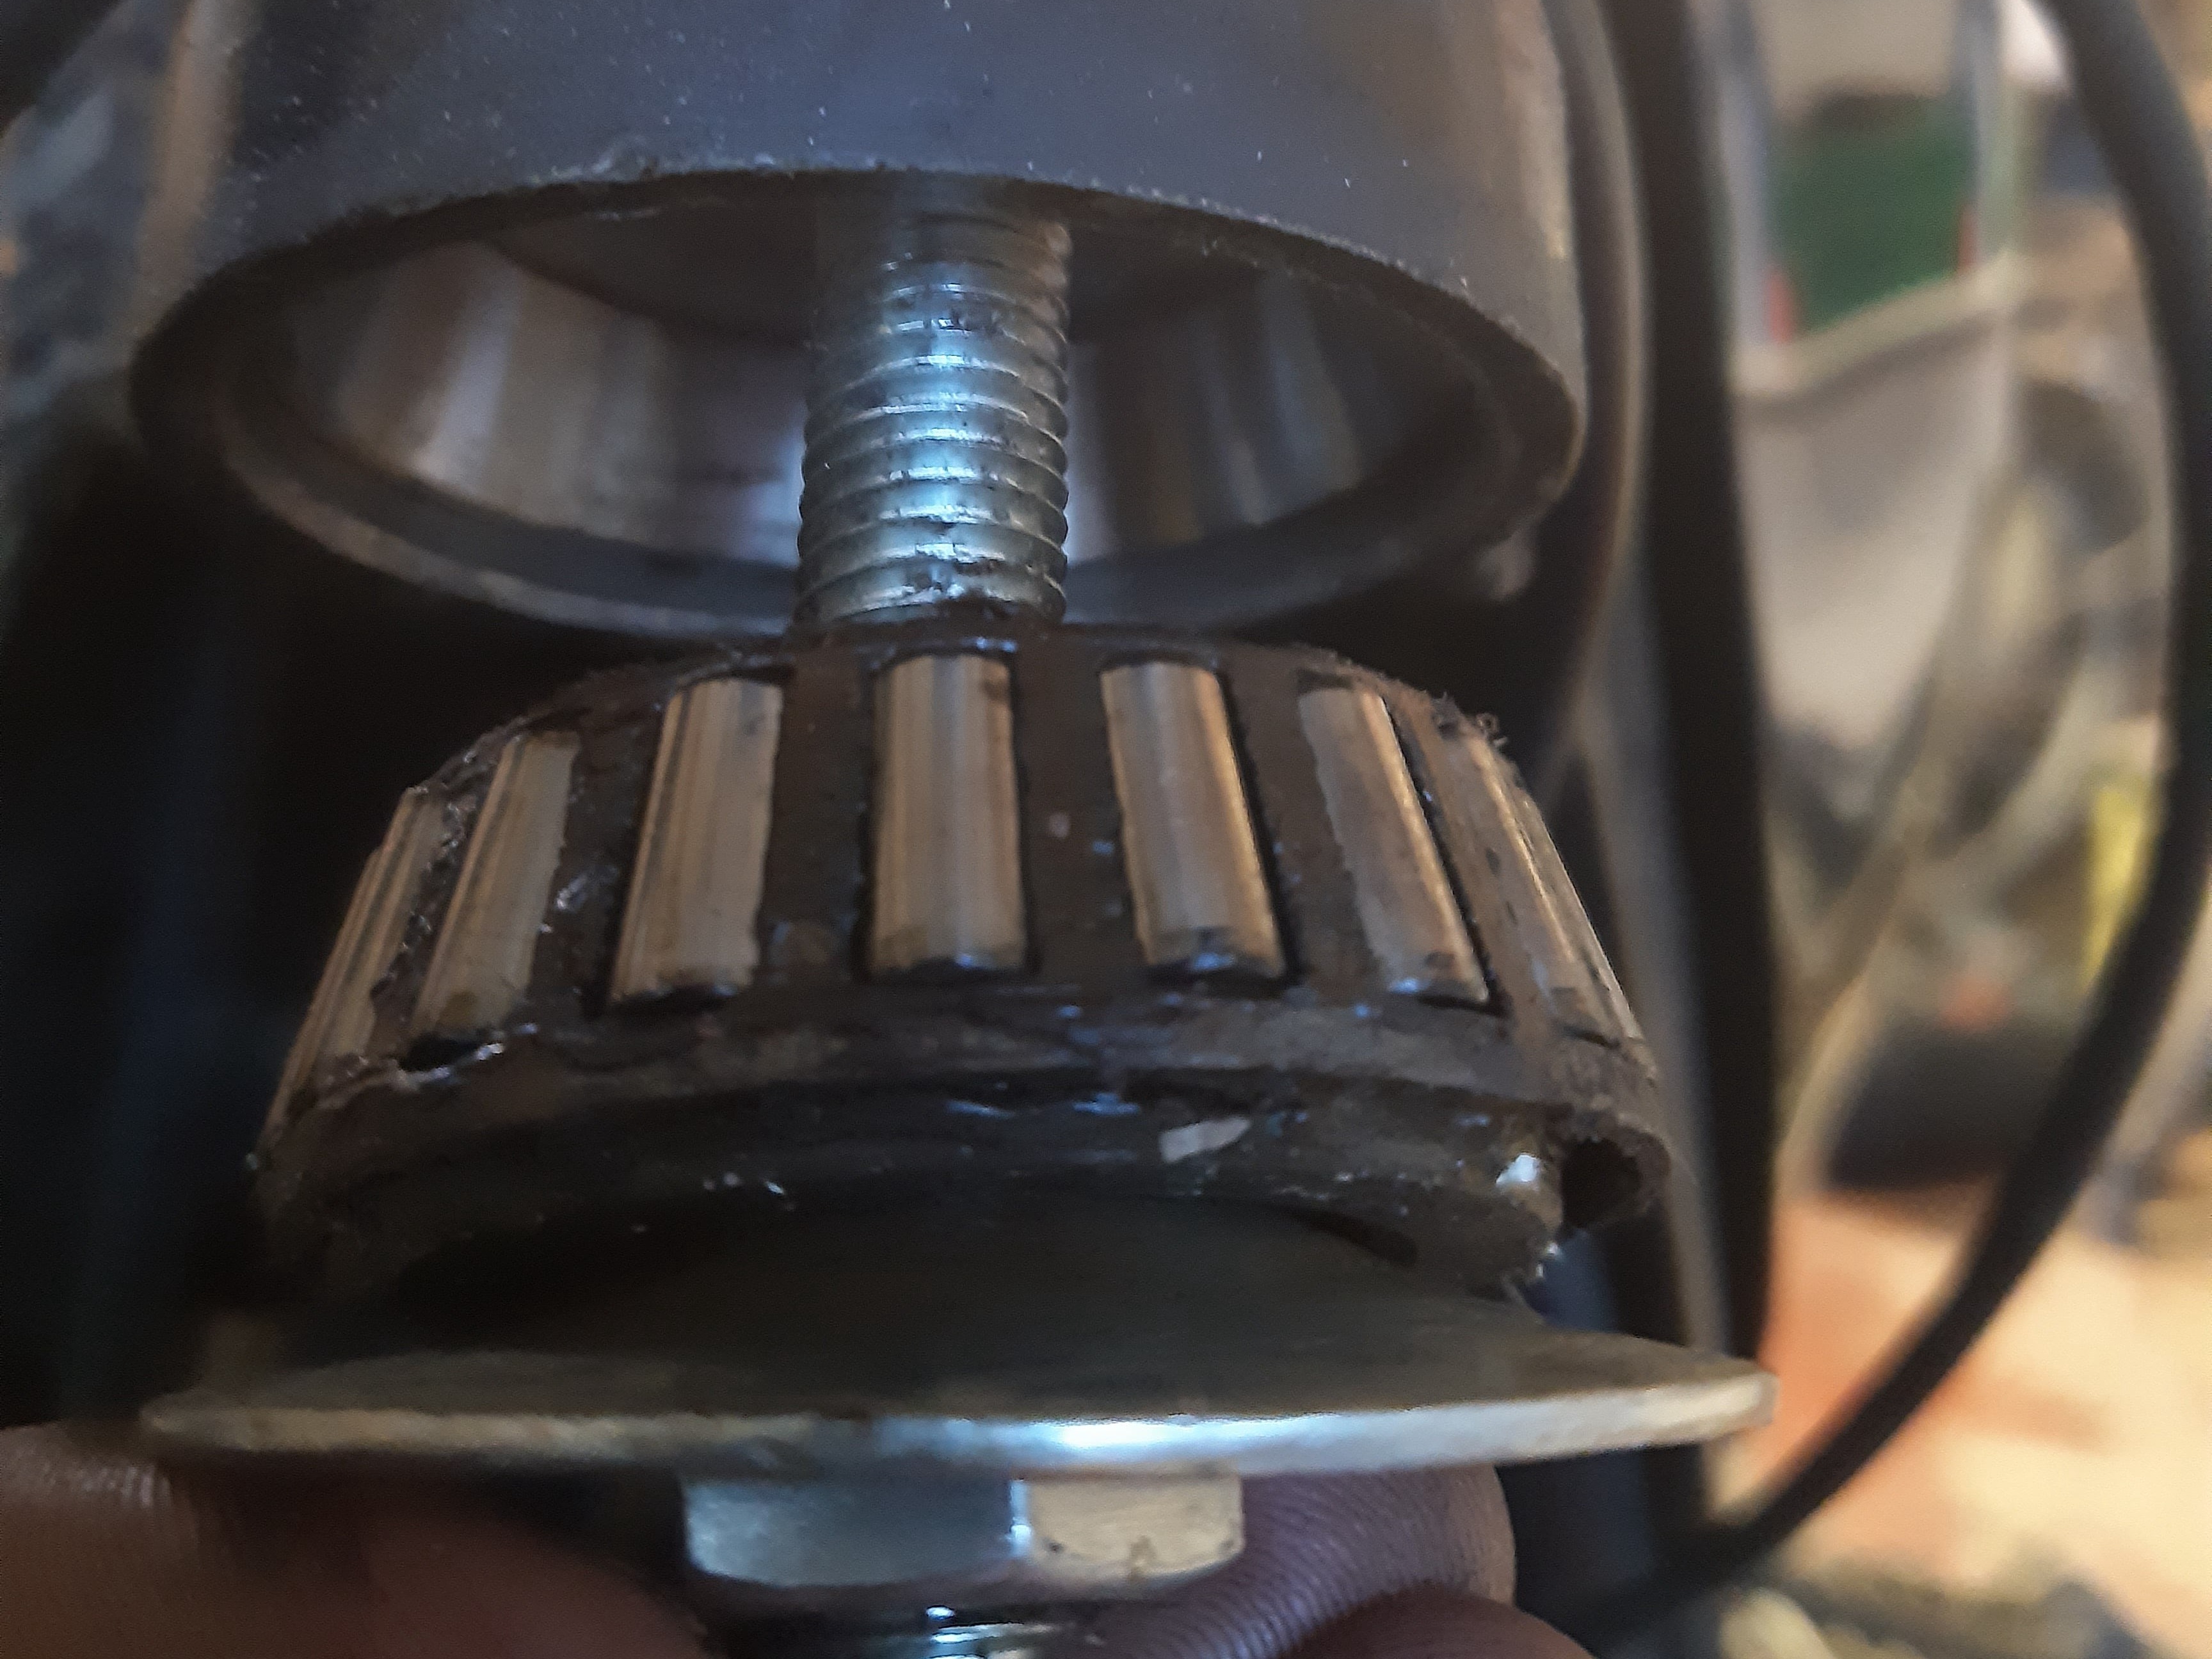
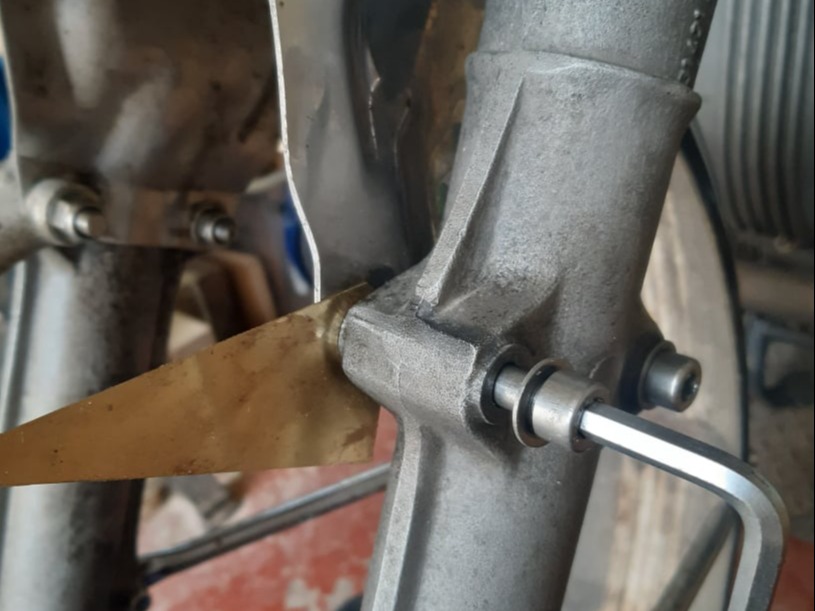
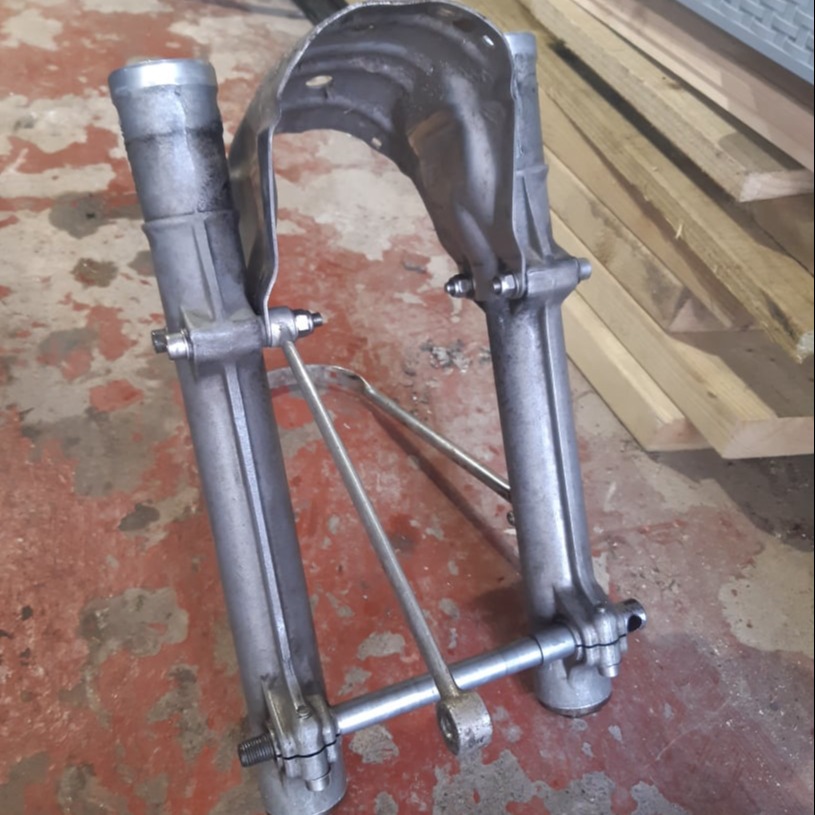
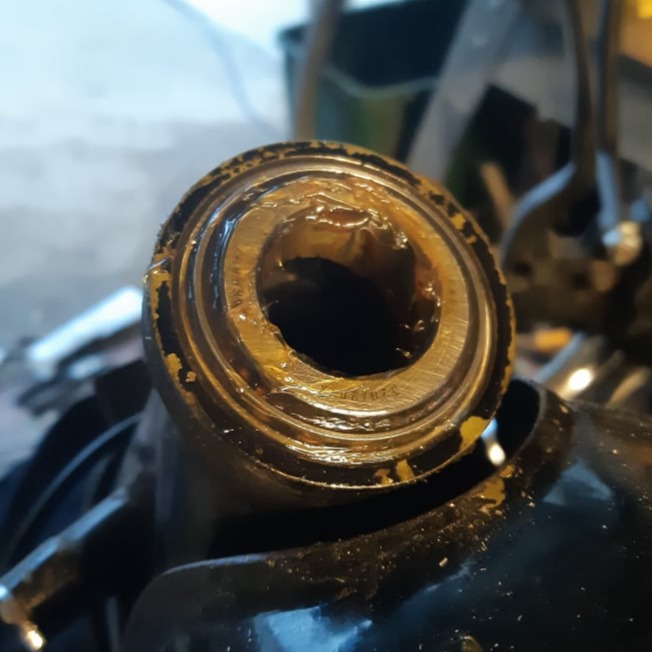
Replacing the steering head bearings on a BMW airhead requires disassembly of the fork assembly and extracting the bearing cups from the head can be difficult.

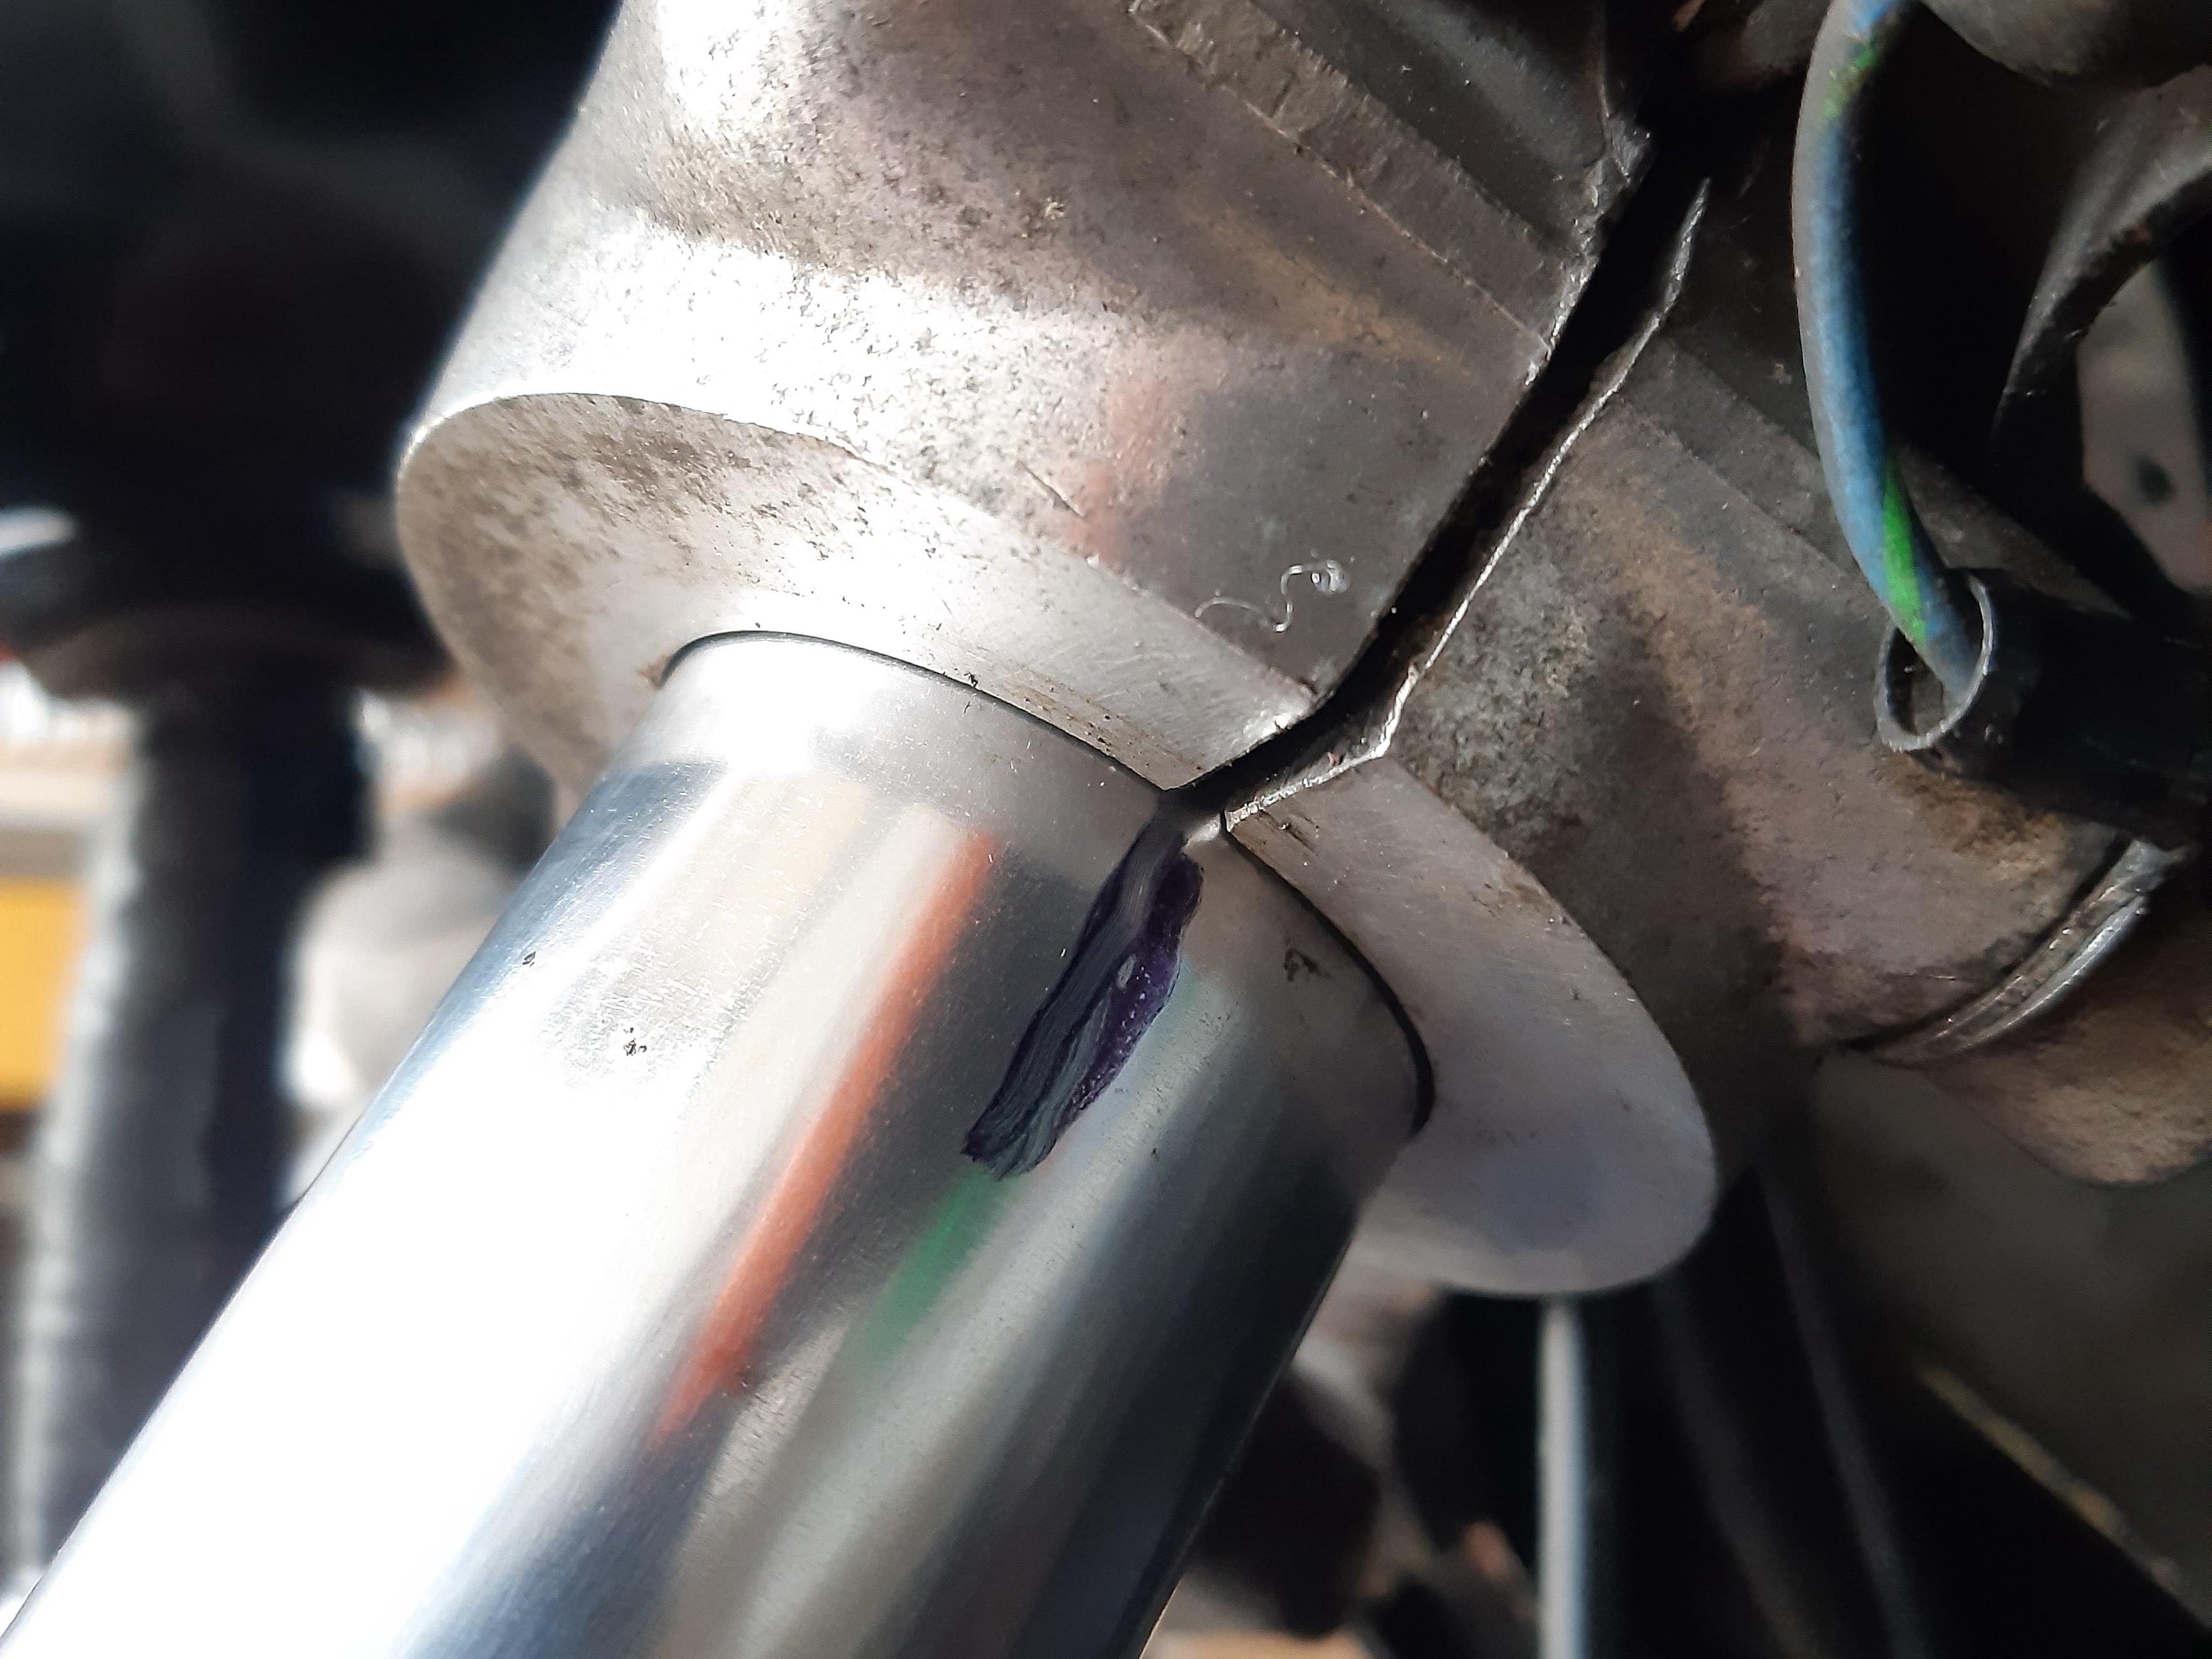
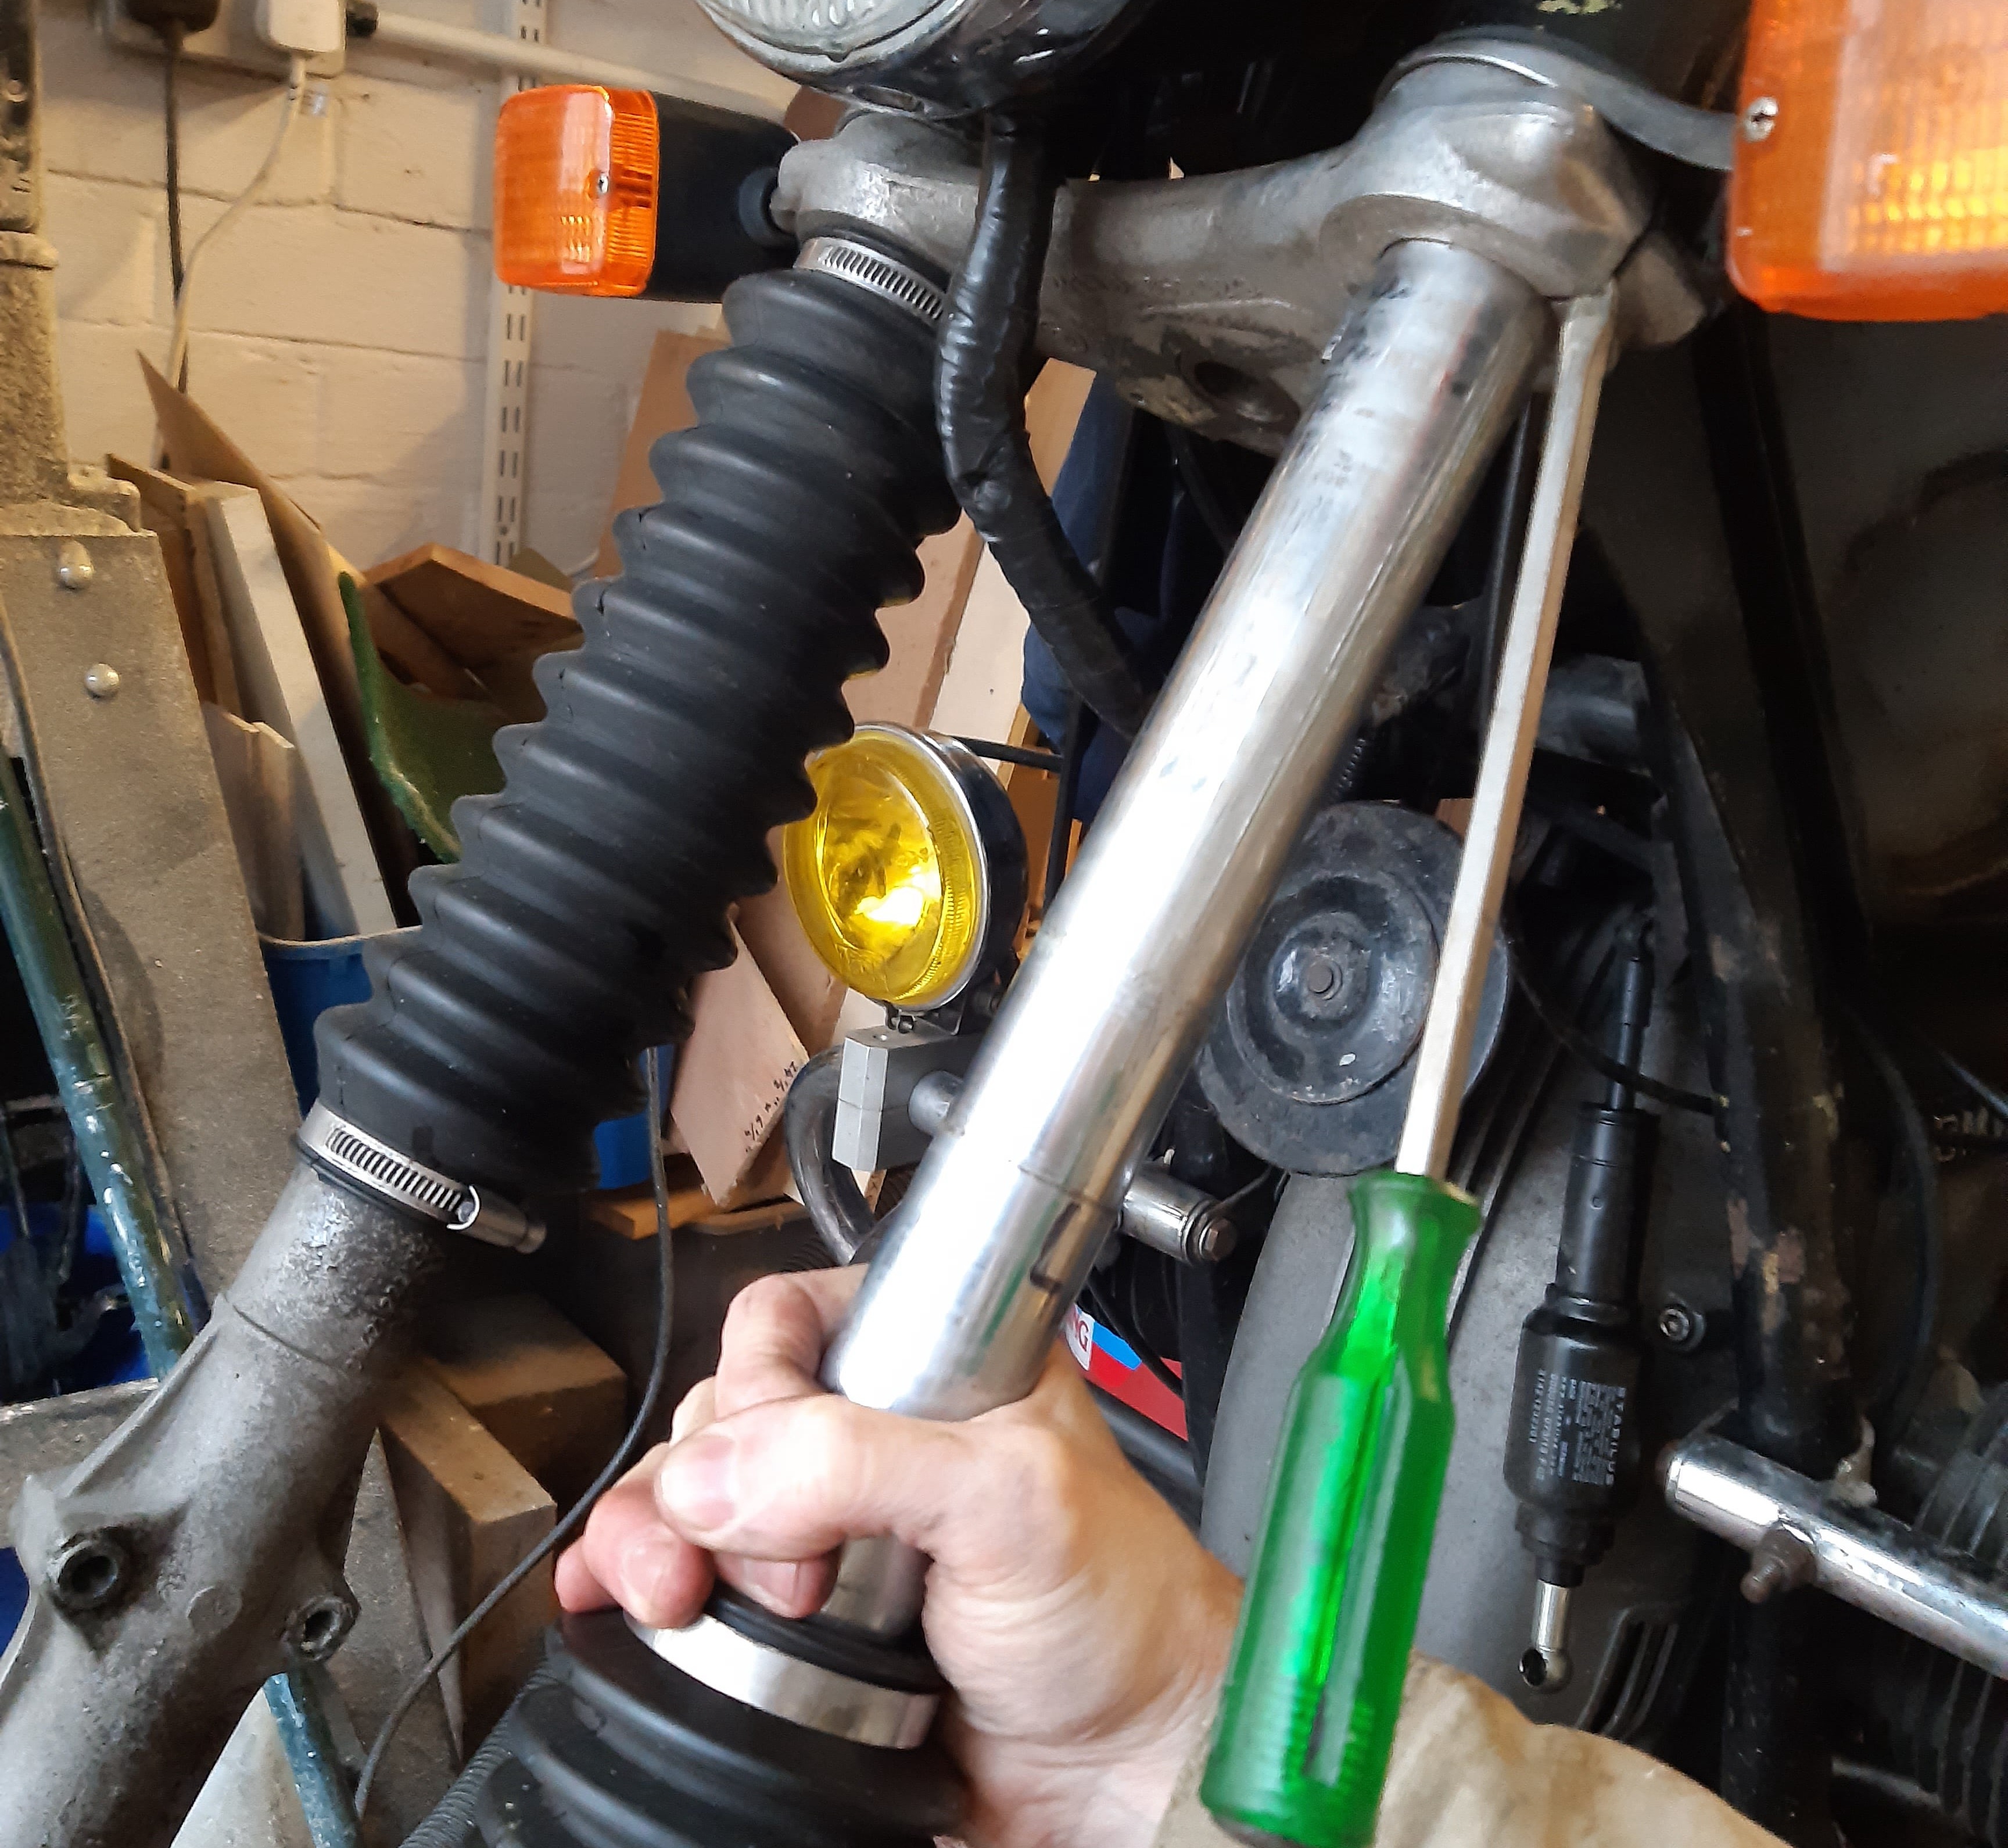
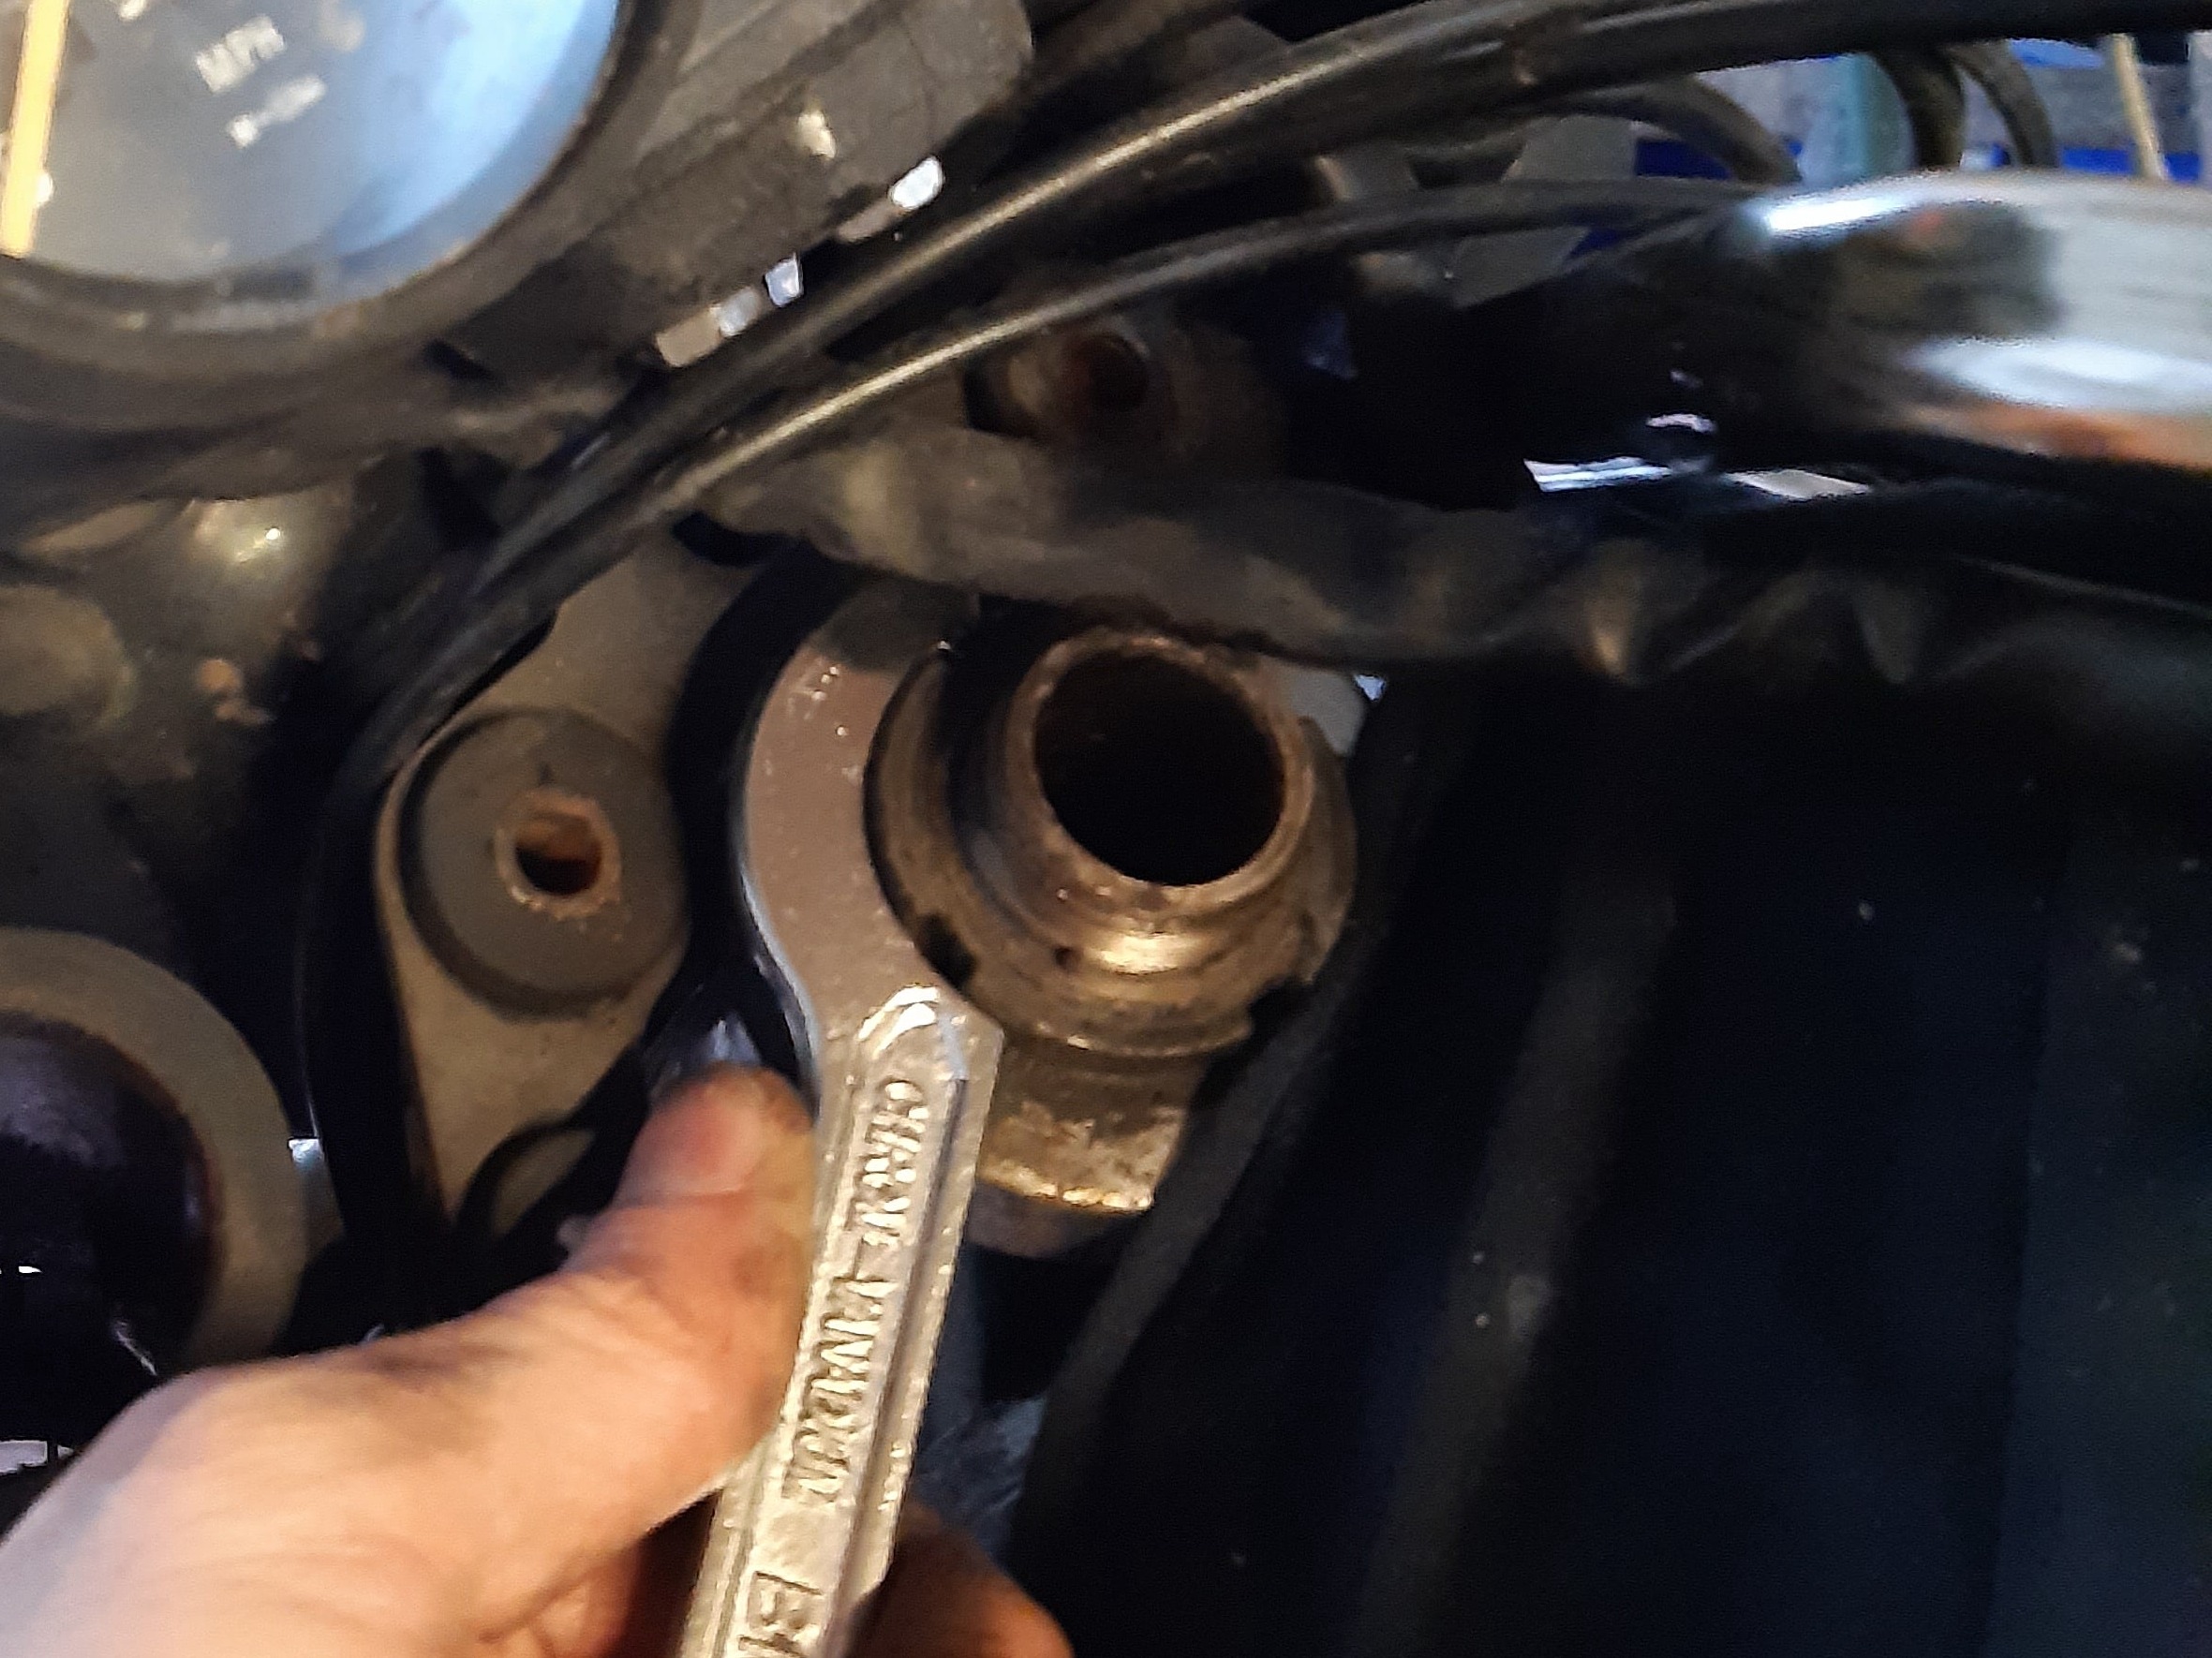
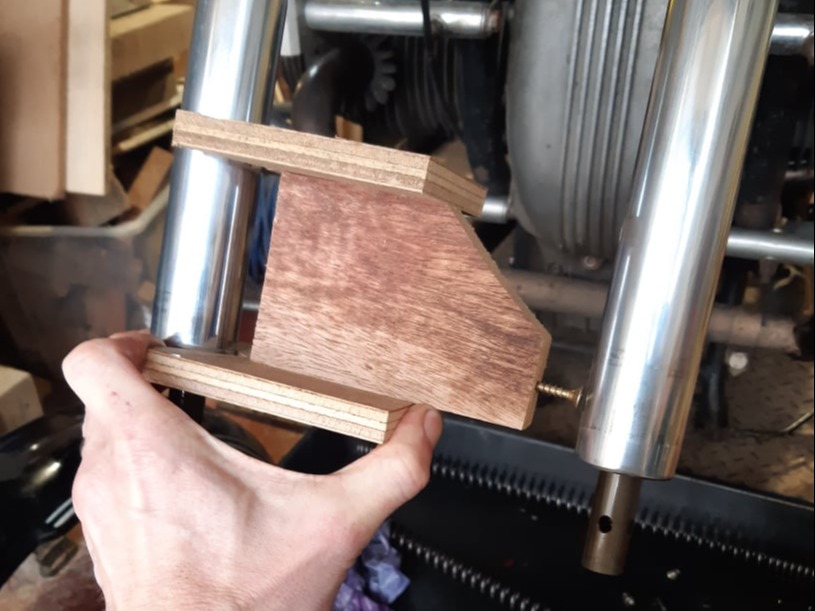
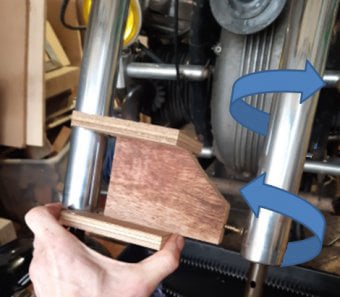
On reassembly the forks need to be aligned to avoid stiction in the suspension.
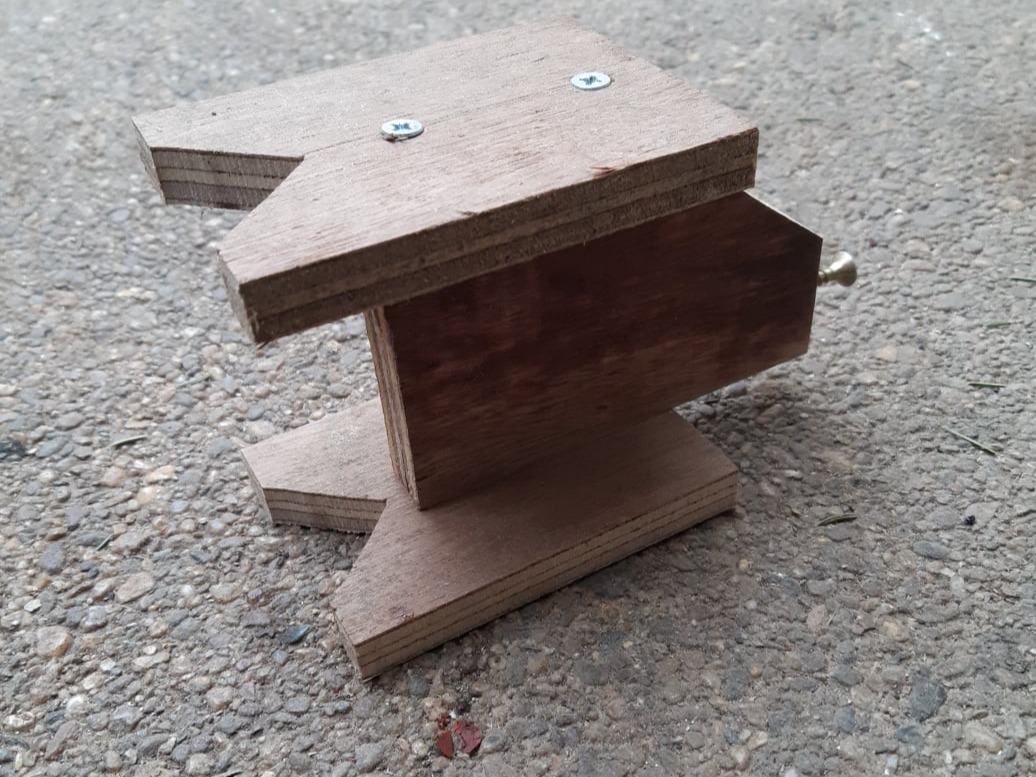
The process described for the fork alignment here is simple and quite crude, but worked on this old machine with worn and used parts. The final result was suspension that behave smoothly and satisfactorily.

Head Bearing Replacement

Mobirise Website Builder

The first step is to remove the front wheel ensuring that the centre stand is secured with a ratchet strap or similar. The front mudguard (fender) with its fork brace will also need to be also removed.

Mobirise Website Builder

The steering damper mechanism can be removed by first unscrewing the knob from the top......

Mobirise Website Builder

....then underneath, the steering damper can be unclipped at the front ball joint..... 

Mobirise Website Builder

...and the plate housing, the rack and pinion assembly removed.

Mobirise Website Builder

The handlebars must be removed.
Then, at the top of each fork leg the filling caps can be removed with a pin spanner and the securing bolt in the top of the fork was undone with a 36mm socket.

Mobirise Website Builder

The 36mm socket may have to be machined to have a square edge to locate securely on the thin nut.
With the top bolts undone the fork springs were removed.

Mobirise Website Builder

Before removing the fork stanchions, each one should be marked to note the orientation, by marking where the lower clamp pinch bolt aligned with the stanchion. They should also be marked left and right.

Mobirise Website Builder

The fork pinch bolts on the lower fork brace should be removed and a flat blade screwdriver can be used to ease any grip on the fork stanchions.

Mobirise Website Builder

The centre steering nut is next to be removed next followed by the top brace.... 

Mobirise Website Builder

....and the castellated nut underneath which needs a c-spanner or BMW tool 71.11.1.237.
The headlamp ears and headlamp and instruments should be removed......

Mobirise Website Builder

......before drifting the steering head out with a soft hammer.

Mobirise Website Builder

Now the bearings and races can be cleaned and inspected. A lot of the time a clean up and re-grease will give them a new lease of life.
If bearings are to be replaced then it is also worth ordering a new "lower bearing cap" (arrowed) as this often gets damaged during disassembly.

Mobirise Website Builder

The lower bearing usually needs cutting off the headstock. Start by prising the cage and rollers away.......

Mobirise Website Builder

...and then a small cutting disc can be used to cut the bearing race from the headstock.

Mobirise Website Builder

The cutting should be done with care to avoid "nicking" the steering head.
Once removed the parts can be cleaned up and the split inner race can be retained to be used as a drift to refit the new bearing.

Mobirise Website Builder

The lower bearing cup should slide on to the headstock......

Mobirise Website Builder

...followed by the new bearing which can be drifted on using the old bearing and a piece of pipe.

Mobirise Website Builder

Back on the bike the outer bearing cups have to be removed and without a special tool there is very little to grip the bearing cup with.
As a work around, a large nail can be welded across the bearing...... 

Mobirise Website Builder

...and then the race driven out from the other side using a piece of bar and a hammer.

Mobirise Website Builder

New top and bottom outer bearing races can be installed with a piece of 12mm threaded bar and the old inner bearings to press things fully home.

Mobirise Website Builder

During reassembly the castellated nut should be tightened to remove movement from the head bearing system, there should be no free play but it should not be tight either. It is worth mentioning that the castellated nut should be installed with the chamfered edge downwards against the upper bearing cap.

Mobirise Website Builder

Fork Alignment

Fork alignment can be a complex process but if all parts are in good order and the stanchions perfectly straight then there are processes you can follow using a glass plate to check for parallelism and spend some time cold setting the lower fork brace to get things just so.
You can also check stanchions are straight by rolling them on the best flat surface you can find.
However this old, high mileage bike didn't have enough new parts for this to work. In particular the fork stanchions were known not to be dead straight.
So the process followed here was designed to make the best of the parts on the bike.
The proposed process was to make sure any curvature in the fork legs was pointing the same way and then to set them as parallel as possible.
To check fork bend direction and measure how parallel the stations were, this simple wooden tool was made up.


Mobirise Website Builder

To use the tool. Both fork stanchions were slid into the lower fork brace with the pinch bolts loose. The top fork plate was in position with the centre bolt tight and the fork bolts fitted but not tightened, so that it was possible to rotate the stanchions without them moving up and down or wobbling around.

The end of the tool with the V-shape located on one stanchion and the nose screw was adjusted to just touch the other fork stanchion.
Sliding the tool up and down, it was possible to judge how parallel the forks were.
The nose screw could be adjusted to fit where the forks were closest and then feeler gauges were used to measure any gap at the other end.

The tool soon highlighted the forks were wider at the bottom than the top.

Mobirise Website Builder

To get the stanchions as parallel as possible, the tool was used to measure the spacing whilst the orientation of each fork leg was assessed.
This was done by holding the tool against one fork leg and rotating the other leg to find when the gauge was tightest and loosest.

Then the fork was turned so that any deflection was pointing rearwards on the bike.
The tool was flipped round and the other leg orientated so any deflection was also pointing back.

The result was that although the stanchions weren't perfectly straight any "run out" was (in both legs) pointing rearward, making them as parallel as possible. Also when the tool was now slid up and down between the stanchions the gap remained constant.
In this orientation the lower fork brace pinch bolts were tightened and the top plate bolts nipped up too.
Then the tool was used to check the legs were still parallel.

To check for any stiction. The lower fork legs were added without springs or oil or the rubber boots, so they slid freely up and down the stanchions.

The axle was slid into place and was checked to be free to rotate in the fork legs with little resistance (See video on the right).

Mobirise Website Builder

The fork brace was added, screwing securely to one fork leg. Feeler gauges were used to measure any gaps between the fork brace and the other leg. Drilled bits of brass were installed to find what shimming was needed to fully tighten all the fork brace bolts and still have the legs moving smoothly.

Axle rotation was also checked to ensure that the lower leg was not rotating about the stanchion during tightening of the brace bolts.

Once the shim thickness had been found, washers were cut from stock and rubbed back to the same thickness.

Mobirise Website Builder

After following this process the fork legs would lift and fall without tight spots and with minimal friction.
The axle pinch bolts were tightened and then the lower fork assembly removed to allow the fitting of the rubber boots.
Springs were added and then finally oil, but between each step a check was made for smooth fork movement.

To finish, the springs and oil were added to the forks. and the top bolts were properly tightened.
Finally with the wheel and handlebars replaced, it was possible to bounce against the front brake and check that the bike always settled to the same place smoothly.

AI Website Builder