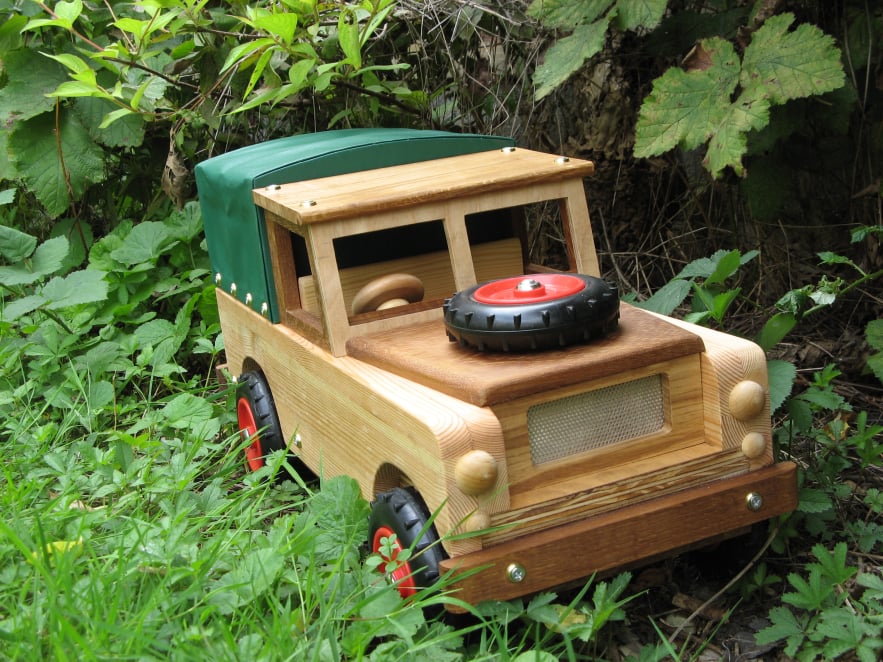
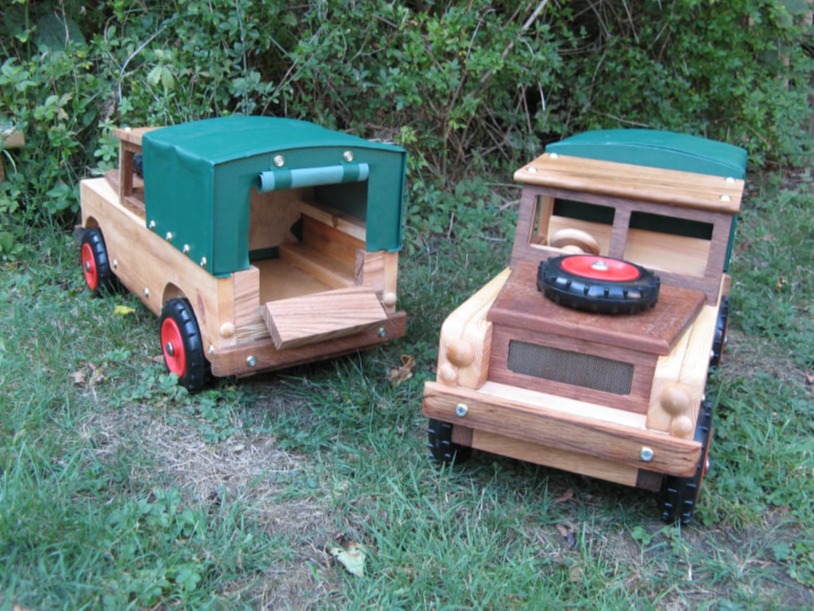
Large Wooden Land Rover
This Land Rover toy was made to a design from 'Always Hobbies'.
The plans cannot be reproduced here due to copyright, but the construction sequence is shown, as it may be useful to anyone else making the model.
This Land Rover toy was made to a design from 'Always Hobbies'.
The plans cannot be reproduced here due to copyright, but the construction sequence is shown, as it may be useful to anyone else making the model.
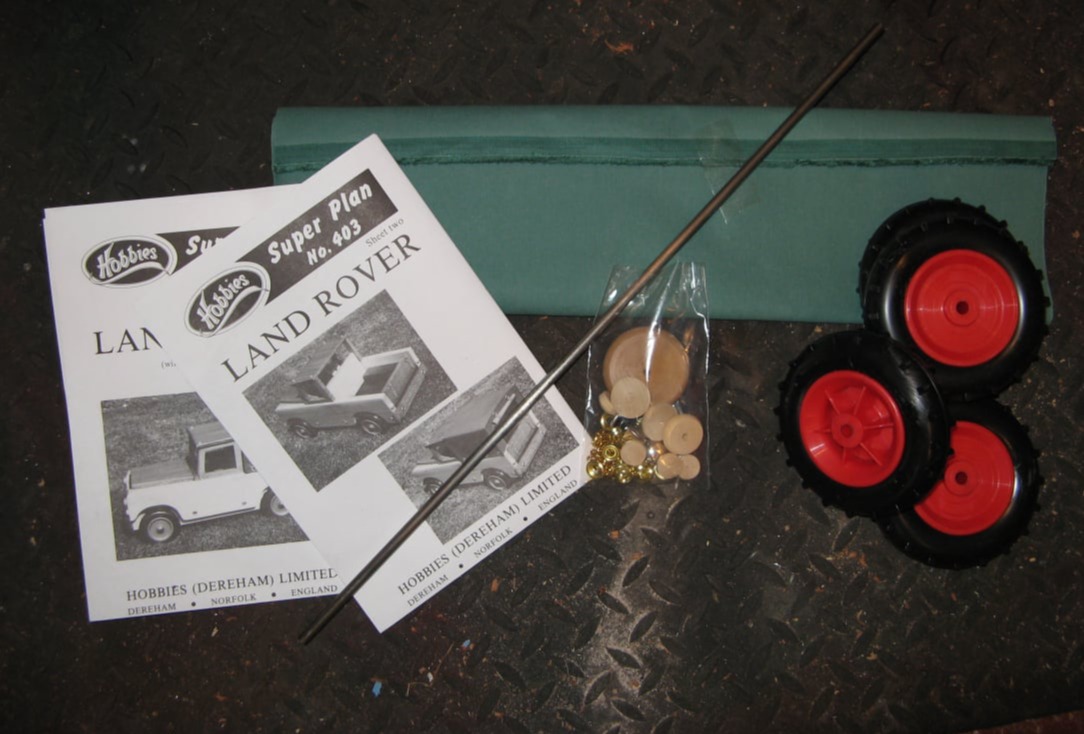
The plans for this toy were purchased from 'Always Hobbies'. The model was designed to be made from a mixture of plywood and real wood.
The kit of parts was also ordered which included the wheels, some bar for the axle, the material for the canopy and a bag containing hinges, chain, washers and wooden buttons.
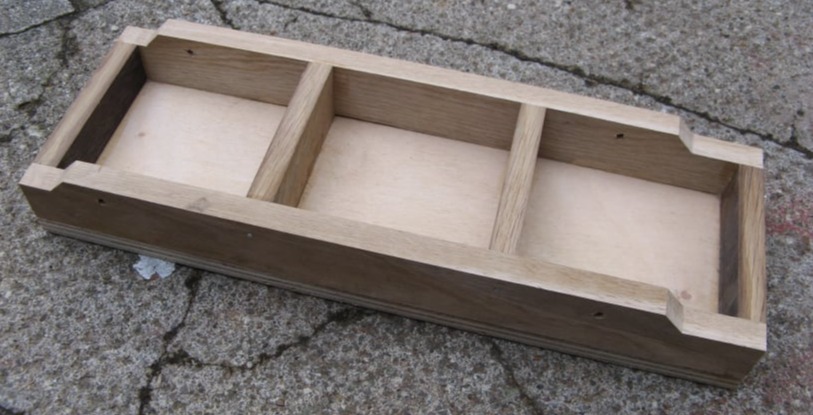
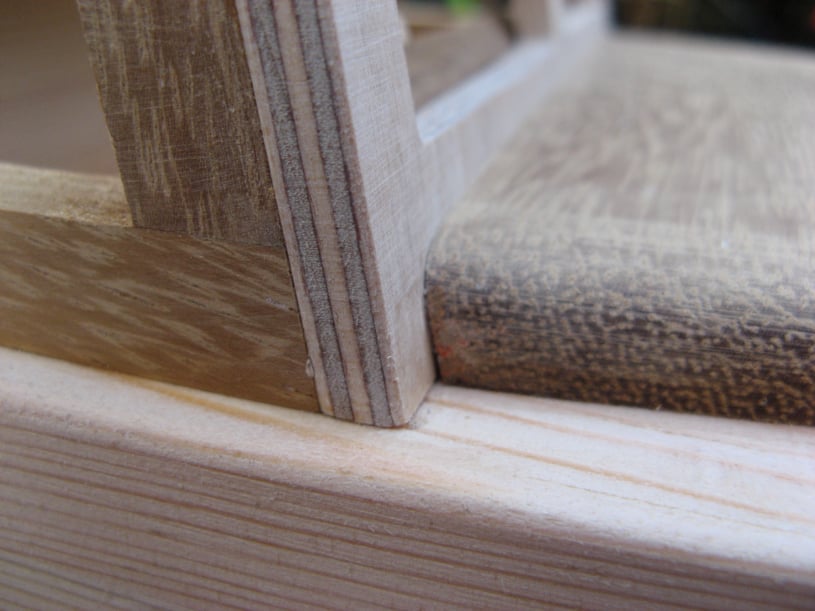
The chassis is shown here, made from a plywood top with hardwood members. The members were drilled to take the axles.

The sides were cut from 3/4" pine board which was taken from an old wardrobe discarded by a neighbour. The plans were copied and stuck to the board before being cut out on the bandsaw.

The sides were glued and screwed to the chassis. This photo also shows the inner front panels being glued in place.
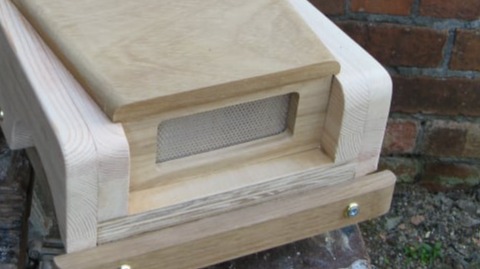
The grill was simplified by just cutting a rectangle in the front panel rather than the multiple slots given by the plans.
The rectangle was cut on the milling machine and then a further recess was cut on the inside to accommodate a piece of aluminium mesh behind it.

Trying to cut the windows from one piece of hardwood was not successful, the outside was fine but the inside was difficult to get straight and square. So instead the side windows were made up from straight strips of wood. The first two bits of wood to be glued were the two at right angles. Once these had dried the template from the plans was used to set the sanding disc fence to the correct angle to sand the contacting faces. This process was extended until the whole window had been constructed.
The plans called for a separate component at the base of the windscreen. This was simplified by taking the windscreen down the full length of the side windows to meet the bulkhead. This photo shows the base of the windscreen and how wooden parts interlocked. A matching angle was sanded on the back edge of the bonnet to make things flush.
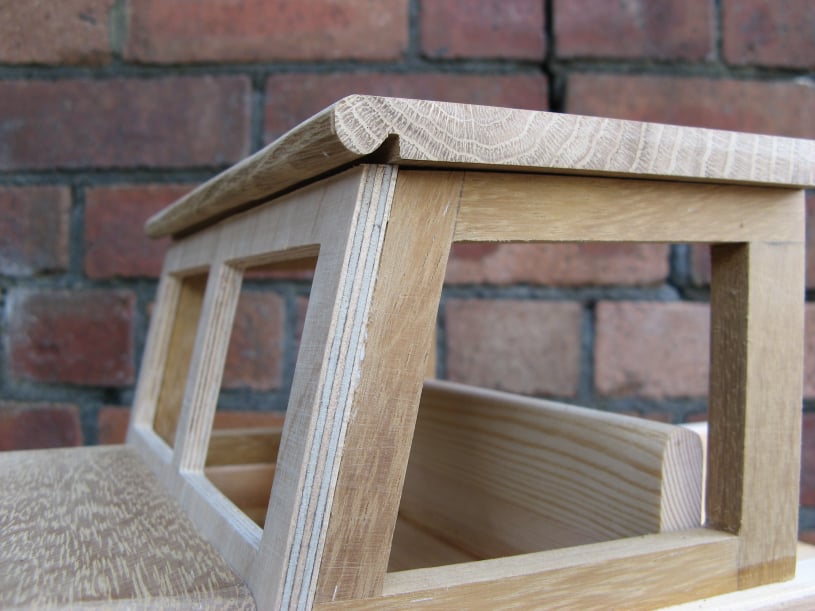
The only piece of 1/4" hardwood available to make the roof was an off-cut from some kitchen trim. This meant it had a routed feature along one edge. However with this feature facing downwards it looked quite good.
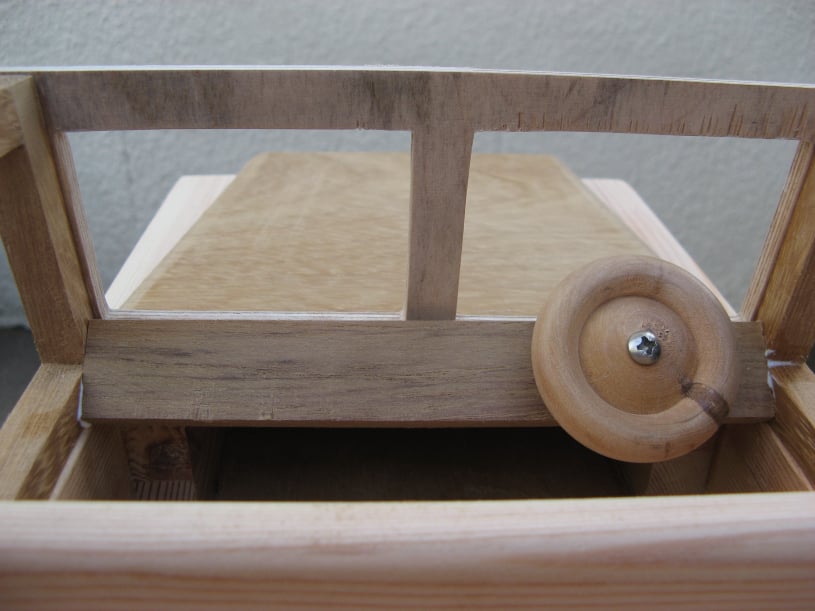
Before fitting the roof, the dashboard and steering wheel were fitted. The steering wheel was made from 2 nice wooden discs supplied in the fittings kit. The optional spokes were not cut to keep things simple.
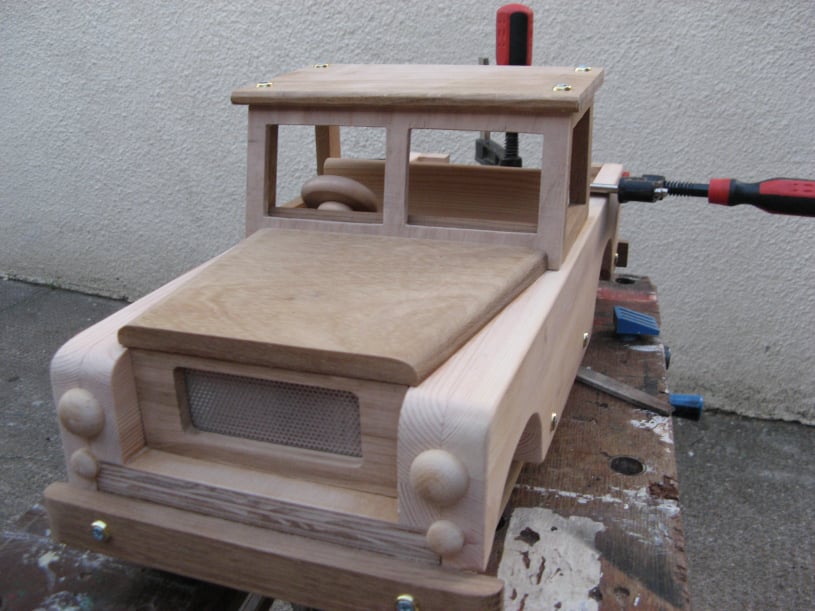
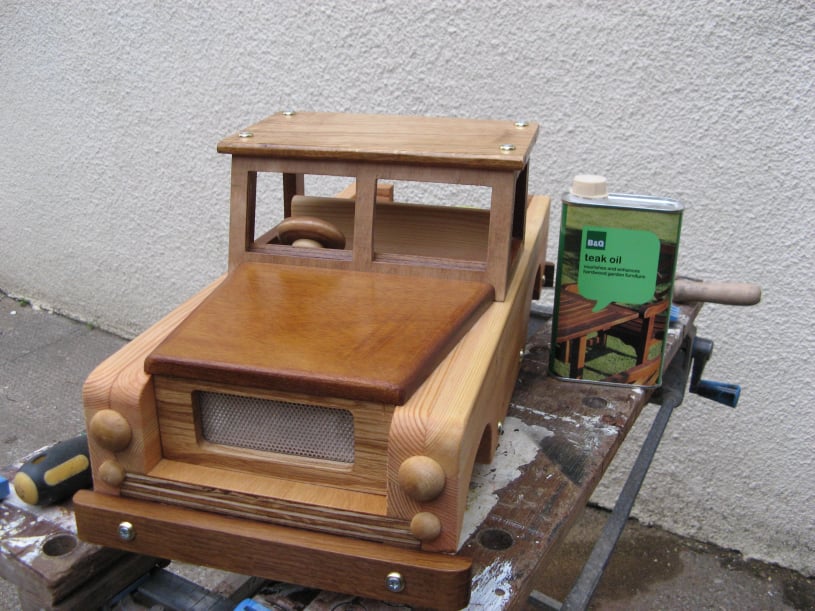
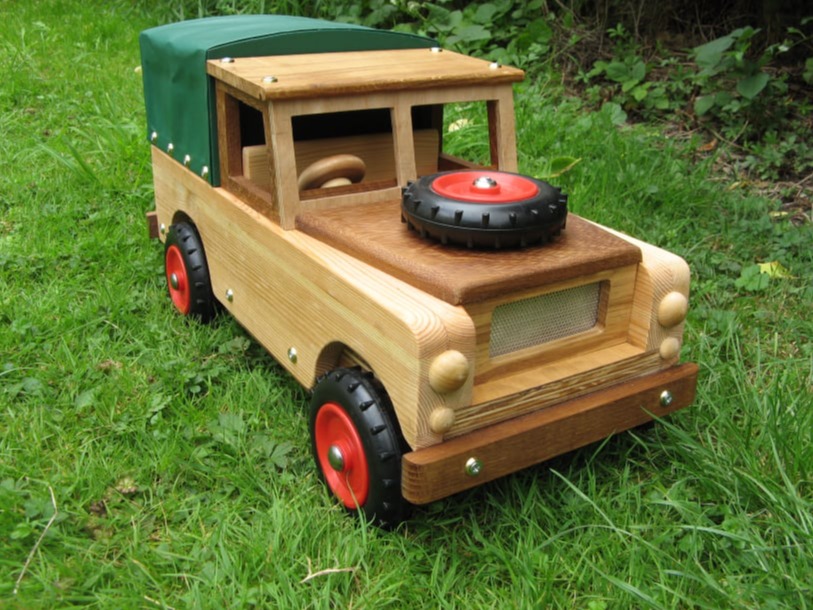
This photo shows the roof and lights fitted.
The lights were half spheres supplied in the kit. They were glued in place as shown. Keen observers will note that this is not the traditional layout for a Land Rover which has the smaller lights in the top corners. However this layout was felt to give a better looking model given the parts available.
The roof was screwed in place and not glued, so that it could be removed for finishing the cab interior.
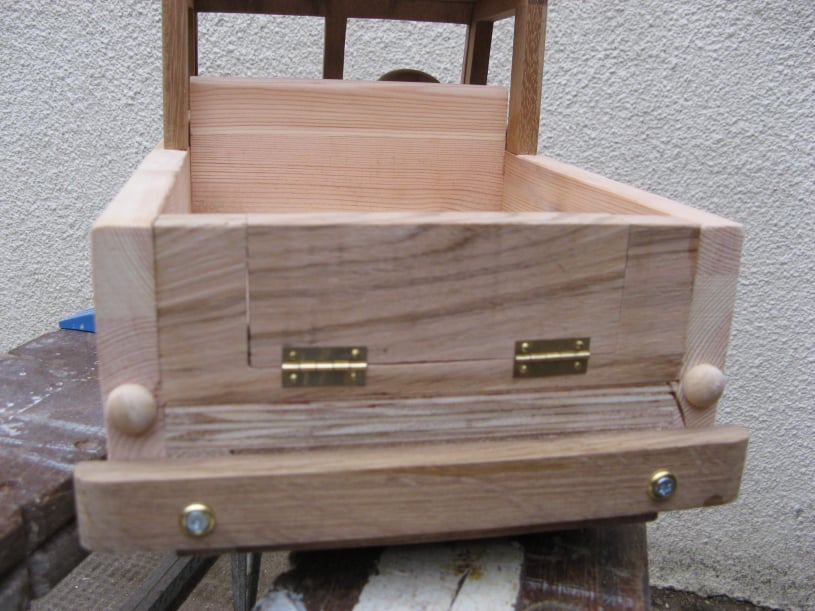
The tailgate hinges were surface mounted rather than recessed, for simplicity.
The tailgate itself was made to be a snug fit in the opening so that it wouldn't fall open when the vehicle was being driven.
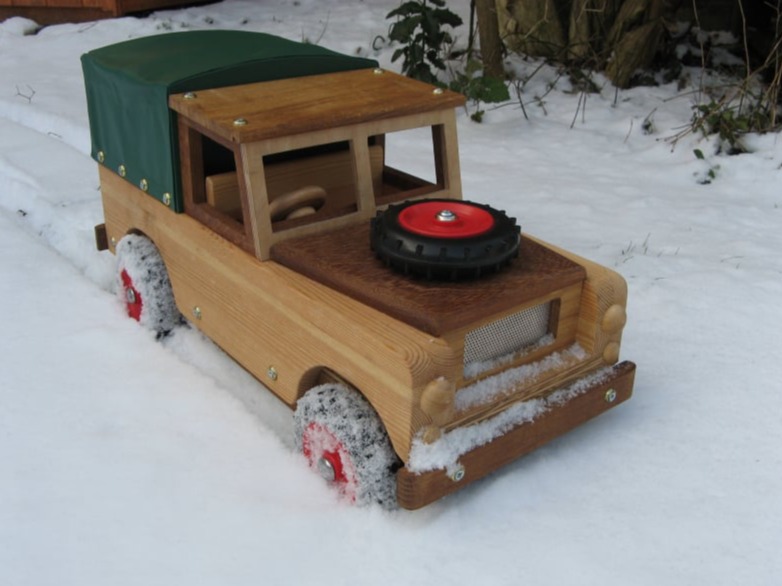
With the main vehicle assembly complete all surfaces were sanded smooth and edges radiused slightly with a file to make the vehicle safe.
To finish everything was given a coat of teak oil.

The wheels were fitted on the axles to test for a free running fit. The axles were not quite square and so the vehicle could rock on its wheels. To fix this the axle holes were opened out slightly so the axles could self align and all the wheels would contact the ground.
The axles had to be cut to a length of the chassis width + the two wheel hub thicknesses + approximately 1/2" to get a running fit.
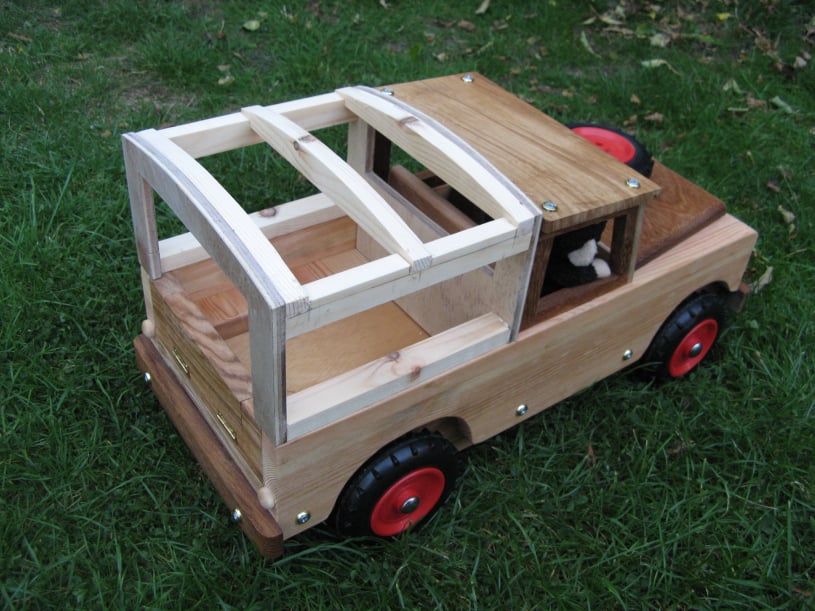
The canopy was made next.
This was a plywood and pine frame cut and glued as shown. The only plywood available was slightly thicker than specified so some of the other parts were adjusted to get a snug fit in the back of the car.
The parts was made using the cab as a guide to get a good fit.
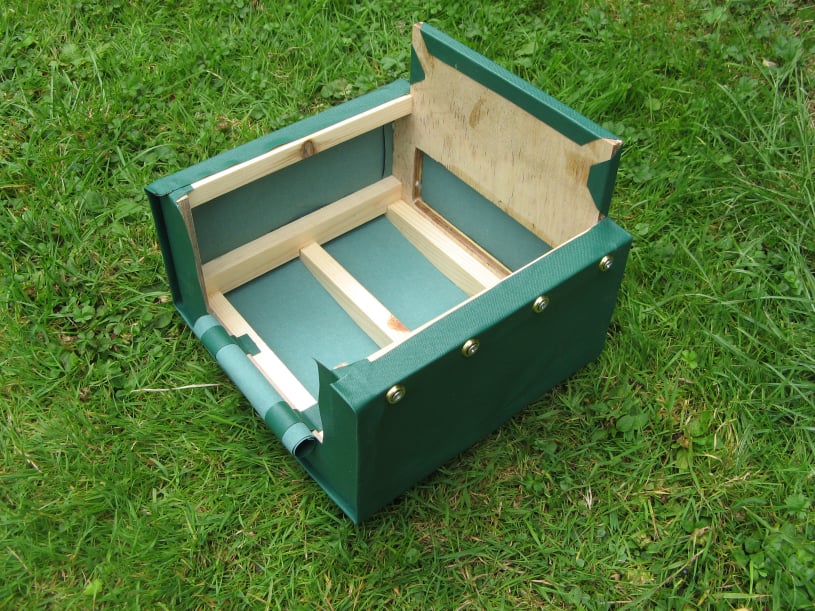
The canopy frame was covered with the provided canvas which was cut and secured with PVA glue.
It was found that to drill the fixings through the canvas, using the drill in reverse initially stopped the material snagging. Once through the material, the drill was used as normal to pilot drill the wood.

Drag & Drop Website Builder