Setting-up in the 4-Jaw Chuck
Two approaches to setting up work in the 4-jaw chuck on the lathe.
Two approaches to setting up work in the 4-jaw chuck on the lathe.
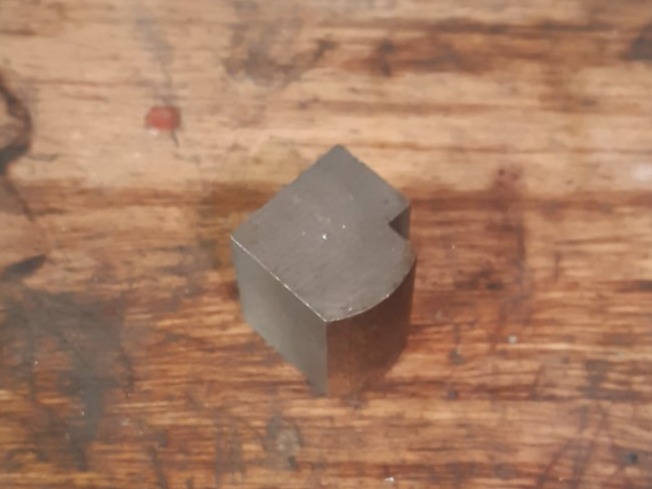
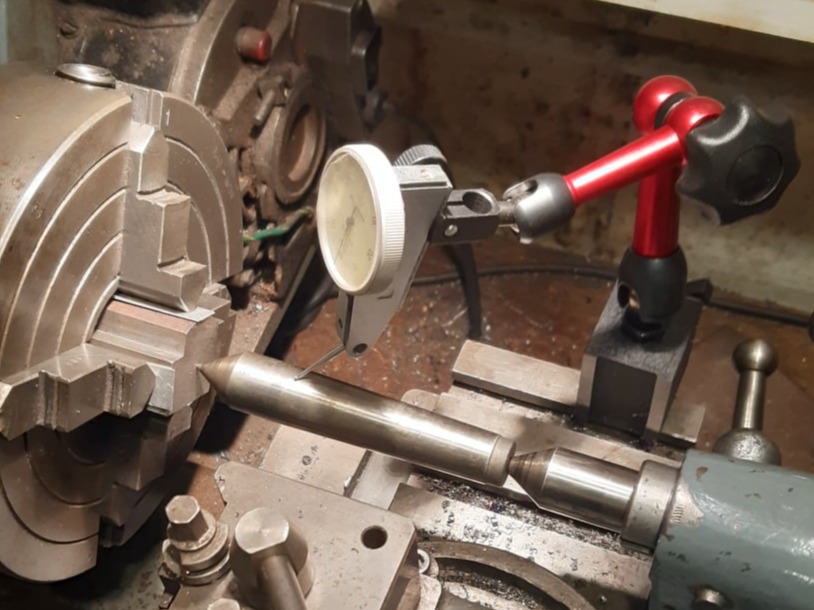
In this example, a piston blank with be centred about a centre-punched point. The irregular shape means the 4-jaw chuck is needed.
The part can be mounted in the 4-jaw and if necessary some thin brass or aluminium can be used to protect the workpiece. The marked point can then be lined up to be central in the jaws 'by eye' to get a start point.
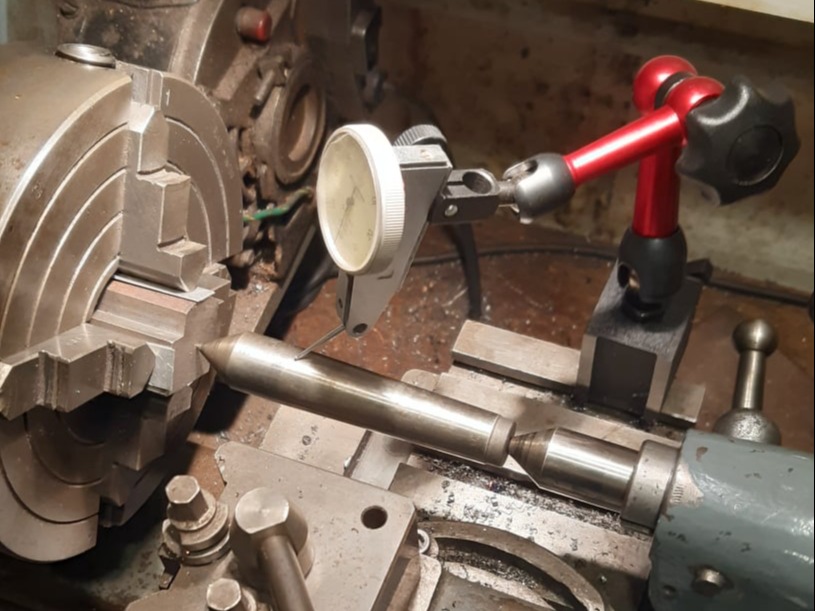
A floating centre can then be used to help show any run-out of the marked spot, by supporting it as shown and turning the chuck by hand.
As the chuck is turned, look for the place where the floating centre is highest. Stop the chuck and this point and tighten the top jaw to push the work downwards. Then turn the chuck again and repeat. After one or two goes the workpiece might be clamped too tightly to move any further in which case find the chuck rotation when the floating centre is lowest, and slacken off the upper most chuck jaw to let the workpiece move up. When the part is looking pretty good, add a DTI to the set up to measure any error.
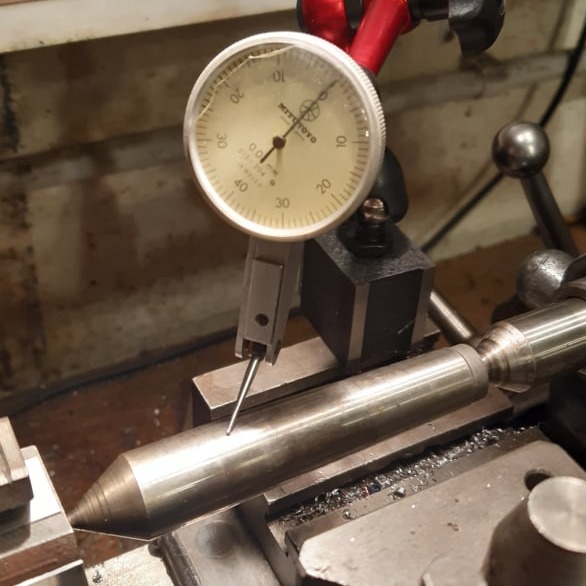
The process with the DTI is the same, but now you can measure the run-out, you can make more accurate adjustments. In this case the DTI was zero'd with the centre at its lowest point.

Rotating the chuck to find the highest point, showed an error of 0.32mm.
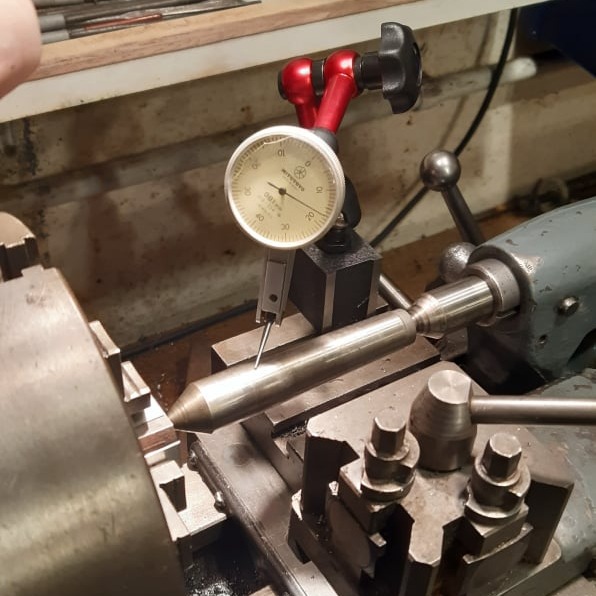
With the part in the 'high' position, the top chuck jaw can be tightened to push the work down to the mid point between the readings.
The required movement may not be possible with one step, in which case, find the low point and slacken the top jaw to let the workpiece move up. After a few goes the part should be correctly centred. Then you may detect run out in the other direction, but the same process then follows using the other two jaws.
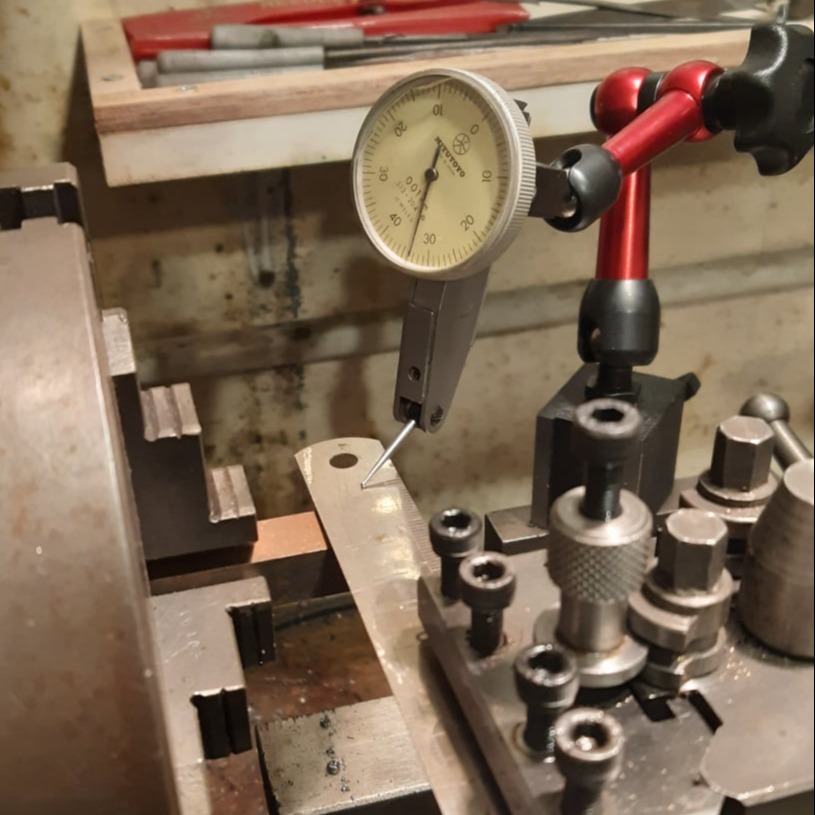
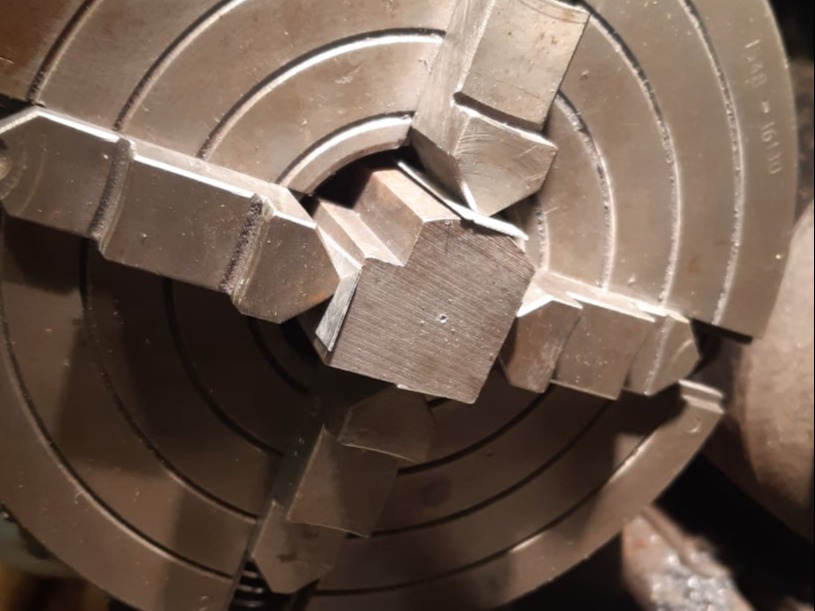
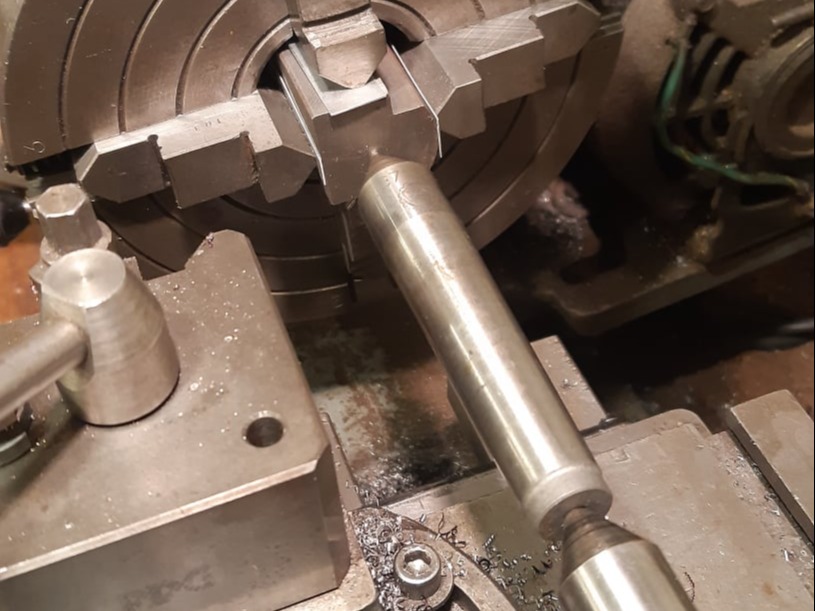
Instead of marking square bar stock and incurring the risk of an error, the position of the corners of the bar can be detected using the set-up shown. This uses a thin steel strip (a steel rule in this case) held in the tool post, to allow the DTI to 'pick-up' on the workpiece corners as the chuck is turned.
The difference with this technique is that the corners are not directly linked to one of the chuck jaws, in fact, the corners are between two jaws. So when you have found a high corner you will need to adjust two jaws to improve the position.
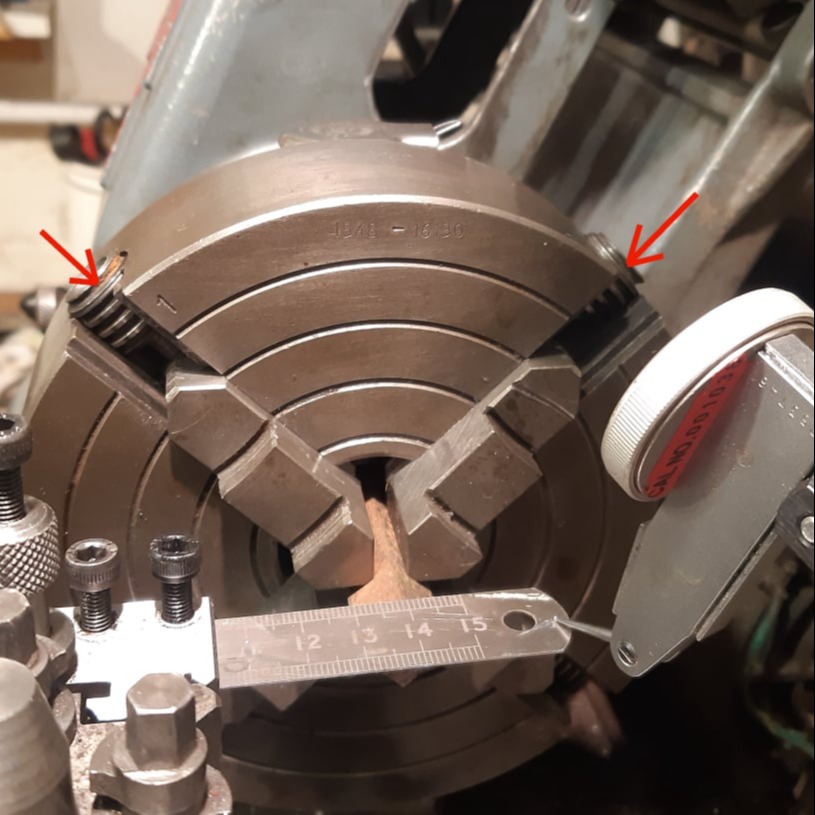
In this example the workpiece has been turned so that the highest reading is in the position shown. Therefore both chuck jaws (arrowed) will need to be tightened to move the workpiece down.
The same set-up can be used on the faces of the bar once it is running fairly true, but it is usually necessary to start by measuring the corners.
If the square bar stock is large, then the deflection of the flexible steel might be too much for the DTI, in which case, the DTI can be moved nearer the tool post where the vertical movement is less.

Drag and Drop Website Builder